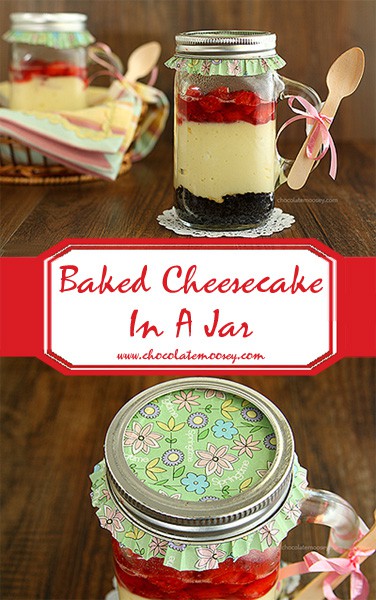
Cheesecake In A Jar
Bake this creamy Cheesecake In A Jar for a pretty presentation with layers of cookie crust and strawberry sauce! Give away as holiday gifts or keep for yourself as portion control.
“Hi, my name is Carla, and I am addicted to cheesecake.”
When I am brainstorming new recipes to try, cheesecake almost always appears on the list.
Seriously, I should consider getting stock in cream cheese or something because there is always blocks of it in my fridge, waiting to be made into something sinful at a moment’s notice.
I have all kinds of cheesecake in every shape, size, and flavor: 6 inch cheesecake, 7 inch cheesecake, ramekin cheesecake, mini cheesecakes, no bake mini cheesecakes, even air fryer cheesecake.
It’s only fitting I add Cheesecake In A Jar to the list.
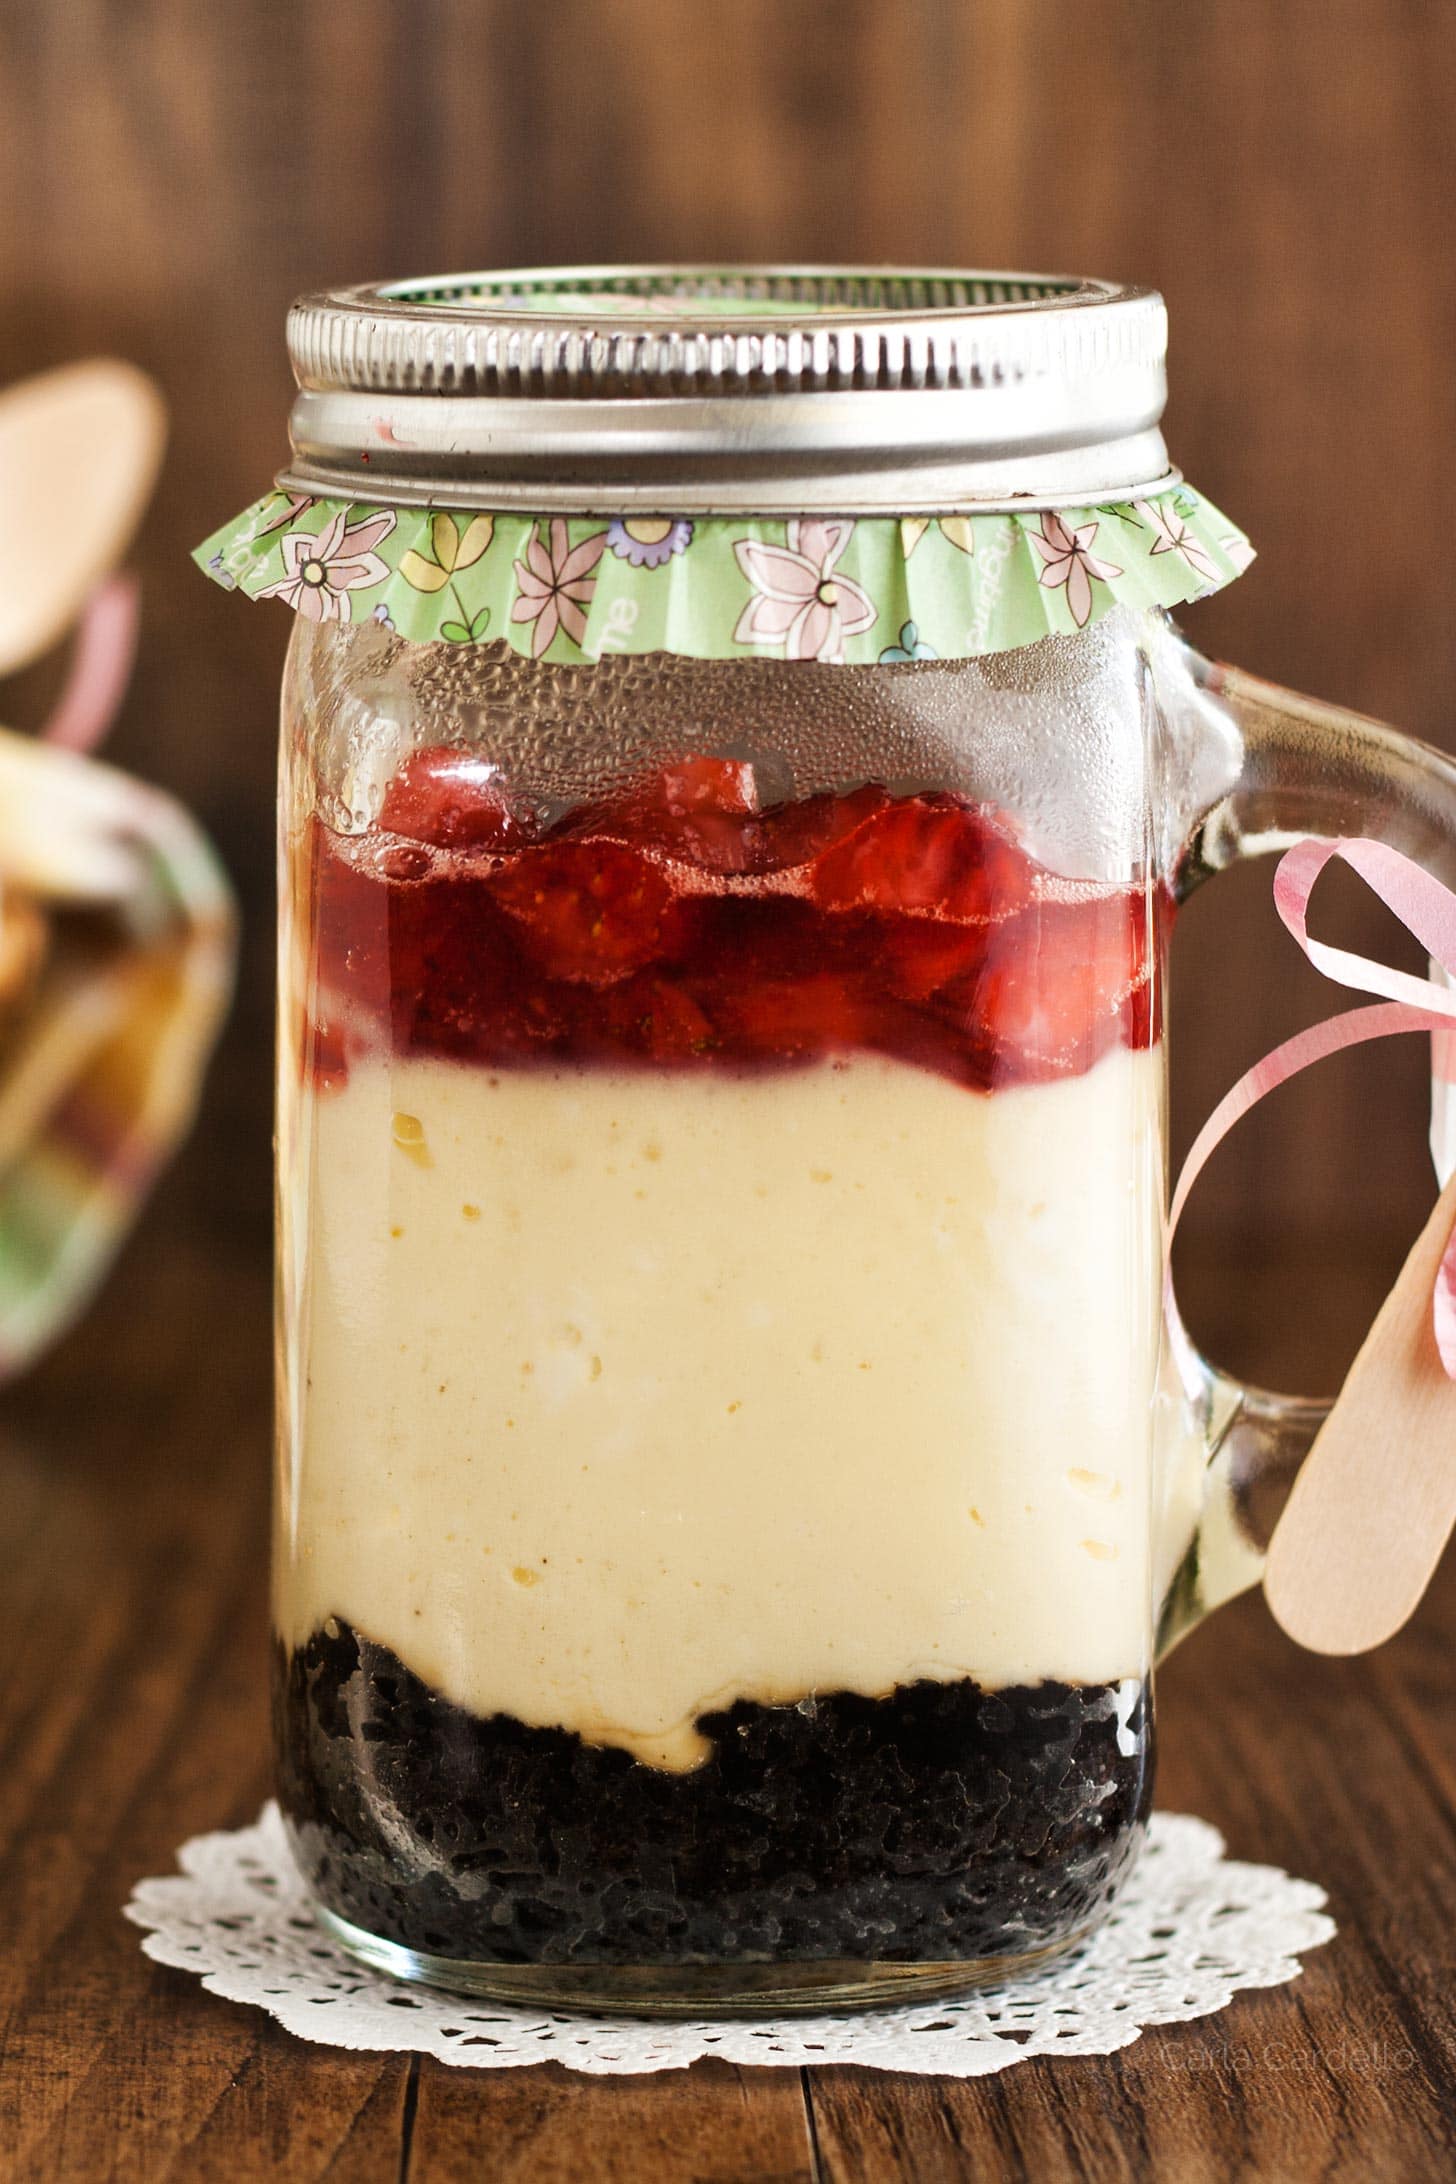
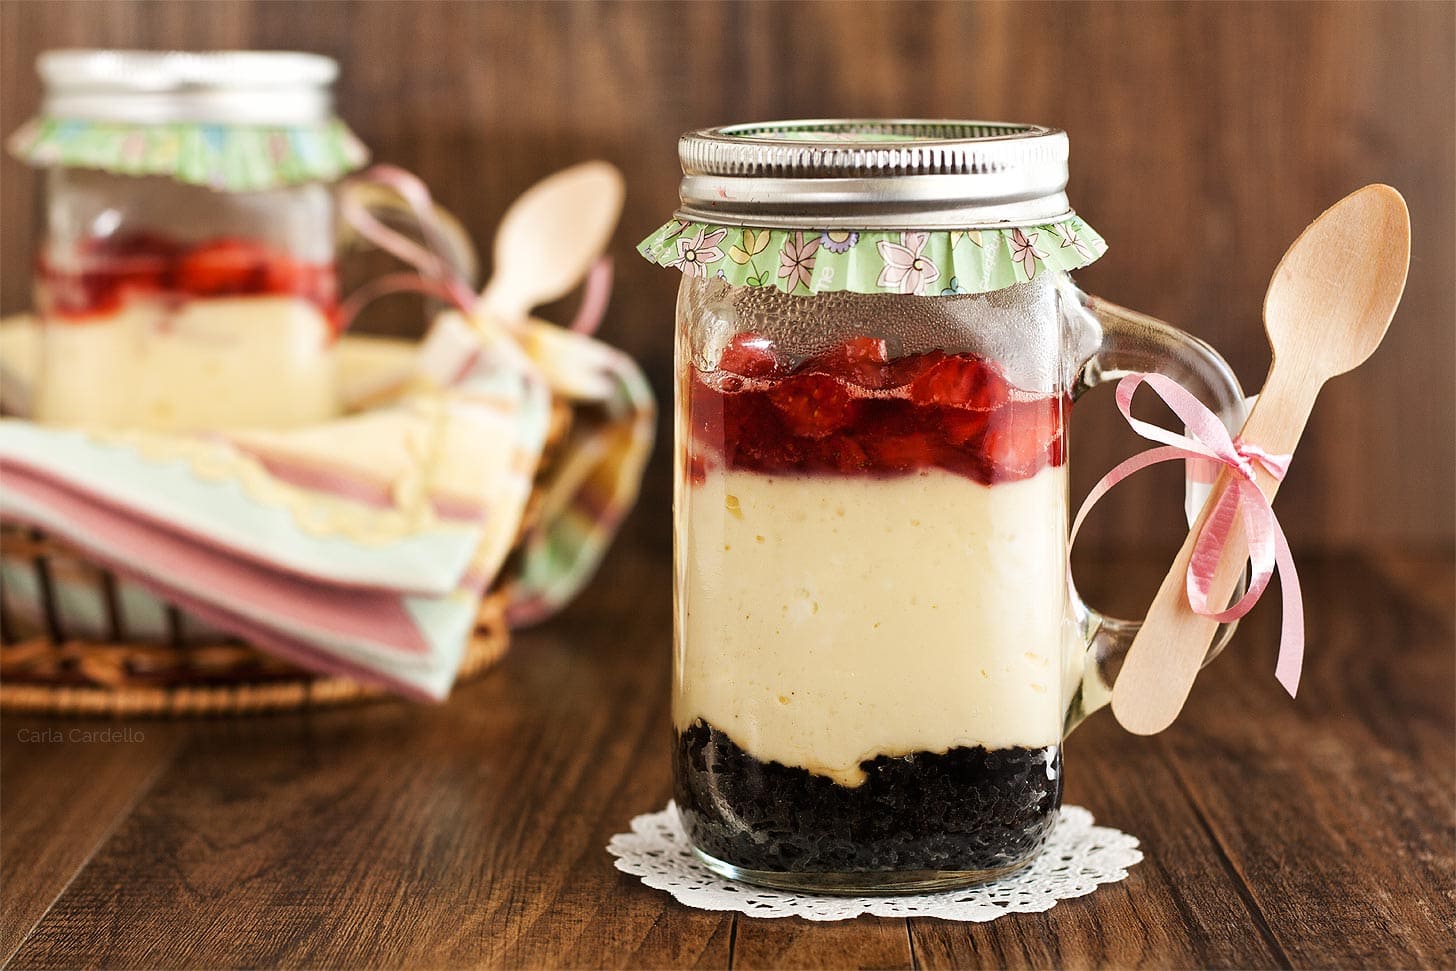
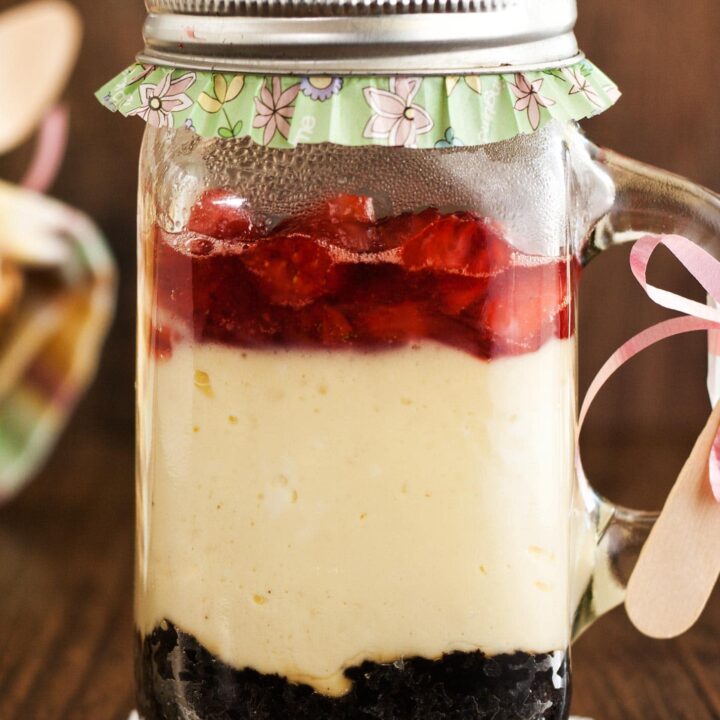
They’re individual cheesecakes baked directly in a glass jar with pretty layers of crust and fruit, which is perfect for gift giving.
I don’t know about you, but I would thrilled if I got a mason jar cheesecake as a gift.
I know the whole serving foods in jars seems like a trend that’s been overdone, but it’s actually quite clever if you do it correctly.
To me, gifts in jars have always been some kind of baking mix. And although that may be fine for those who know how to bake, what about those who don’t?
Baking is an art and a science rolled into one, and I’ve had people tell me they are too scared or simply just don’t know how to bake.
And even if the instructions are easy to follow, some people just don’t have the equipment or supplies.
That’s where mason jar cheesecake comes in handy. Give people a dessert they can eat right on the spot. Bonus points if you include a spoon.
Why You’ll Love Individual Cheesecake Jars
You may be asking yourself, “Why should I bake cheesecake in a jar when I can make a classic cheesecake recipe?”
Here are some reasons to make mason jar cheesecake:
- Give as gifts: Dress them up and poof! Much better than a generic Christmas mug from the dollar store.
- Unlimited flavors and toppings: When you bake a whole cheesecake, you’re stuck with whatever garnish is on top. With mason jar cheesecake, you can add whatever topping your heart desires. You can even turn the concept into a cheesecake topping bar.
- Convenient to transport: Did you get invited to a party or potluck? Serving individual cheesecakes is easier than cutting slices. Plus see above making a topping bar.
- Portion control: I’m certainly not a fan of the D word (diet), but as we get older we need to be more mindful of how much dessert we eat. Serving cheesecake jars means you won’t overindulge.
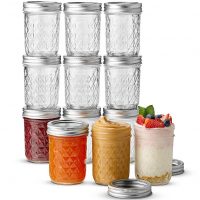
Which mason jars should I buy?
You can use most glass mason jars, which are often 6-8 ounces. The wider the mouth, the easier it’ll be to add your layers.
Just make sure they are oven safe for baking.
The jars pictured here aren’t actual canning jars. My parents bought jam from the store and saved the jars because they had a cool handle.
After measuring the volume, they are 14 ounces each, totaling 28 ounces.
To figure out how many jars you’ll need, take 28 ounces and divide by however many ounces your jar is (6 ounces, 8 ounces, etc).
For 6 ounce jars, you’ll need 4-5 jars. For 8 ounce jars, you’ll need 3-4 jars.
The cheesecake doesn’t rise too much, so make sure you leave some room for the topping.
Ingredients For Cheesecake In A Jar
This cheesecake in a jar recipe is made up of a few easy ingredients:
- Cookie crumbs: I used Oreo but you can easily use graham cracker or another type of cookie.
- Butter: Needed to bind the crust
- Cream cheese: It’s not cheesecake without cream cheese! Use full-fat cream cheese because the low fat and fat free versions have more water in them.
- Granulated sugar: Balances the tanginess of the cream cheese
- Egg: Use a standard large egg at room temperature.
- Vanilla: Adds flavor to the batter
No Bake Cheesecake In A Jar
Looking to make no bake cheesecake in a jar? Check out the recipe for no bake caramel apple cheesecake then spoon into jars with topping of your choice.
How To Make Cheesecake In A Jar
Ready to make your cheesecake jars?
- Mix together crumbs and butter then pat into the bottom of your jars. You may need to use a spoon if you can’t reach with your fingers.
- Beat together cream cheese and sugar until smooth, scraping down the bowl as needed.
- Beat in the egg and vanilla, being careful not to overbeat the batter. Transfer batter to jars, pushing down and smoothing the top so there aren’t any gaps.
- Make a waterbath by placing the jars in an 8×8 pan then pouring hot water halfway up the pan.
- Bake at 325F for 20-25 minutes or until the internal temperature reaches 150F (it’s ok if it wiggles a little).
- Cool for 1 hour then cover with lids and refrigerate for at least 4 hours or overnight. Garnish before serving.
Store in the refrigerator for up to 5-7 days.
Can you can cheesecake in a jar?
One question I didn’t anticipate when I first published this recipe back in 2013 is: can you can cheesecake?
No, these cheesecake jars are not shelf stable. They still need to be refrigerated. Make sure you let your recipient know if they don’t eat it right away, stick it in the fridge to enjoy later.
How To Garnish Cheesecake
Because these are individual cheesecakes, you can add any topping to each one! Perfect for customizing for you and your guests.
Here are some ideas to get you started:
- Pie filling such as cherry pie filling, blueberry pie filling, or peach pie filling.
- Sauces such as strawberry sauce (pictured), homemade caramel sauce, or ganache
- Whipped cream such as small batch whipped cream, peanut butter whipped cream, or chocolate whipped cream.
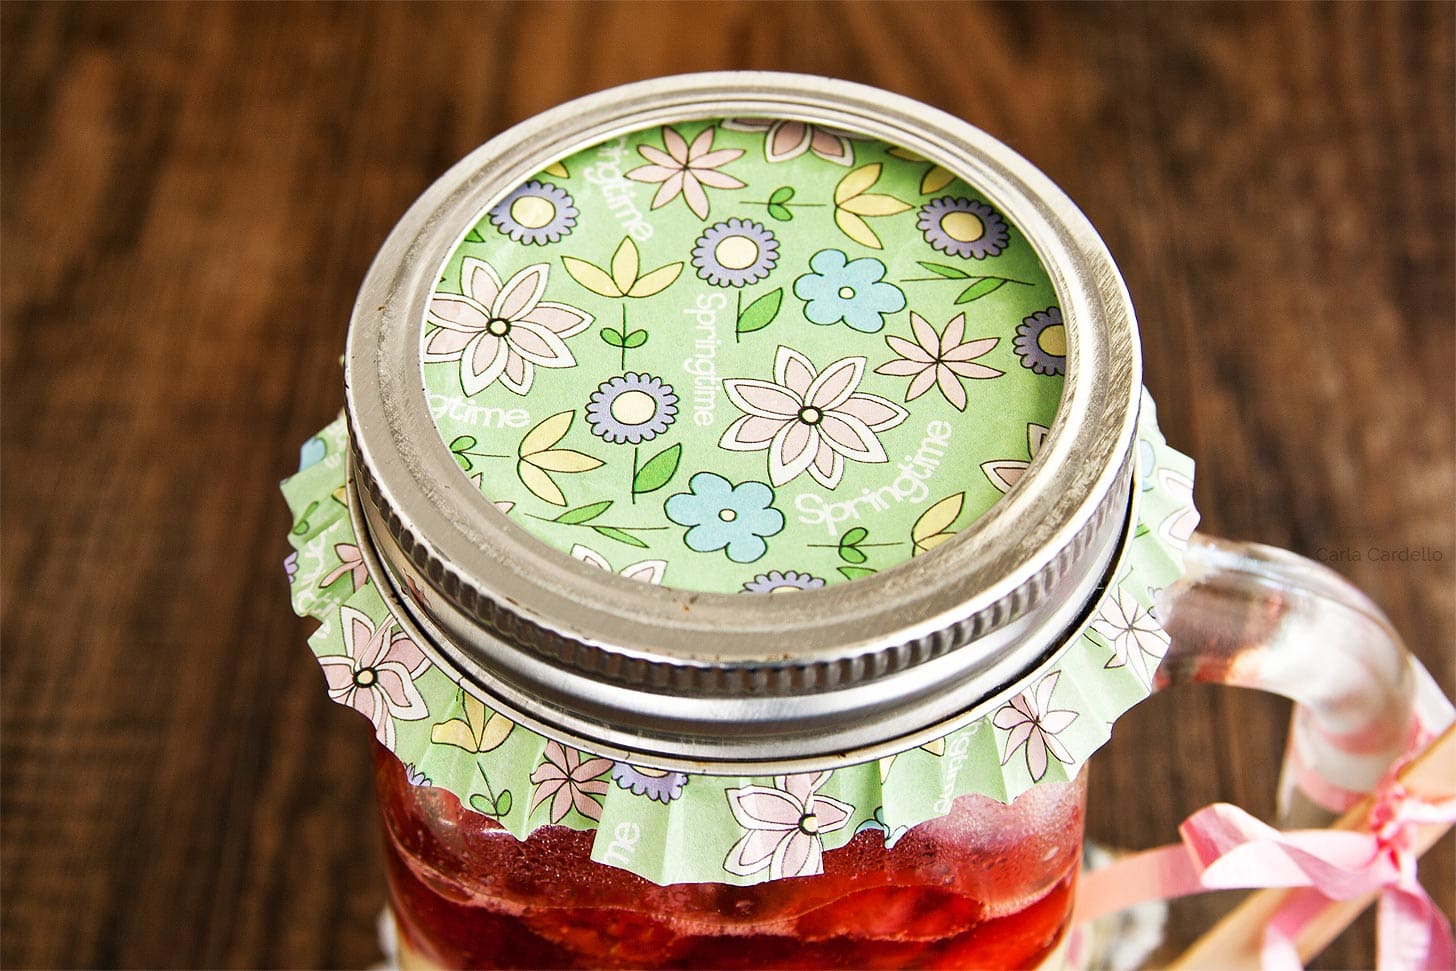
Like how I decorated my jars? I used an upside down cupcake liner!
You know those lids that come apart into two pieces? What you do is put the center piece onto the jar, stick a cupcake liner upside down over the lid, then screw the rim on top of that, securing the liner in place.
Instant cute gift.
Cheesecake In A Jar FAQ
Using a water bath for cheesecake ensures your jars evenly bake. Otherwise the top may brown too much or your middle will be underbaked.
Yes, cheesecake is perfect to make ahead up to 2 days ahead of time since it has to chill overnight for maximum flavor.
You can bake this recipe in two mini springform pans. Please refer to my 4 inch cheesecake recipe for directions.
Yes, as long as they aren’t cracked or damaged you can reuse mason jars.
Cheesecake In A Jar
Bake this creamy Cheesecake In A Jar for a pretty presentation with layers of cookie crust and strawberry sauce! Give away as holiday gifts or keep for yourself as portion control.
Ingredients
- 2/3 cup cookie or graham cracker crumbs
- 2 tablespoons unsalted butter, melted
- 8 ounces (1 block or 8 tablespoons) full-fat cream cheese, room temperature and not cold to the touch (do not sub fat free)
- 1/3 cup granulated sugar
- 1 large egg, room temperature and not cold to the touch
- 1 teaspoon vanilla extract
Instructions
- Preheat oven to 325F degrees. Have an 8x8 pan and two 14-ounce jars ready.* Prepare hot water in a kettle or pan as you'll need it for the water bath.
- In a medium bowl, mix together the crumbs and butter. Divide between the two jars and press down firmly with either your fingers or a spoon.
- In a large mixing bowl on medium-high speed (with paddle attachment if using a stand mixer), beat together the cream cheese and sugar until light and fluffy, about 1-2 minutes.
- Scrape down the bowl then beat in the egg and vanilla.
- Divide batter evenly between the jars then place inside the 8x8 pan. Fill pan halfway up with boiling water. Do not get water inside the jars themselves.
- Bake 20-25 minutes uncovered without lids or until the internal temperature reaches 150F degrees (it may still wiggle a little).
- Cool in the water bath for 15 minutes then carefully remove the jars. Cool uncovered at room temperature for 1 hour.
- Cover with lids and refrigerate at least 4 hours or overnight before garnishing and serving.
Store in the refrigerator for up to 5-7 days.
Notes
- *To use smaller jars, divide 28 ounces by however many ounces your jars are to determine how many you'll need. For 6 ounce jars, you’ll need 4-5 jars. For 8 ounce jars, you’ll need 3-4 jars.
- Don't have mason jars? Check out my 4 inch cheesecake recipe or ramekin cheesecakes.
- You cannot can this recipe. If giving as gifts, please inform your recipient to refrigerate until ready to eat.
Recommended Products
As an Amazon Associate and member of other affiliate programs, I earn from qualifying purchases.
First published June 23, 2013
This post may contain affiliate links. As an Amazon Associate and member of other affiliate programs, I earn from qualifying purchase.
From one cheesecake addict to another, these look AMAZING!
Love to give gifts baked with love from my kitchen have not done any thing in a jar next on my to do list . Going to try the cheesecake in a jar!!
Ooh yummy!! cheesecake is the best! And I’m obsessed with jar gifts. They are so cute and easy to add yoru personal touch to.
Your cheesecake looks amazing! I need to try your recipe, I just love it!!!!!!!!!!
Beautiful photography as always! great post :)
I’m with you I would love to receive a gift of cheesecake. It’s been a long time since I have had cheesecake. If I make it this way then I can give a few away and not feel guilty about eating the whole thing.
I don’t know which is better – the cheesecake, all the possible variations, or the awesome packaging you did to make these a wonderful gift. Fantastic Carla!
We can go to cheesecake anonymous together…I´ll be the one sneaking in these jars though…! I never actually made a baked dessert in a jar, I´m always worried the jars might not be oven proof..stupid I know. They look sensational!
It’s cheesecake. I’ll be right there.
Yay!! I love that you used the cupcake liner.
I love the spoon included idea, Carla! Awesome cheesecake!
Carla!
These look fantastic! I love the way you decorated them with the cupcake liner. . so did you actually bake in these jar/glass mug things? I have some and love this so wanted to make sure I can bake these in the oven! :) and in the water bath. Thank you!
Yes, I baked directly in those jars. I think as long as they aren’t cracked, most glass jars will work.
I’m with you on a passion for cheesecake! Love this recipe, and what a fun way to include a cupcake liner for even more bling ;-)
Your cheesecake look simple beautiful and I bet taste incredible delicious.
I failed math in high school, so how about I skip the calculations and you just send me a box of these. In exchange, I’ll send you my strawberry shortcakes. See, we all win! ;) I love that you’re obsessed with cheesecake, because I know that I can come here and choose from a plethora of recipes when the mood hits. These are gorgeous – I love the presentation! You and Erin are both creative cookies.
How wonderful! I simply love to give gifts that are
beautiful to the eye, as well as tasty to the tastebuds!
I really like the clever ideas I’m seeing and reading about
on THIS blog. Thank you.
Splendid!!
Very cute! I love how you attached the spoon right to the jar.
I had thought of making some kind of pies or crumble in a jar first but this cheesecake looks awesome and I love that it is only 2 – perfect dessert for my hubby and I as we are both cheesecake lovers. Pinning this recipe.
I’m making cheesecake this way from now on. Even my smaller cheesecake pan is too much for the both of us! This is perfect.
I love all your ideas. Cheesecake is a big favorite for me! :)
Looks delicious! Cheesecake is my favorite too!
They look so nice and well decorated. Jar desserts are perfect for picnics and parties, and with cheesecake in it, who can resist.
That just looks amazing. I can totally imagine bringing this to the cottage.
You’re serving as inspiration to me – I totally want to make cheesecake in a jar! I don’t have the right tools for a full sized one anyway, and I think the jars are just too cute to pas up ;)
Cheesecake in a jar sounds like the perfect make ahead dessert for company (or just for me!). I like the idea of single servings so that I don’t eat half of the cheesecake and wonder where it has gone so quickly. Ha!
Cheesecake is one of my favorite desserts, and these are just adorable! The chocolate crust is such a great twist to the classic cheesecake recipe. I love the idea of using the cupcake liner for the top!
This would make a perfect gift… for ME. *hinthintwinkwink*
Add some blueberries and this is perfect for Fourth of July! What a cute presentation!
I could so go for cheesecake right now :-) Maybe with strawberry curd!
This cheesecake looks wonderful!
Made these. Waiting for them to cool, spoon in hand. Made 4 in wide mouth jam jars. Baked for 20 minutes. Raw filling tasted amazing. Half cup of filling in each. Great portion control. Cheesecake using only 1 block of cream cheese was great too.
Glad you enjoyed them!
Was wondering if they can be frozen and for how long?
I haven’t personally tried it, but you can usually freeze cheesecake in general. Just make sure your glass jars are freezer proof and leave some room at the top for expansion.
Hello
How long can I keep the canned cheesecake in fridge. I want to make some as gifts and don’t know how early I can start
Thank you
Cheesecake can last up to 1 week. However, if you’re giving them as gifts you’ll want to factor that into your timing.
So are these shelf stable?
No. It’s still cheesecake just baked in a jar.
Thank you so much for being so smart!
this recipe is easy, fun, and genius.
I am 66 and an avid baker I love to learn new things, You made mt day!
Thank you!
Hi
I loved your recipie.
what I’d like to know is can we freeze this cheese cake in a jar.
Yes, as long as your jar is freeze proof.