Chocolate Whipped Cream
Dress up your desserts with Chocolate Whipped Cream made from scratch using cocoa powder! You only need 4 ingredients and 5 minutes of whipping time.
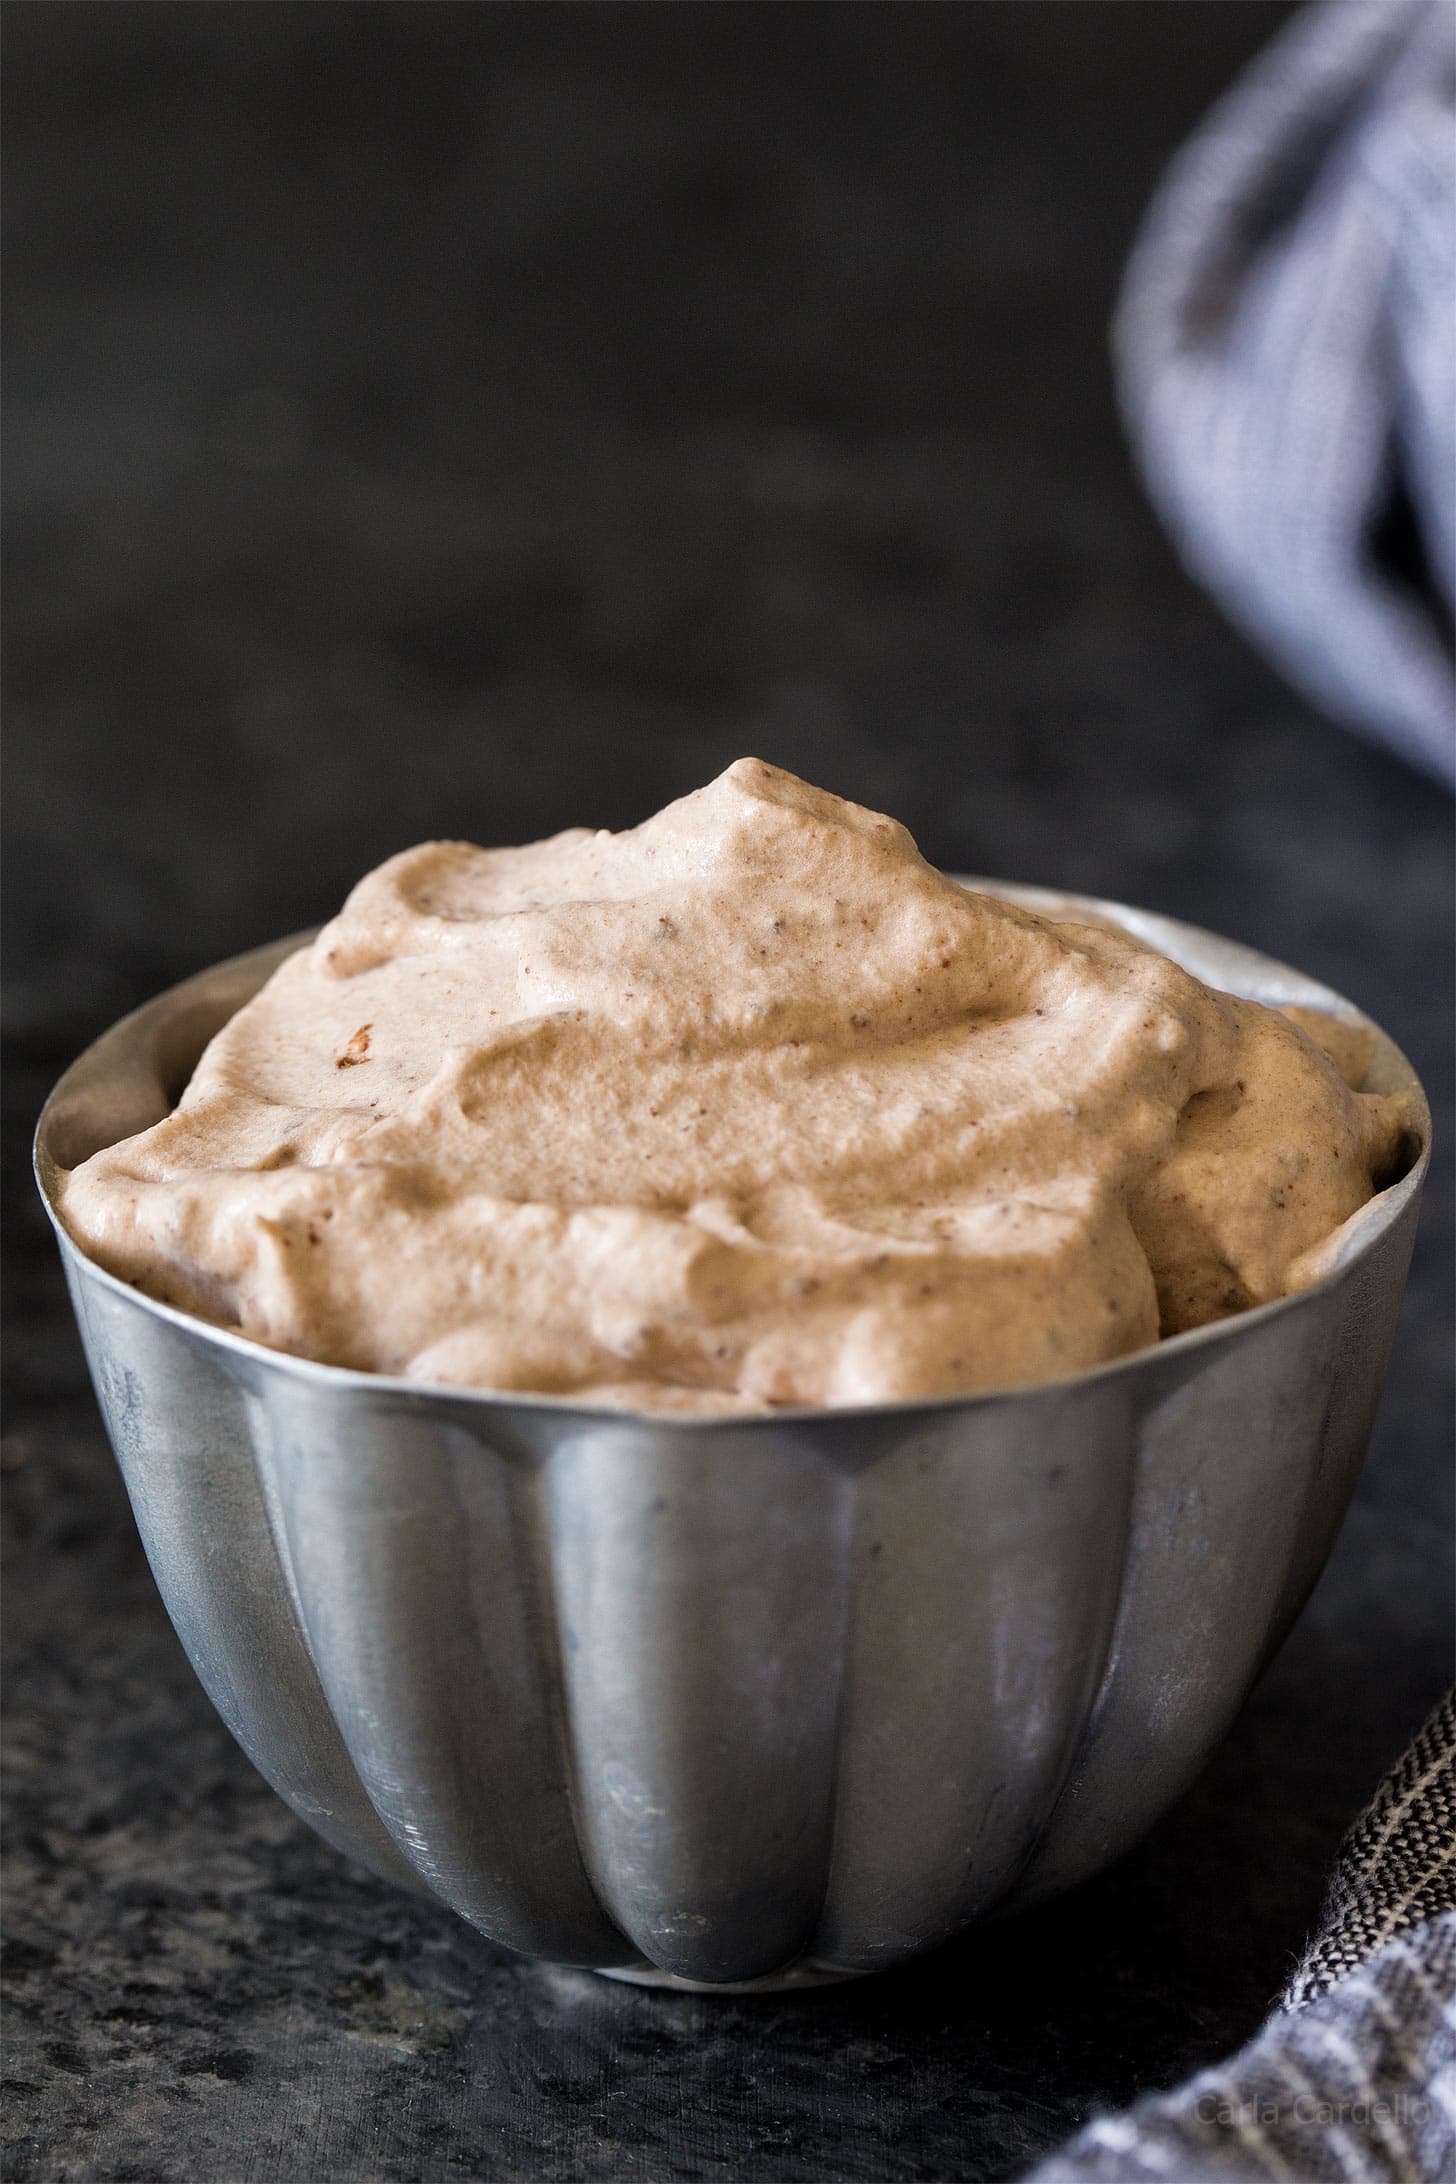
Today I’m bringing you a classy yet simple way to garnish your desserts – Chocolate Whipped Cream!
Previously I posted my Homemade Whipped Cream and Peanut Butter Whipped Cream. Time to end this trio with chocolate.
This chocolate whipped cream recipe is so easy and delicious because you don’t have to melt chocolate.
Add some high quality cocoa powder and voila – another way to add chocolate to your Peanut Butter Hot Chocolate or Instant Pot Cheesecake.
Cocoa whipped cream isn’t too sweet either, which is the perfect companion for sinfully rich desserts such as my Chocolate Peanut Butter Mug Cake where you need something light to cut through all of the decadence.
Since homemade whipped cream isn’t something that lasts more than 1-2 days, I scaled down the recipe and made small batch whipped cream. No more throwing away leftovers.
Not to mention I’ve been making this recipe for chocolate whipped cream way before companies started selling it.
With only 4 ingredients and 5 minutes of whipping time, you’ll never buy whipped chocolate cream again.
Ingredients For Chocolate Whipped Cream
To make homemade chocolate whipped cream, you’ll need these 4 easy ingredients:
- Heavy whipping cream: Make sure it says heavy whipping cream and not just whipping cream (more on that below)
- Cocoa powder: Use a high quality cocoa powder. Since there are such few ingredients, you’ll really taste the quality of what you use.
- Powdered sugar: Both sweetens and thickens the whipping cream
- Vanilla extract: Really brings out the chocolate. If you taste it before and after adding vanilla, you’ll immediately notice the difference.
What is the difference between heavy whipping cream and whipping cream?
When buying cream, make sure the carton says heavy whipping cream instead of whipping cream without the word heavy.
Although both produce airy whipped cream, heavy whipping cream has 36% milk fat, which whips better and holds its shape more.
Whipping cream only has 30% milk fat, so it’s a little lighter and a little more time sensitive. That means it won’t last as long before it deflates.
If you’re serving it right away, especially if it’s going to melt on thick hot chocolate, using either type of cream will work.
However, if you need it to last longer, such as on top of angel food cake, you’ll want to use heavy whipping cream.
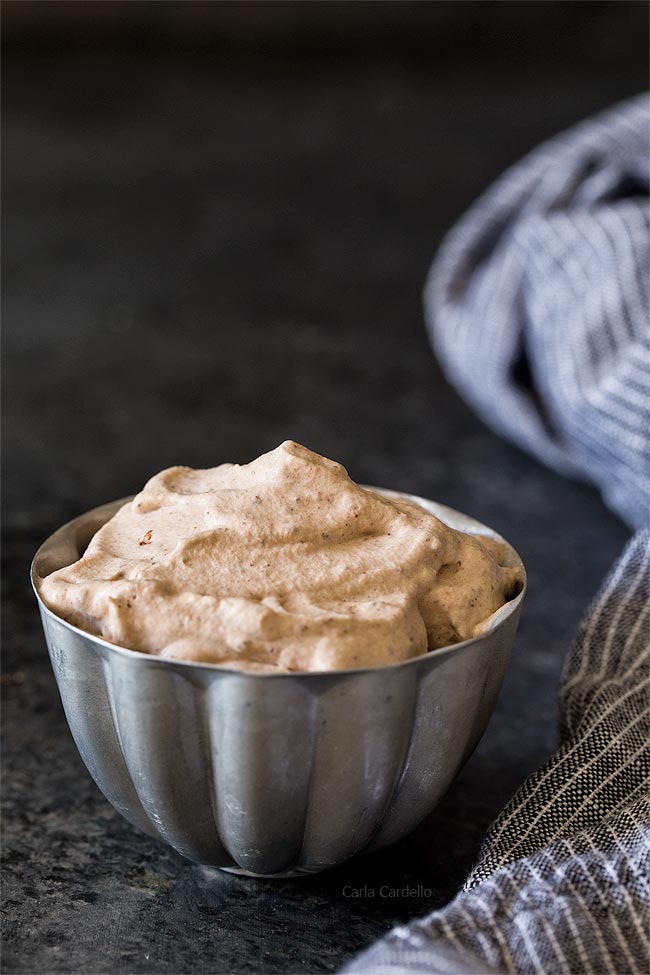
How To Make Chocolate Whipped Cream
Learning how to make cocoa whipped cream is so easy, you’ll wonder why you bother buying canned whipped cream.
It’s much easier (and faster) to keep heavy cream in your fridge and make your own than run to the store.
Always start with cold cream. Which is even better because then you don’t have to wait for it to come to room temperature.
Here’s how to make chocolate whipped cream:
- Beat together heavy cream and cocoa powder on high speed until the cream starts to thicken.
- Gradually add the powdered sugar and vanilla to sweeten up the cream.
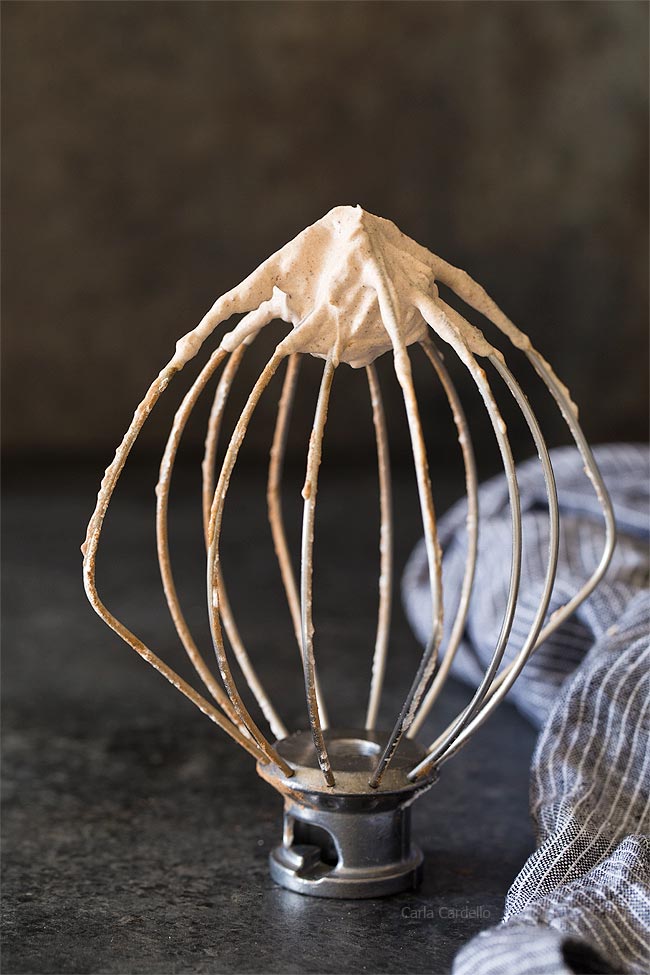
- Beat on high speed until stiff peaks start to form. This means when you pull the beater straight up, peaks will form in the cream and will not fall over.
This takes anywhere from 3-5 minutes, depending on the speed of your mixer (or your arm muscles).
If the tops of the peaks do fall over, that is the soft peak stage, which means you still have a few more minutes of beating left.
Once you reach the stiff peak stage, stop beating. If you go further than that, it’ll get grainy then eventually turn into butter.
If you do find yourself with overbeaten whipped cream, add in another tablespoon or so of cream to help smooth it out.
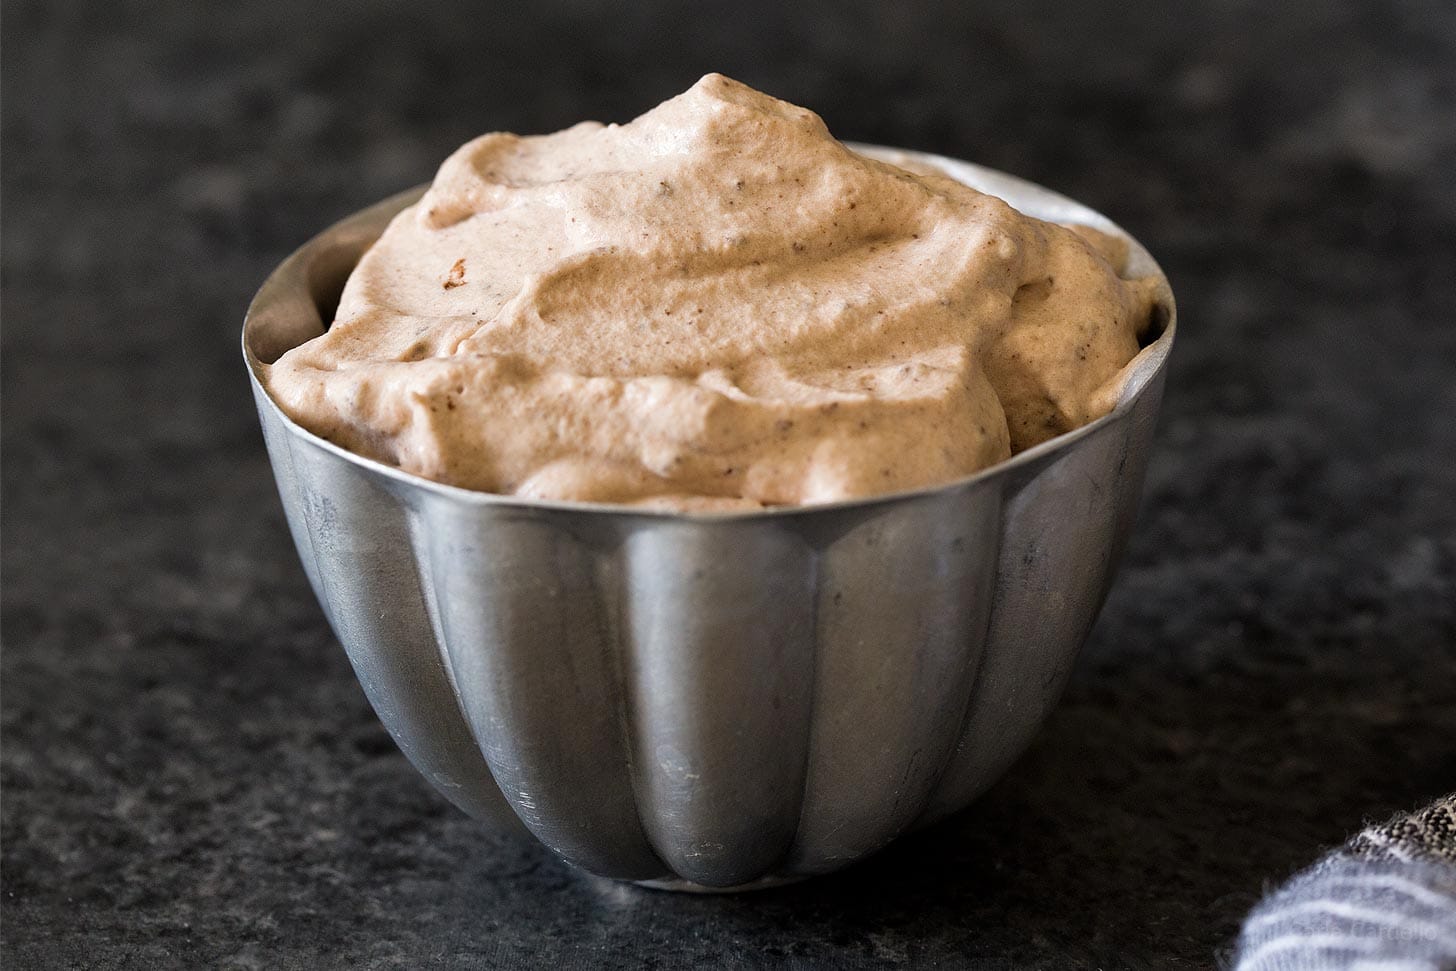
Chocolate Whipped Cream FAQ
Yes, you can make cocoa whipped cream up to 24 hours ahead of time. If it deflates too much, quickly rewhip it in the stand mixer.
Yes, freeze whipped cream for up to 2 months. Portion it onto a cookie sheet (either piped or spooned), freeze until firm, then transfer them to a freezer-safe bag. That way, they’re ready to go for hot chocolate and individual desserts.
Yes! Simply double the ingredients then follow the instructions until stiff peaks form.
Recipes Using Chocolate Whipped Cream
Now that you made whipped chocolate cream, here are some the desserts you can serve with it:
- Peanut Butter Frozen Hot Chocolate
- Small Chocolate Cake
- Chocolate Strawberry Shortcake
- Cheesecake For Two
- Air Fryer Cheesecake
- Brownies For Two
- Peanut Butter Cheesecake
- Chocolate Cheesecake
- Mini Lava Cakes
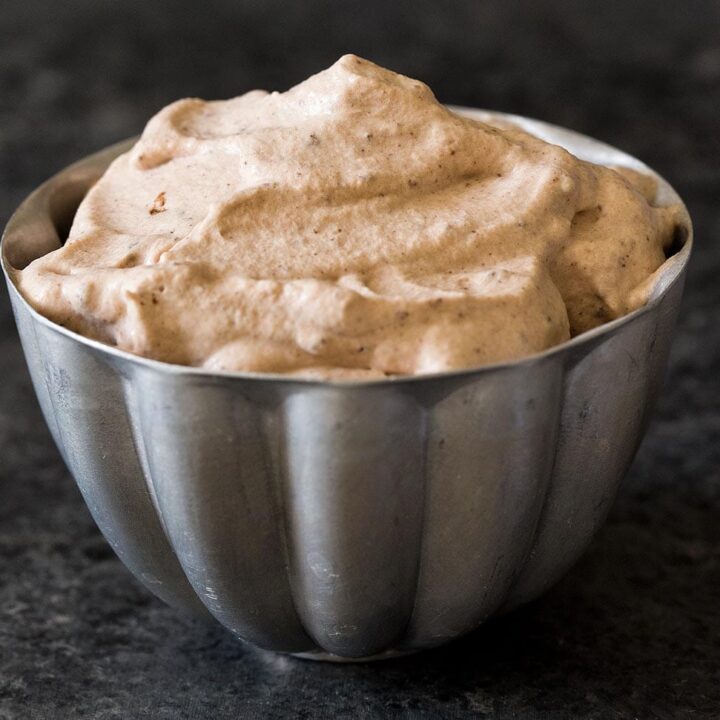
Chocolate Whipped Cream
Dress up your desserts with Chocolate Whipped Cream made from scratch using cocoa powder! 4 ingredients, 5 minutes of whipping time, and no leftovers.
Ingredients
- 1/4 cup heavy whipping cream, cold (make sure it says heavy on the packaging)
- 1 tablespoon unsweetened natural cocoa powder
- 2 tablespoons powdered sugar
- 1/2 teaspoon vanilla extract
Instructions
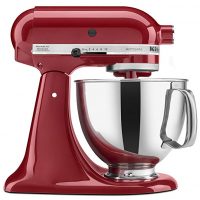
- In a large cold mixing bowl on medium-high speed (with whisk attachment if using a 5 quart stand mixer), beat the heavy cream and cocoa powder until it starts to thicken, about 1 minute.
Because this recipe makes a small batch, you don't want your bowl larger than 5 quart. If needed, use a small bowl with a handheld mixer or double the recipe for a larger bowl. - Gradually beat in the sugar and vanilla then continue beating until stiff peaks form (when you pull the beater up, peaks will form and not fall over), about 3-4 minutes.
- Serve immediately. Store in the refrigerator for up to 2 days. The longer it sits, the more it'll deflate but will still be edible.
Notes
- Additionally you can freeze whipped cream up to 2 months. Portion onto a cookie sheet by either piping or spooning, freeze until firm, then transfer to a freezer-safe bag.
- Enjoyed this recipe? Check out Peanut Butter Whipped Cream and traditional Homemade Whipped Cream.
- Serve your whipped cream with Peanut Butter Hot Chocolate, Thick Hot Chocolate, and Brownies For Two.
Recommended Products
As an Amazon Associate and member of other affiliate programs, I earn from qualifying purchases.
First published March 7, 2019
This post may contain affiliate links. As an Amazon Associate and member of other affiliate programs, I earn from qualifying purchase.


I love making homemade whipped cream and this chocolate version is so smart.
But girl. I made whipped cream with just a whisk once (I was babysitting in NY) and it about killed me: not. worth.it lol.
Ha only if you need to build your arm muscles. Who needs a gym :P
Bravo! I needed a wisp of chocolate with a sugar cookie and BOOM!
Delicious!
Perfect amount!
I am now sorry I know this recipe because it is perfect bite of luscious!
Happy to hear you enjoyed the recipe!
Can you use an immersion blender for these small batches?
Great question! I don’t own an immersion blender to test it but looks like sources via Google say yes. If you try it, let me know how it works out!
I have always used my hand mixer, works perfect.
Can I double this?
Yes
What a spectacular waste of bandwidth and blog read for something merely a vehicle for annoying ad pop ups that pay you pittance for hosting them.
Pay me pittance? Oh Jeff, my ads probably pay more than your job does. I’m earning more here than my last salaried job. And the ads are a fair trade for giving you FREE recipes, especially since I’m the one spending money on groceries and time in the kitchen to ensure these recipes work for you. I’d be happy to sign you up for a paid subscription and email you ad-free recipes.
Jeff you total passive aggressive knob cheese! I made this recipe and it was so great I came back and made it again and I didn’t see a single ad! Thanks for the recipe Carla it’s great on a chocolate trifle x
Glad you enjoyed the recipe! The trifle sounds like the perfect recipe for it.
👏👏👏👏👏👏👏👏👏👏👏
Thanks for putting that guy in his place. I couldn’t get past seeing red.