Mini Cherry Pies
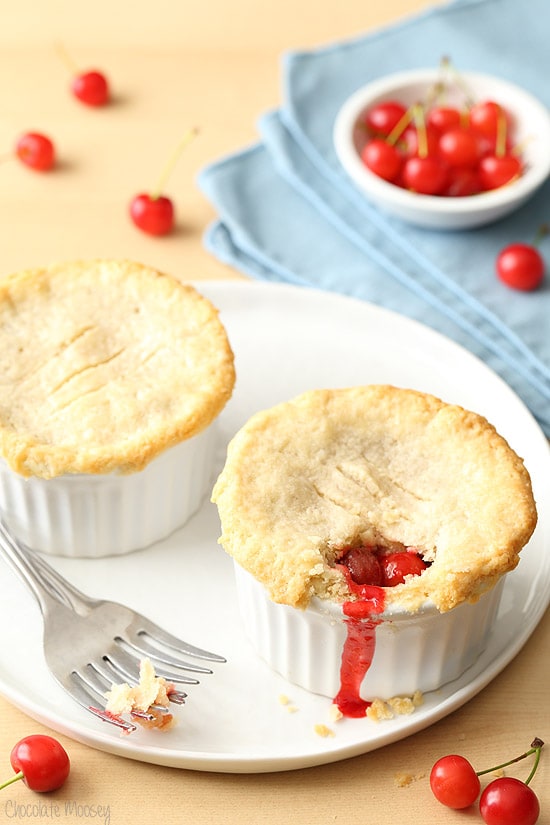
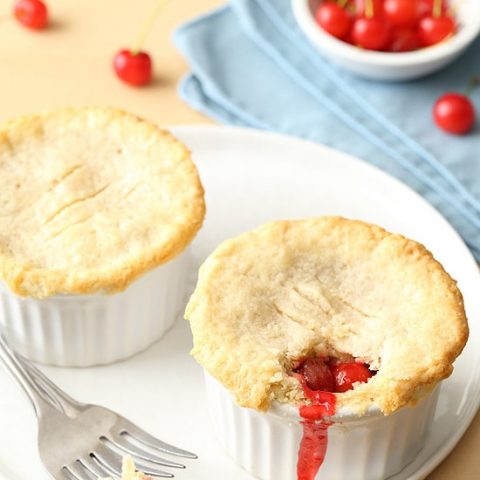
Do not let summer pass you by without making Mini Cherry Pies! They’re individual cherry pies for two in ramekins with a homemade pie crust and cherry pie filling.
Every summer I say I’m going to go cherry picking.
Every summer I try not to miss it because the window is so small, if you’re busy the week they are ripe you miss it.
One summer I was moving back to Pittsburgh so I missed it. The year before that I was traveling and missed it.
The year before that, I picked cherries but my dad couldn’t be there.
One year cherry picking season was earlier than usual, and if it wasn’t for my dad checking out the farm’s Facebook page, I probably would’ve missed it again.
Of course it was raining all day when we went but knowing it was probably our only chance, we put on our jackets and picked in the rain.
Picking cherries is a totally different experience than picking strawberries or apples. They placed ladders next to each cherry tree so you can reach the top.
Then they provided buckets for you to use then return (as most places either give you cardboard boxes to keep or ask to bring your own container).
We ended up with about 4 pounds of tart cherries, ready to be turned into homemade cherry pie.
Tart cherries, known as sour cherries, taste exactly what their name says – they are sour and not ideal for snacking.
However, they are absolutely perfect for Mini Cherry Pies. When you think of cherry pie filling, they’re usually made with tart cherries.
Once combined with a little bit of sugar and enclosed in a buttery, flakey double pie crust, they turn into the best cherry pie recipe you’ve ever eaten.
But as much as I want to eat a whole pie, it’s best I didn’t.
That’s why I scaled down my sour cherry pie recipe into Mini Cherry Pies so you can still have the best cherry pie recipe with portion control.
They’re individual cherry pies in ramekins with a double pie crust and cherry pie filling.
Eat one now, share the other with someone you love. Or eat one now, eat one later.
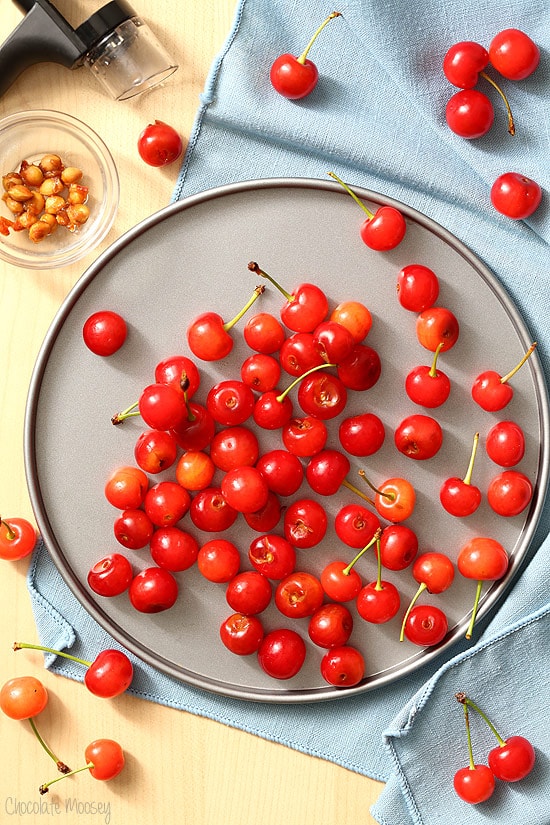
Ingredients For Mini Cherry Pies
To make this recipe for mini cherry pies, gather up the following ingredients:
- All-purpose flour: Makes a tender crust with its gluten as well as helps keep the dough from getting too sticky.
- Sugar: Sweetens the pie crust as well as helps it brown in the oven.
- Salt: Makes your crust taste even better since it’s a flavor enhancer, especially if you’re using unsalted butter.
- Cold butter: Butter adds the most flavor and melt-in-your-mouth quality, although it doesn’t make the most tender dough.
- Cold shortening: Adding shortening with your butter makes the most tender, flaky crust. Using both fats ensures it’s both flavorful and flaky. You can buy sticks of shortening that are easy to cut into tablespoons, like a stick of butter. I usually store mine in the freezer to ensure it’s extra cold for pie crust.
- Cold water: Creates steam in the dough for flakiness as well as binds the crust together to form the dough.
- Cherry pie filling: I highly recommend making homemade pie filling, but you can also use canned if needed.
If you want step by step photos of how to make the pie dough, check out my Small Pie Crust recipe.
Where To Find Sour Cherries
As mentioned, we have local cherry farms in PA.
Usually you can pick your own cherries or buy already-picked from the farm. You may need to call around if you’re not sure where.
Can you make cherry mini pie with sweet cherries?
Since tart cherries can be hard to find with such a short harvesting window, yes you can substitute sweet cherries for sour cherries.
As the name implies, sour cherries are very tart, so I didn’t add any lemon juice to the filling.
However, if you substitute sweet cherries, you want to add about a tablespoon of lemon juice. This helps balance the sweetness in the filling.
You can also use other fruits, such as blueberry pie filling, peach pie filling, or apple pie filling to make mini apple pies.
Best Way To Pit Cherries
If you’re new to baking with cherries, tart cherries have pits you need to remove first.
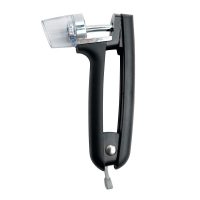
I’m not too keen on buying kitchen tools that only serve one purpose, but I do recommend buying a cherry pitter (which doubles as an olive pitter) if you’re going to pit more than 1 cup of cherries.
I bought my OXO cherry pitter when I worked at Target (one of the perks – or downfalls? – of working there).
How To Pit Cherries Without A Cherry Pitter
If you don’t have a cherry pitter, you can pit cherries with tools you already have:
- Use a pastry tip by placing it tip-side up then push the cherry firmly onto it until the pit comes out.
- Use a chopstick or straw. Insert into the stem side and pop out the pit. If the pit isn’t completely centered, you may have to dig for a bit.
Make sure you’re wearing an apron because it will get messy.
How To Make Mini Cherry Pies
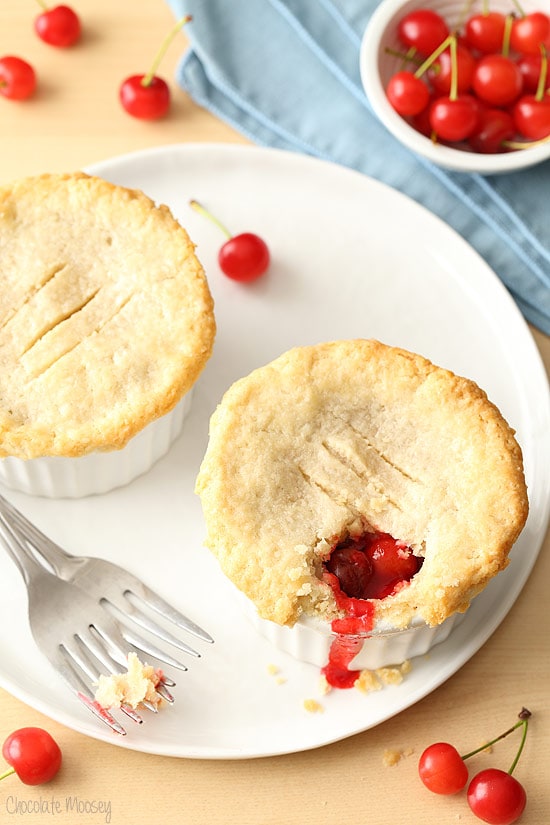
Now that your double pie crust and cherry pie filling are ready to go, it’s time to assemble your mini cherry pie.
You’ll need two 6-ounce ramekins (affiliate link).
Roll out one piece of pie dough into a circle a bit bigger than your ramekin. Line the bottom and sides of the ramekin with the crust, patching it together if necessary. Then fill with half of the pie filling.
Take another pie dough piece and roll into a circle just big enough to cover the top. Place it on top and seal the edges. Cut a few slits in the top to let steam escape.
Repeat this process with your second ramekin. You should now have two individual cherry pies.
Place both ramekins onto a cookie sheet. This will help catch any spills as well as make it easier to transfer in and out of the oven.
Bake your mini cherry pie at 350F for 35-40 minutes or until golden brown and bubbly. Cool at least 15 minutes (so you don’t burn your tongue) then serve with this vanilla bean ice cream or homemade whipped cream.
How To Freeze Cherry Pie
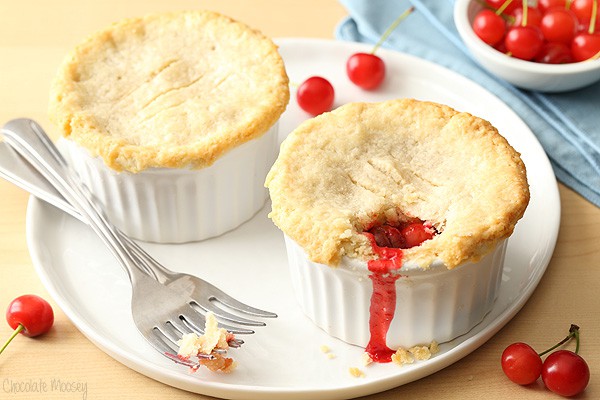
Whether you’re saving your small cherry pie for the future or getting ahead start on your cherry pie baking, you can freeze mini cherry pies using one of two ways:
- Before Baking: Fully assemble both of your cherry pies then wrap each one in plastic wrap, stick in a freezer bag, and freeze for up to 6 months.
- After Baking: Let your cherry pie for two cool completely then wrap in plastic wrap, place in a freezer bag, and freeze for up to 6 months.
How To Bake Frozen Cherry Pie
Once you’re ready to bake your frozen cherry pie, let it thaw overnight in the refrigerator. Let them sit out at room temperature while you preheat the oven then bake as directly.
You may need an extra 10-15 minutes if they’re cold when you put them in. Just make sure your pies are golden brown and bubbly.
More Easy Cherry Pie Recipes
Enjoyed your mini cherry pie? Here are more Cherry Pie Filling Desserts:
Want more small desserts? Check out my full list of Ramekin Dessert Recipes.
Mini Cherry Pies
Do not let summer pass you by without making Mini Cherry Pies! They’re individual cherry pies for two in ramekins with a homemade pie crust and cherry pie filling.
Ingredients
- 1 cup all-purpose flour
- 1 tablespoon granulated sugar
- 1/2 teaspoon salt
- 3 tablespoons unsalted butter, cold and cut into 3 pieces (frozen is best)
- 3 tablespoons vegetable shortening, cold and cut into 3 pieces (frozen is best)
- 2 tablespoons cold water
- 2 cups cherry pie filling (homemade or canned)
Instructions
- In the bowl of a large food processor, add the flour, sugar, and salt. Pulse 1 time to combine.
To make by hand, add to a large mixing bowl. - Add the cold butter and cold shortening. Pulse until cut into the flour, looking like small pebbles.
If making by hand, cut the fat by hand with a pastry blender or 2 knives. - Add the water and pulse until a dough forms. If it seems crumbly, pulse for 1 more minute.
If it's still not coming together, you can add a teaspoon of water but don't add too much water or your crust will puff up too much.
If making by hand, stir in the water with a spoon. - Divide the dough into four even pieces and flatten each piece into an evenly round disk. Wrap in plastic wrap and refrigerate at least 1 hour or until cold.
- Preheat oven to 350F. Have two six-ounce ramekins and a cookie sheet ready.
- Take one dough piece out of the refrigerator. On a lightly floured surface, roll it into a circle slightly bigger than your ramekin. Line the bottom and sides of the ramekin with the crust, patching it together if necessary. Fill the crust with 1 cup pie filling.
- Take another dough piece and roll into a circle just big enough to cover the top. Place it on top and seal the edges. Cut a few slits in the top to let steam escape.
- Repeat with the remaining pie dough and filling.
- Place each ramekin on the cookie sheet and bake 35-40 minutes or until the top is golden brown. Cool for 15 minutes.
Serve warm with vanilla bean ice cream or cool to room temperature.
Notes
- Want a larger pie? Make my Cherry Crumble Pie.
- Got leftover pie filling? Check out my 10+ Cherry Pie Filling Desserts.
- Enjoyed this recipe? Check out my Mini Apple Pies and Chicken Pot Pie For Two.
Recommended Products
As an Amazon Associate and member of other affiliate programs, I earn from qualifying purchases.
This post may contain affiliate links. As an Amazon Associate and member of other affiliate programs, I earn from qualifying purchase.


Dear Carla, these deep dish individual pies sound perfect. I absolutely love them…I have to give this a try soon. xo, Catherine
I’ve never been to this site before but popped over via Google after an absolute MADDENING pregnancy related pie craving and HOLY GOODNESS, this was absolutely perfect!!!! Like I’m happy I made a single serving of it, you know, for propriety purposes, but I’m simultaneously pissed that I haven’t a whole pie to eat by lovely prego self.
THANK YOU!!!!! I had no cherries, but used a frozen berry blend and it was still miraculous, it practically sang its own praises out of the oven into my face. SERIOUSLY. I am going to fantasize about this pie. Who am I kidding, I’ll probably make it for breakfast tomorrow.
I’m glad my recipe was able to help in your time of craving pie! The recipe works great with almost any fruit filling.
Could you use that Pillsbury sugar cookie dough instead of making pie crust? Would that work?
I don’t work with Pillsbury sugar cookie dough, but if I had to guess I would say no. At least not for the bottom crust because cookie dough has a leavening agent in it while pie crust does not, making the cookie dough puff up. However, I think you would be ok covering the top with a cookie, kinda like a mini cobbler.
Hello fellow Pittsburgher, would this work for peaches? The Peach Truck comes to Pittsburgh this week!
I think peaches would be perfect!
Love your recipes❤️ Thank you, again, for never ceasing to please!
Happy you’re enjoying them!