Chocolate Chip Cut Out Cookies
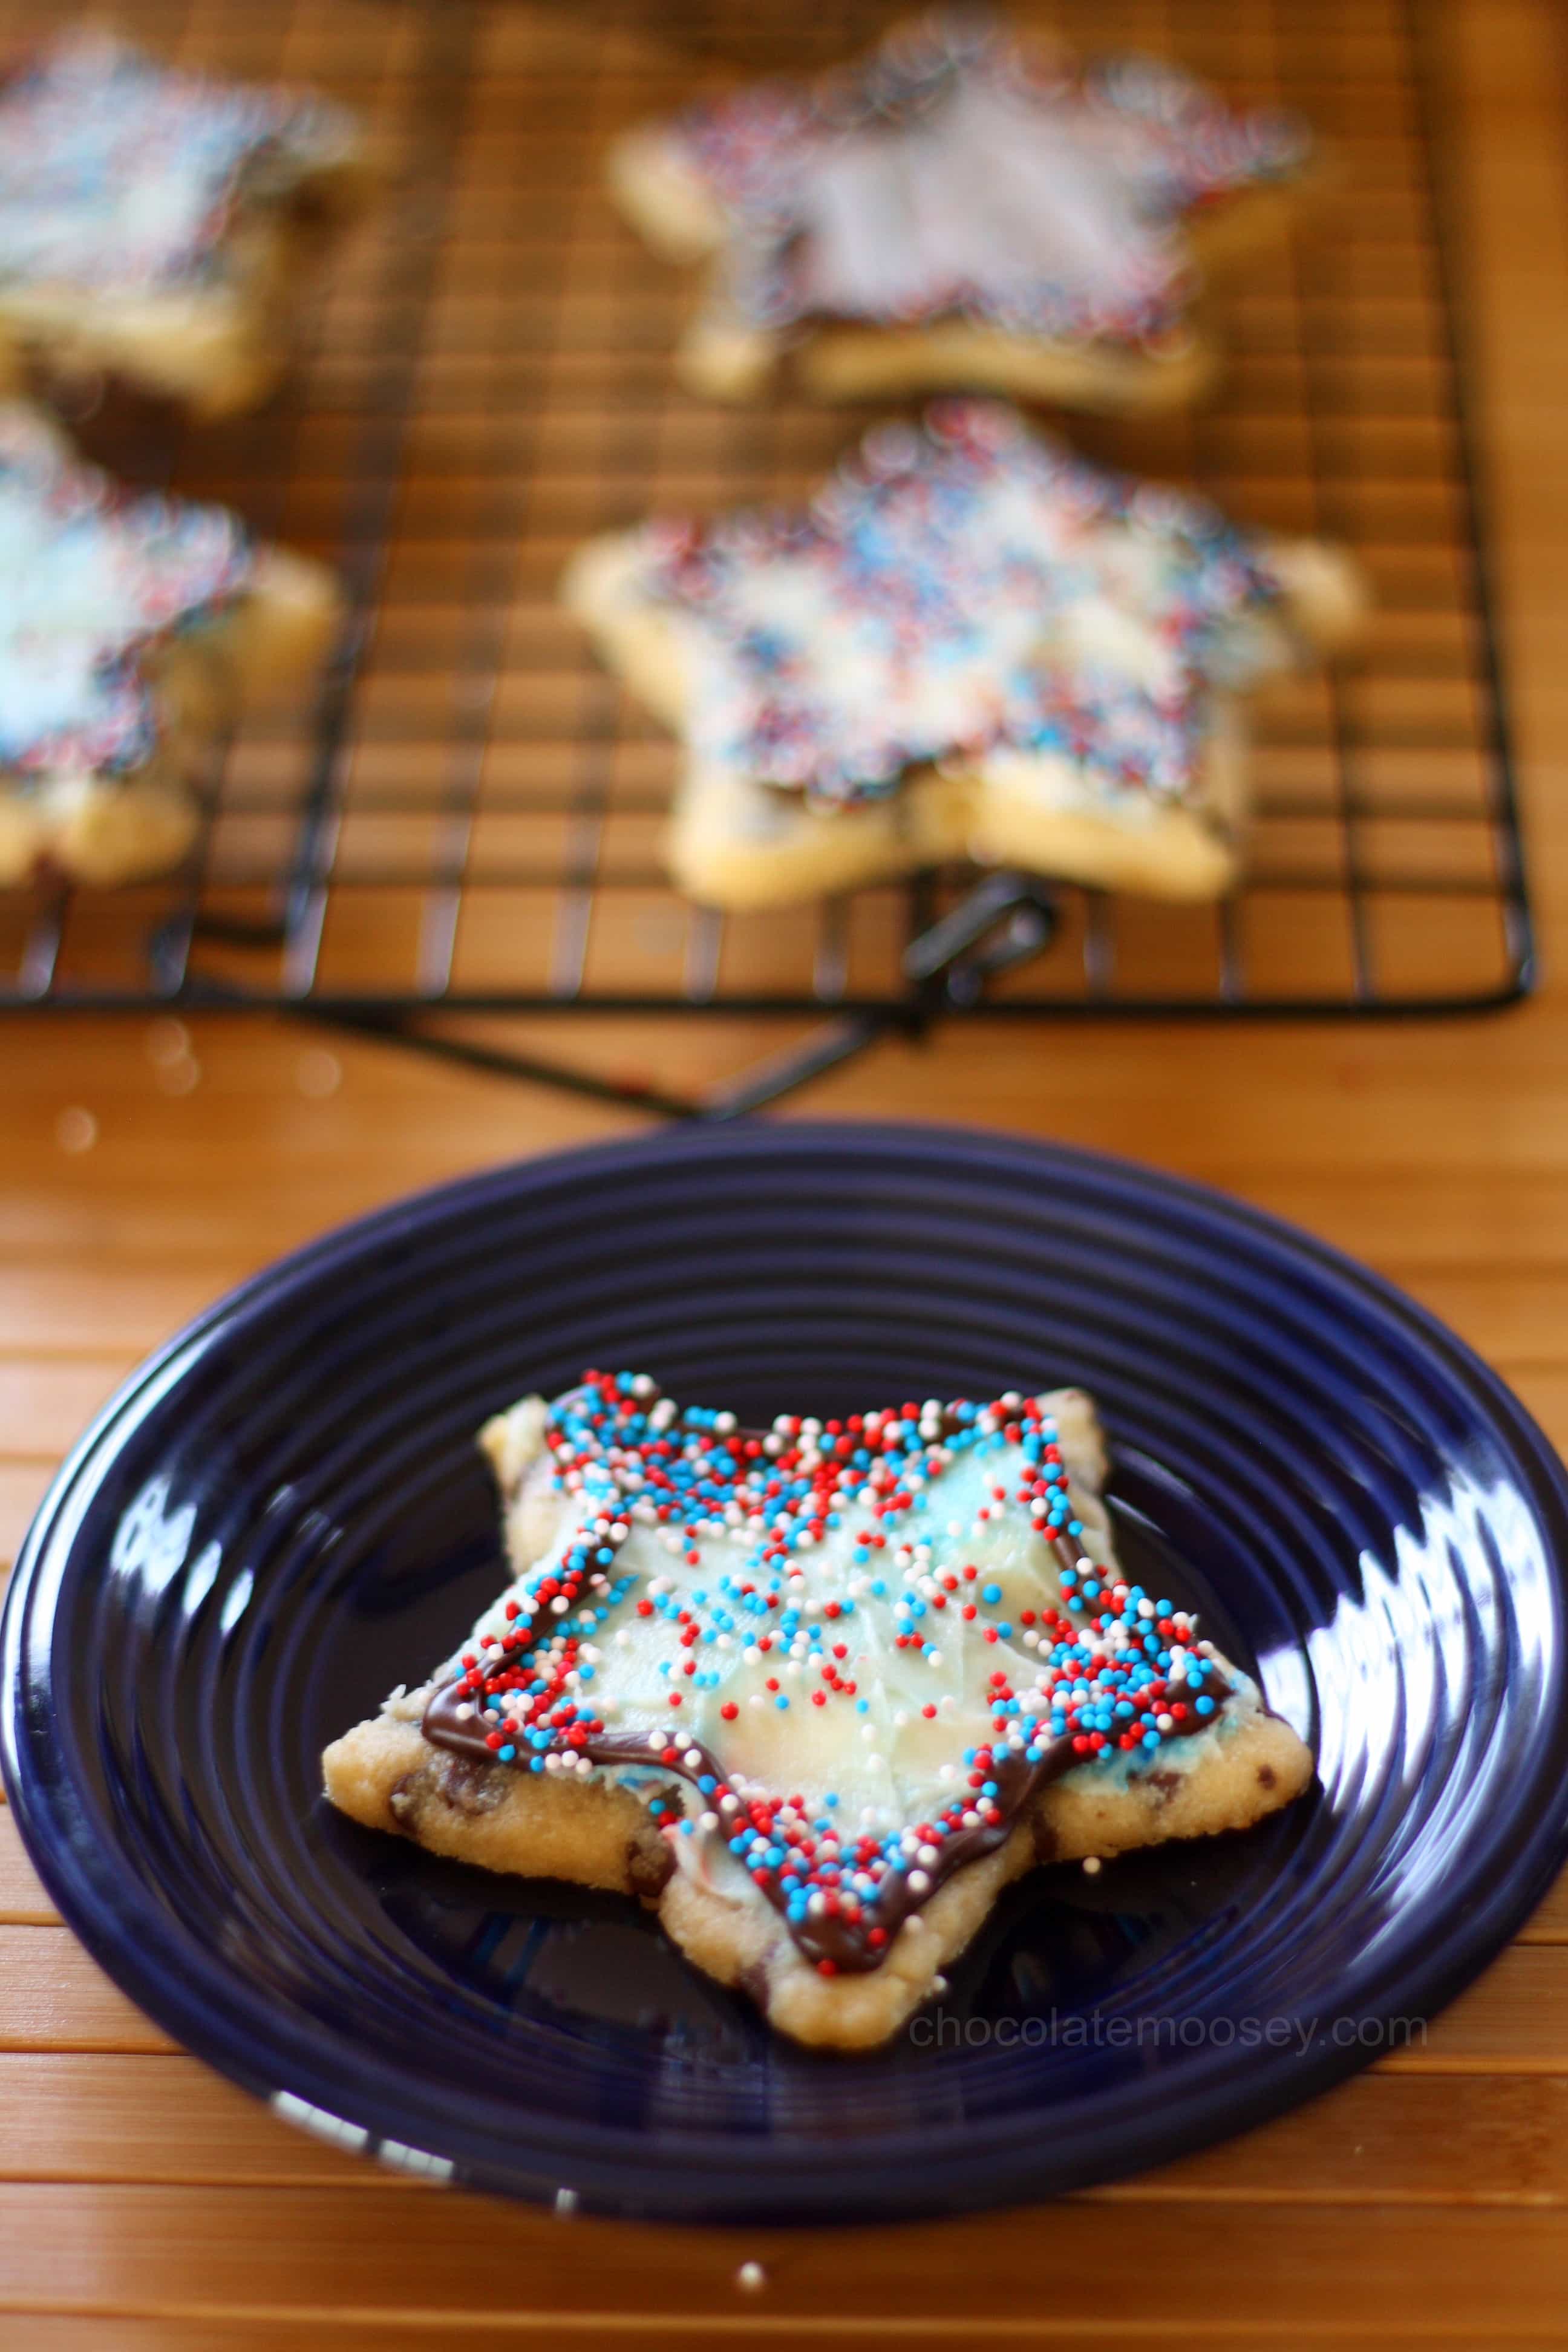
Chocolate Chip Cut Out Cookies are a fun twist to making chocolate chip cookies with cookie cutters. Roll out the dough into shapes then eat them as is or decorate with vanilla buttercream & sprinkles.
One – I’m not good at thinking on the spot and two – there is so much good food out there, how can you possibly answer with a favorite?!
However, if you’d ask me what my favorite cookie is, I’d immediate answer small batch chocolate chip cookies.
Funny because I’m usually attracted to fun flavors, not boring classics. I may not want a plain vanilla cupcake or basic chocolate ice cream, but don’t mess with my chocolate chip cookie.
Sometimes I get lazy and make my chocolate chip cookie bars baked in a loaf pan, chocolate chip snowball cookies, or even my chocolate chip cheese ball.
Other times I go all out and make these Chocolate Chip Cut Out Cookies.
It’s not often I use a cookie cutter. I actually have a good collection of cookie cutters, including several dinosaur ones, but I normally don’t have the patience or skill for decorated cookies.
However, I love chocolate chip so much I can make an exception.
And yes, you CAN cut out chocolate chip cookies with this easy recipe! The dough is different than your classic chocolate chip cookie because it’s designed to be rolled out rather than scooped.
There is no baking soda or baking powder so the cookies won’t rise. They’ll stay nice and flat for your shapes.
They are still susceptible to spreading, but I’m sharing a few tips on how to prevent cut out cookies from spreading.
How many cookies does this recipe make?
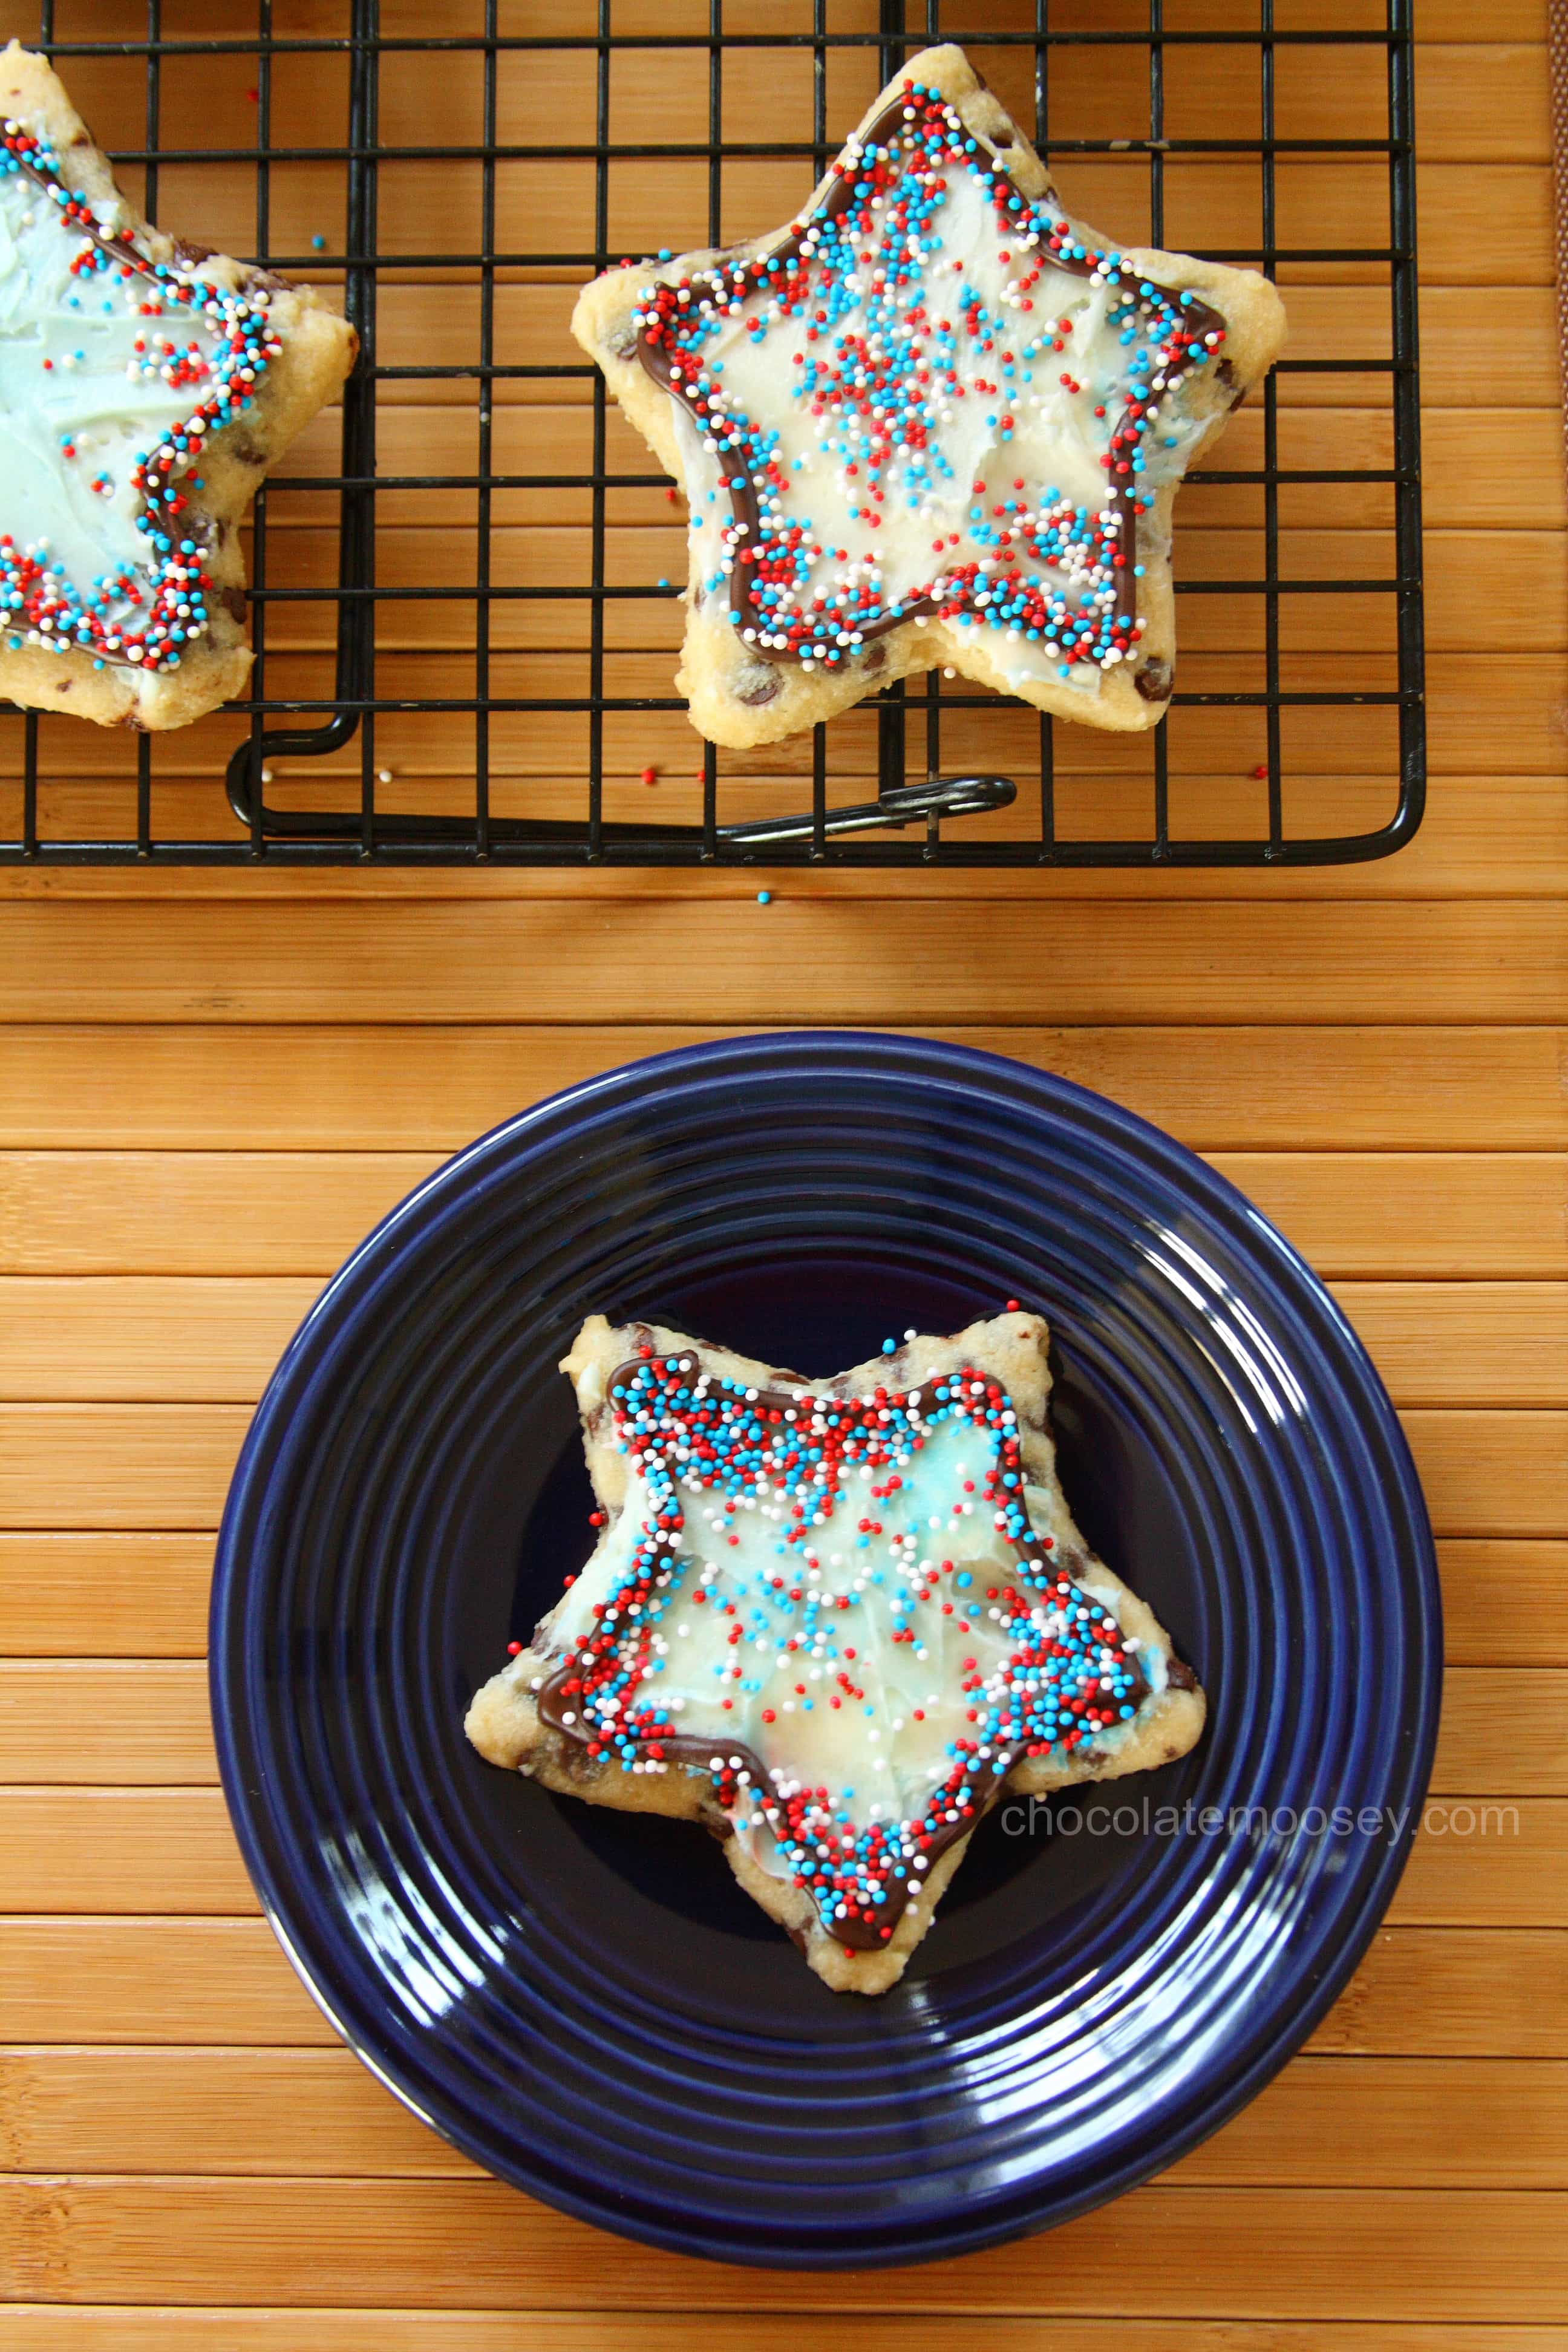
It’s hard to give an exact yield for cut out cookies due to the size of your cookie cutters, but I got about 12 large cookies.
Different sizes also means different baking times. Smaller cookies are done around 9 minutes while the larger cookies are done around 11 minutes.
Check your cookies at 9 minutes then remove any that are done baking while you finish the rest.
How do you roll out cookie dough without sticking?
Nothing is more frustrating than having your cookie dough stick to everything before you can bake them. I can’t tell you how many times I’ve wanted to cry over this.
The key to keep the dough from sticking is making sure it doesn’t get warm. One trick is to roll out the dough between two sheets of plastic wrap before you chill it.
First: it’s much easier to roll out room temperature dough than cold dough. If you’re rolling out cold dough, you have to wait for the dough to warm up. Warm dough = unhappy baker.
Second: Pre-rolling the dough means less time working with the dough.
The more time you spend on the dough, the more likely it’ll get warm and stick to everything. You’re working against the clock, so the faster you can cut out cookies, the better.
If your dough is ready to cut straight from the fridge, you’ll waste no time cutting out your cookies with ease.
How do you keep chocolate chip cut out cookies from spreading in the oven?
Ever cut out beautifully shaped cookies, only to have them turn into blobs after baking? That’s because they spread too much when baking, losing their distinctive shapes.
The key to keep your chocolate chip cookies from spreading is keeping the dough cold (notice the theme here?).
I highly recommend popping them into your freezer while your oven preheats, about 15-20 minutes.
By the time your oven is ready, they should be cold enough to prevent spreading.
How To Freeze Chocolate Chip Cookie Dough
My cut out chocolate chip cookie recipe isn’t quite a small batch recipe as it makes 12 large cookies or a lot more smaller ones, but luckily you can freeze the dough.
There are two ways you can freeze the cookie dough:
- Once you roll out the dough to 1/4 inch thick, wrap it in plastic wrap then stick into a freezer bag. This method is useful for when you don’t have time to cut or don’t know what shape you want yet.
- Cut out your shapes then freeze individually on a plastic wrap-lined tray for 1 hour or until firm. Once the shapes are firm, transfer them to a freezer bag and seal. This method is useful for when you want to grab and bake later without doing extra work.
When wrapped properly, cookie dough can be frozen for up to 9-12 months.
How To Decorate Chocolate Chip Cookies
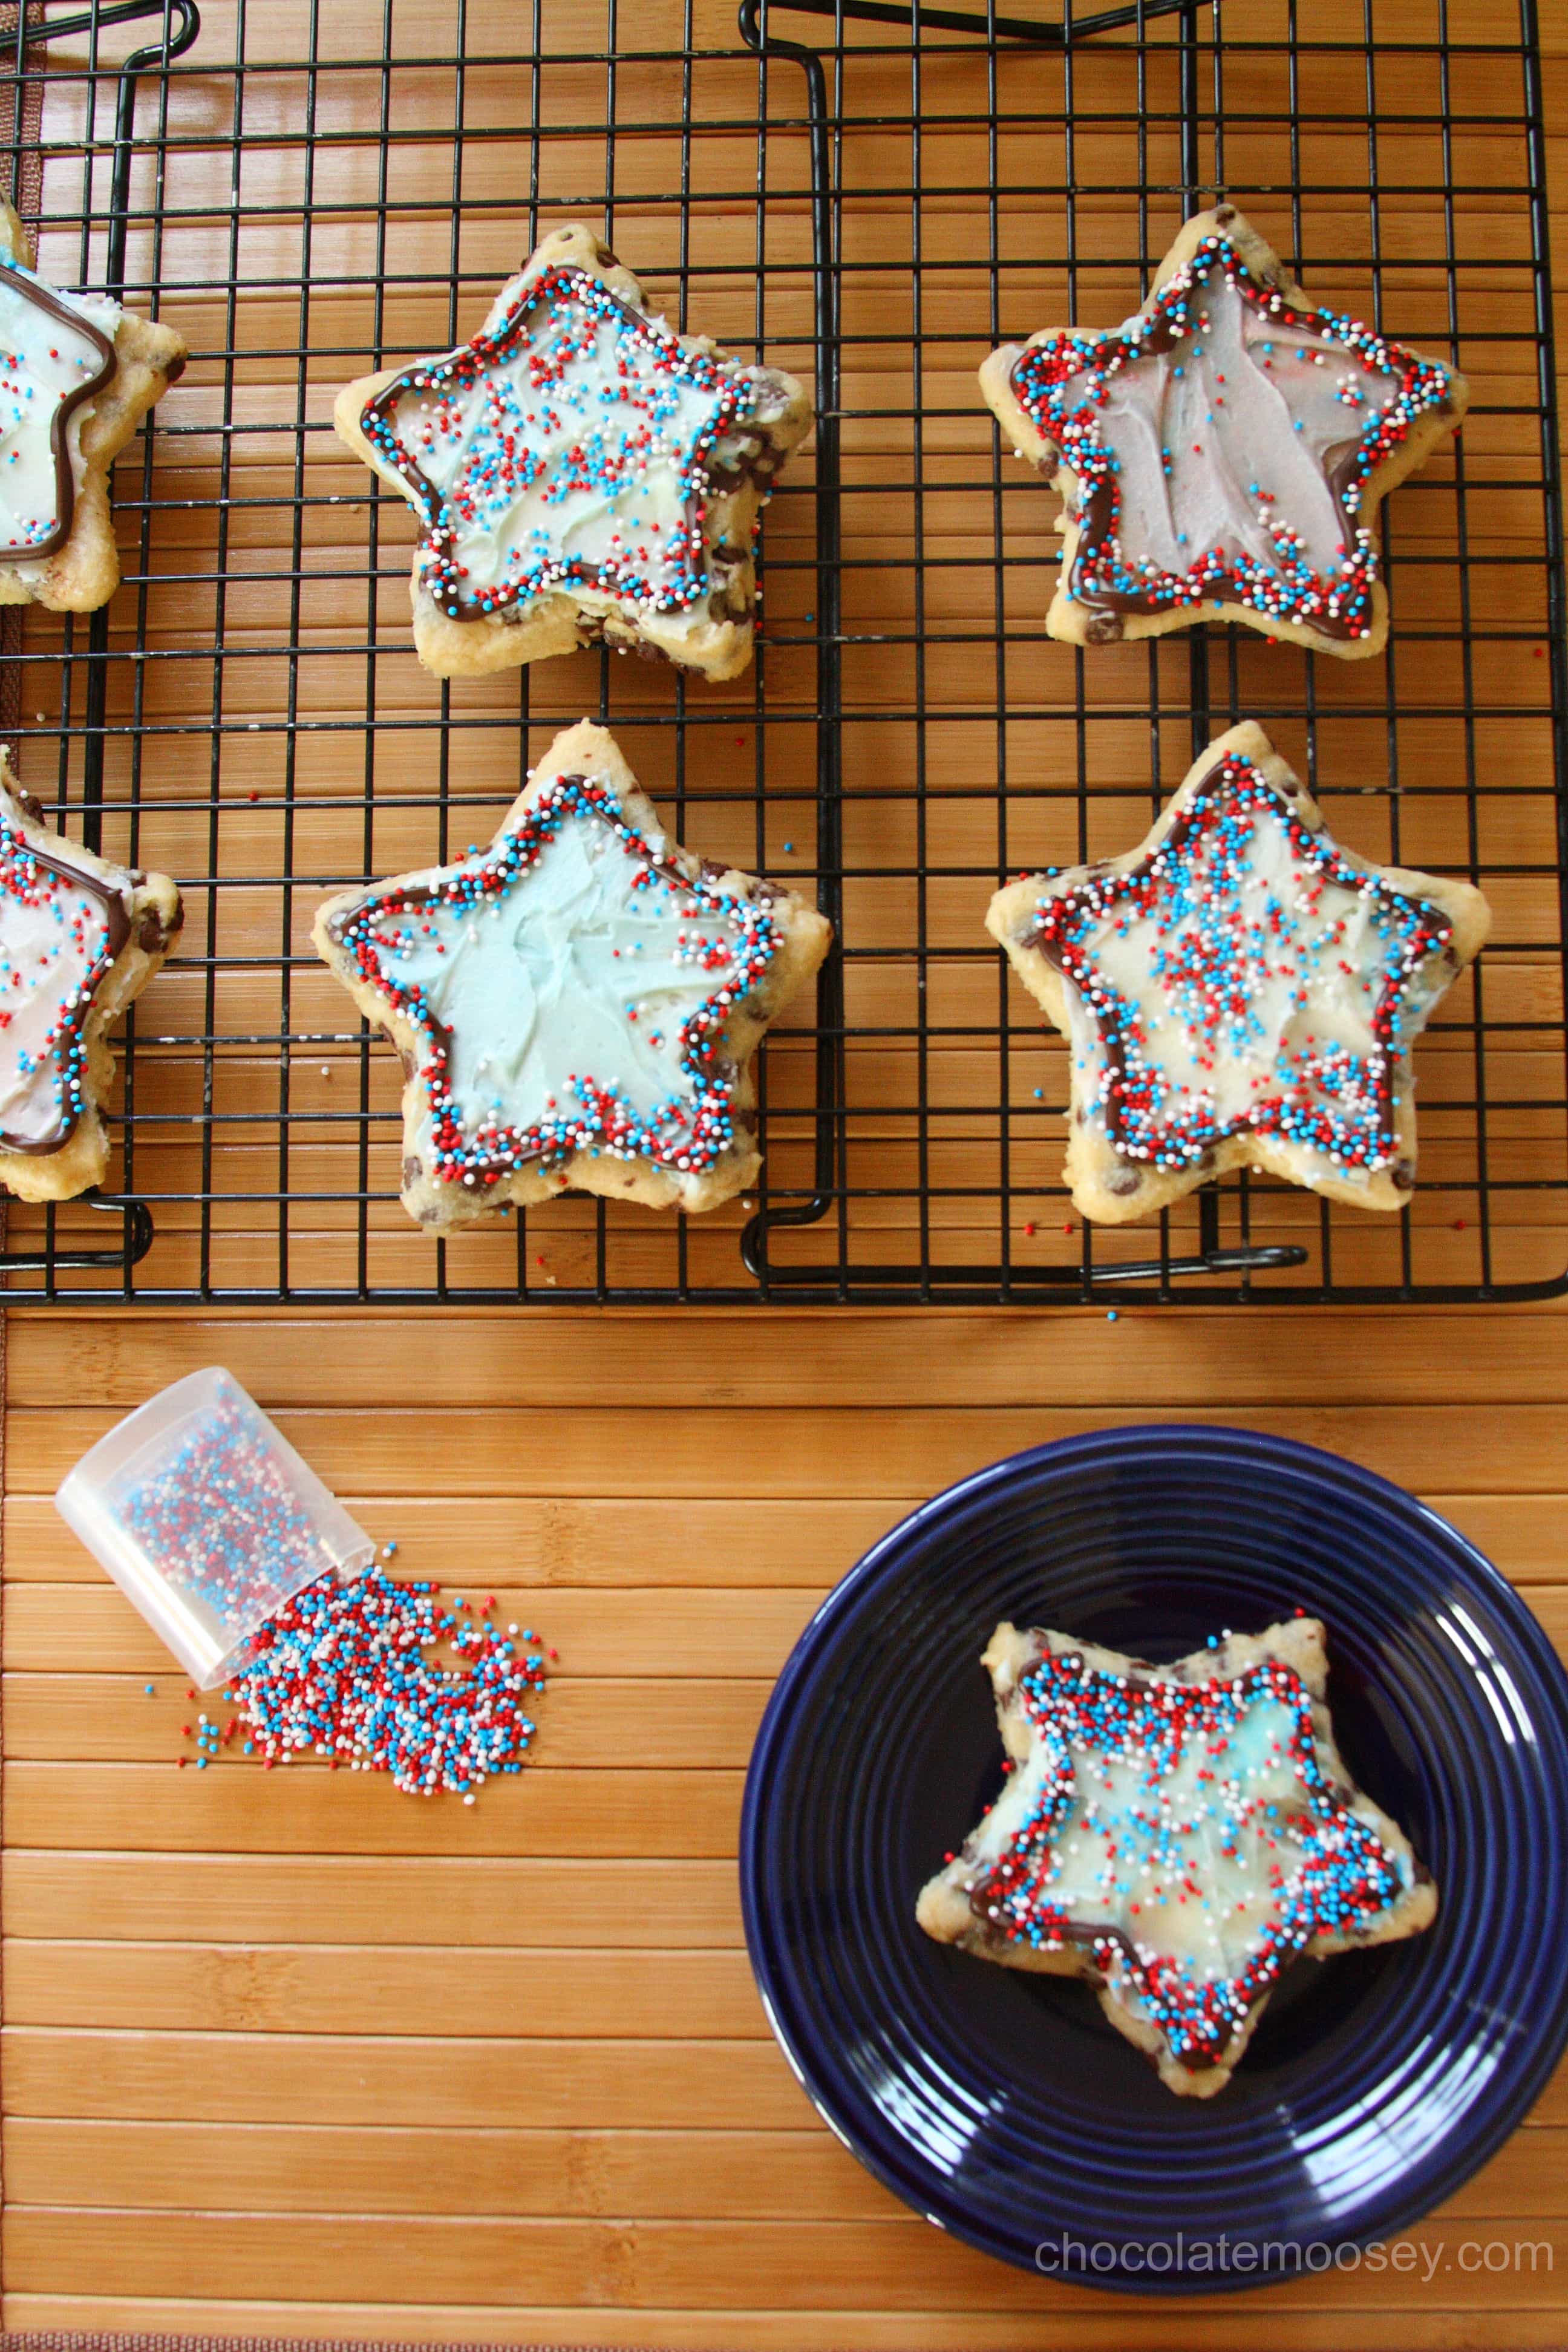
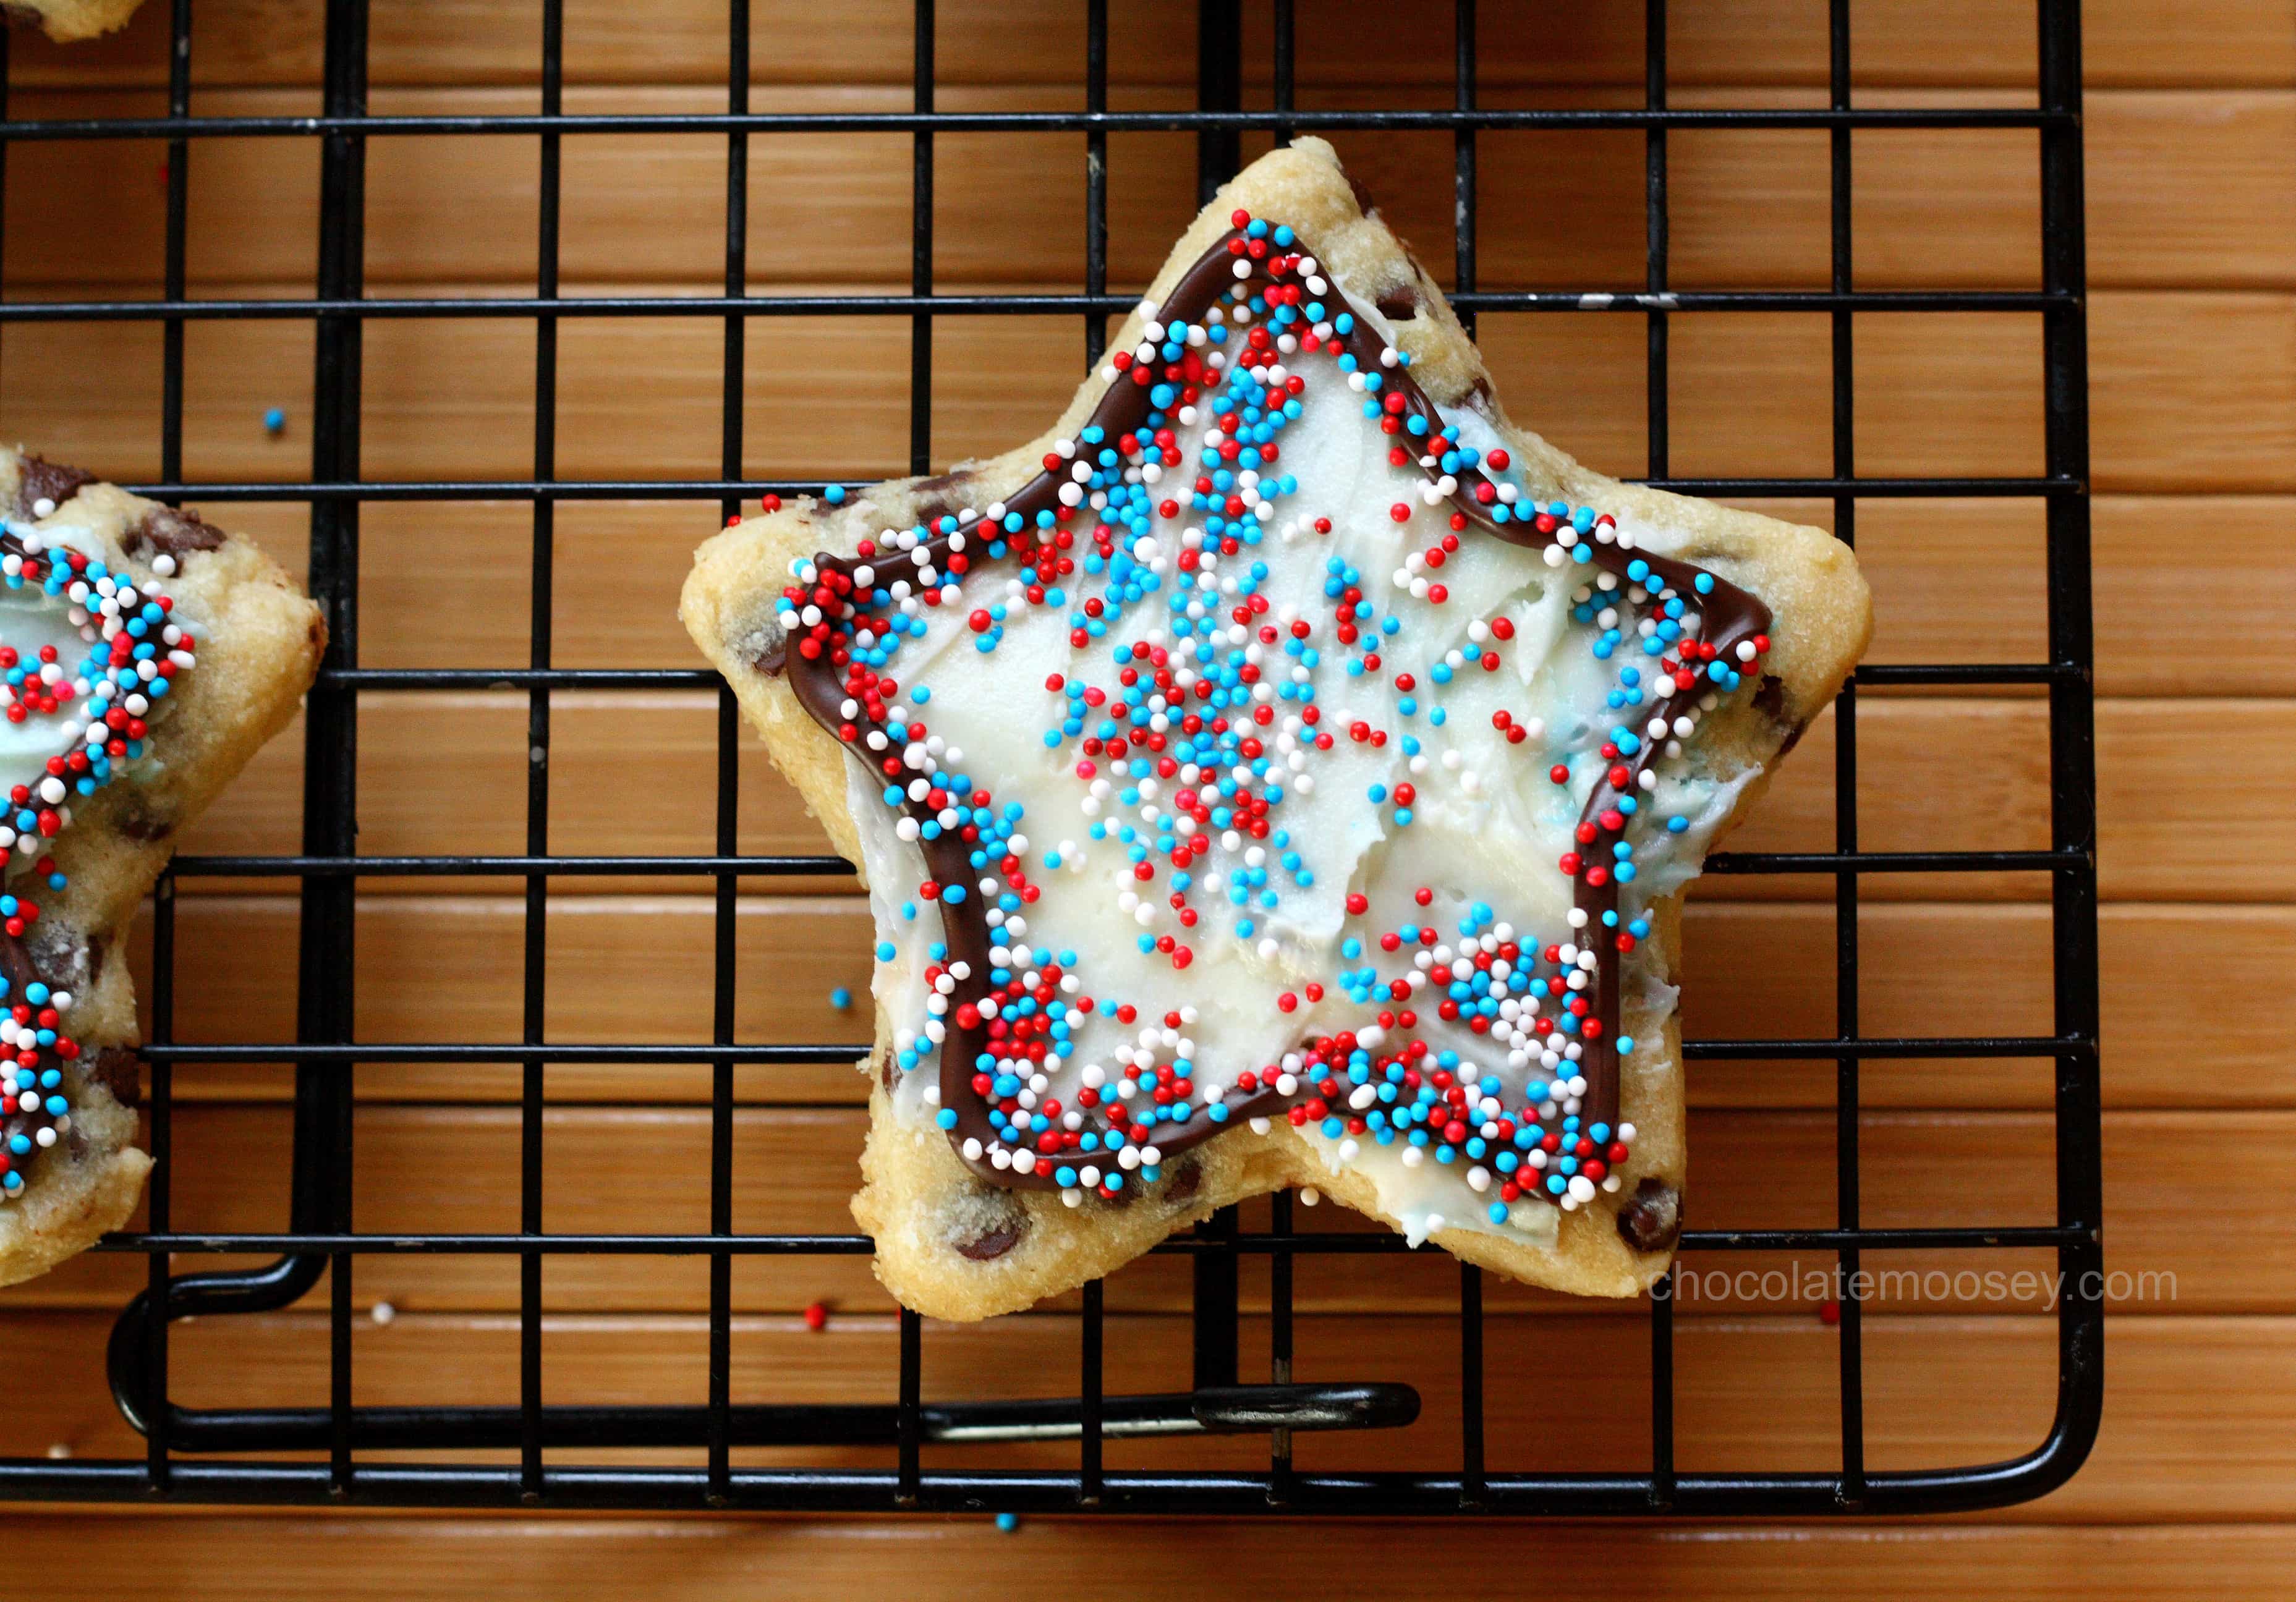
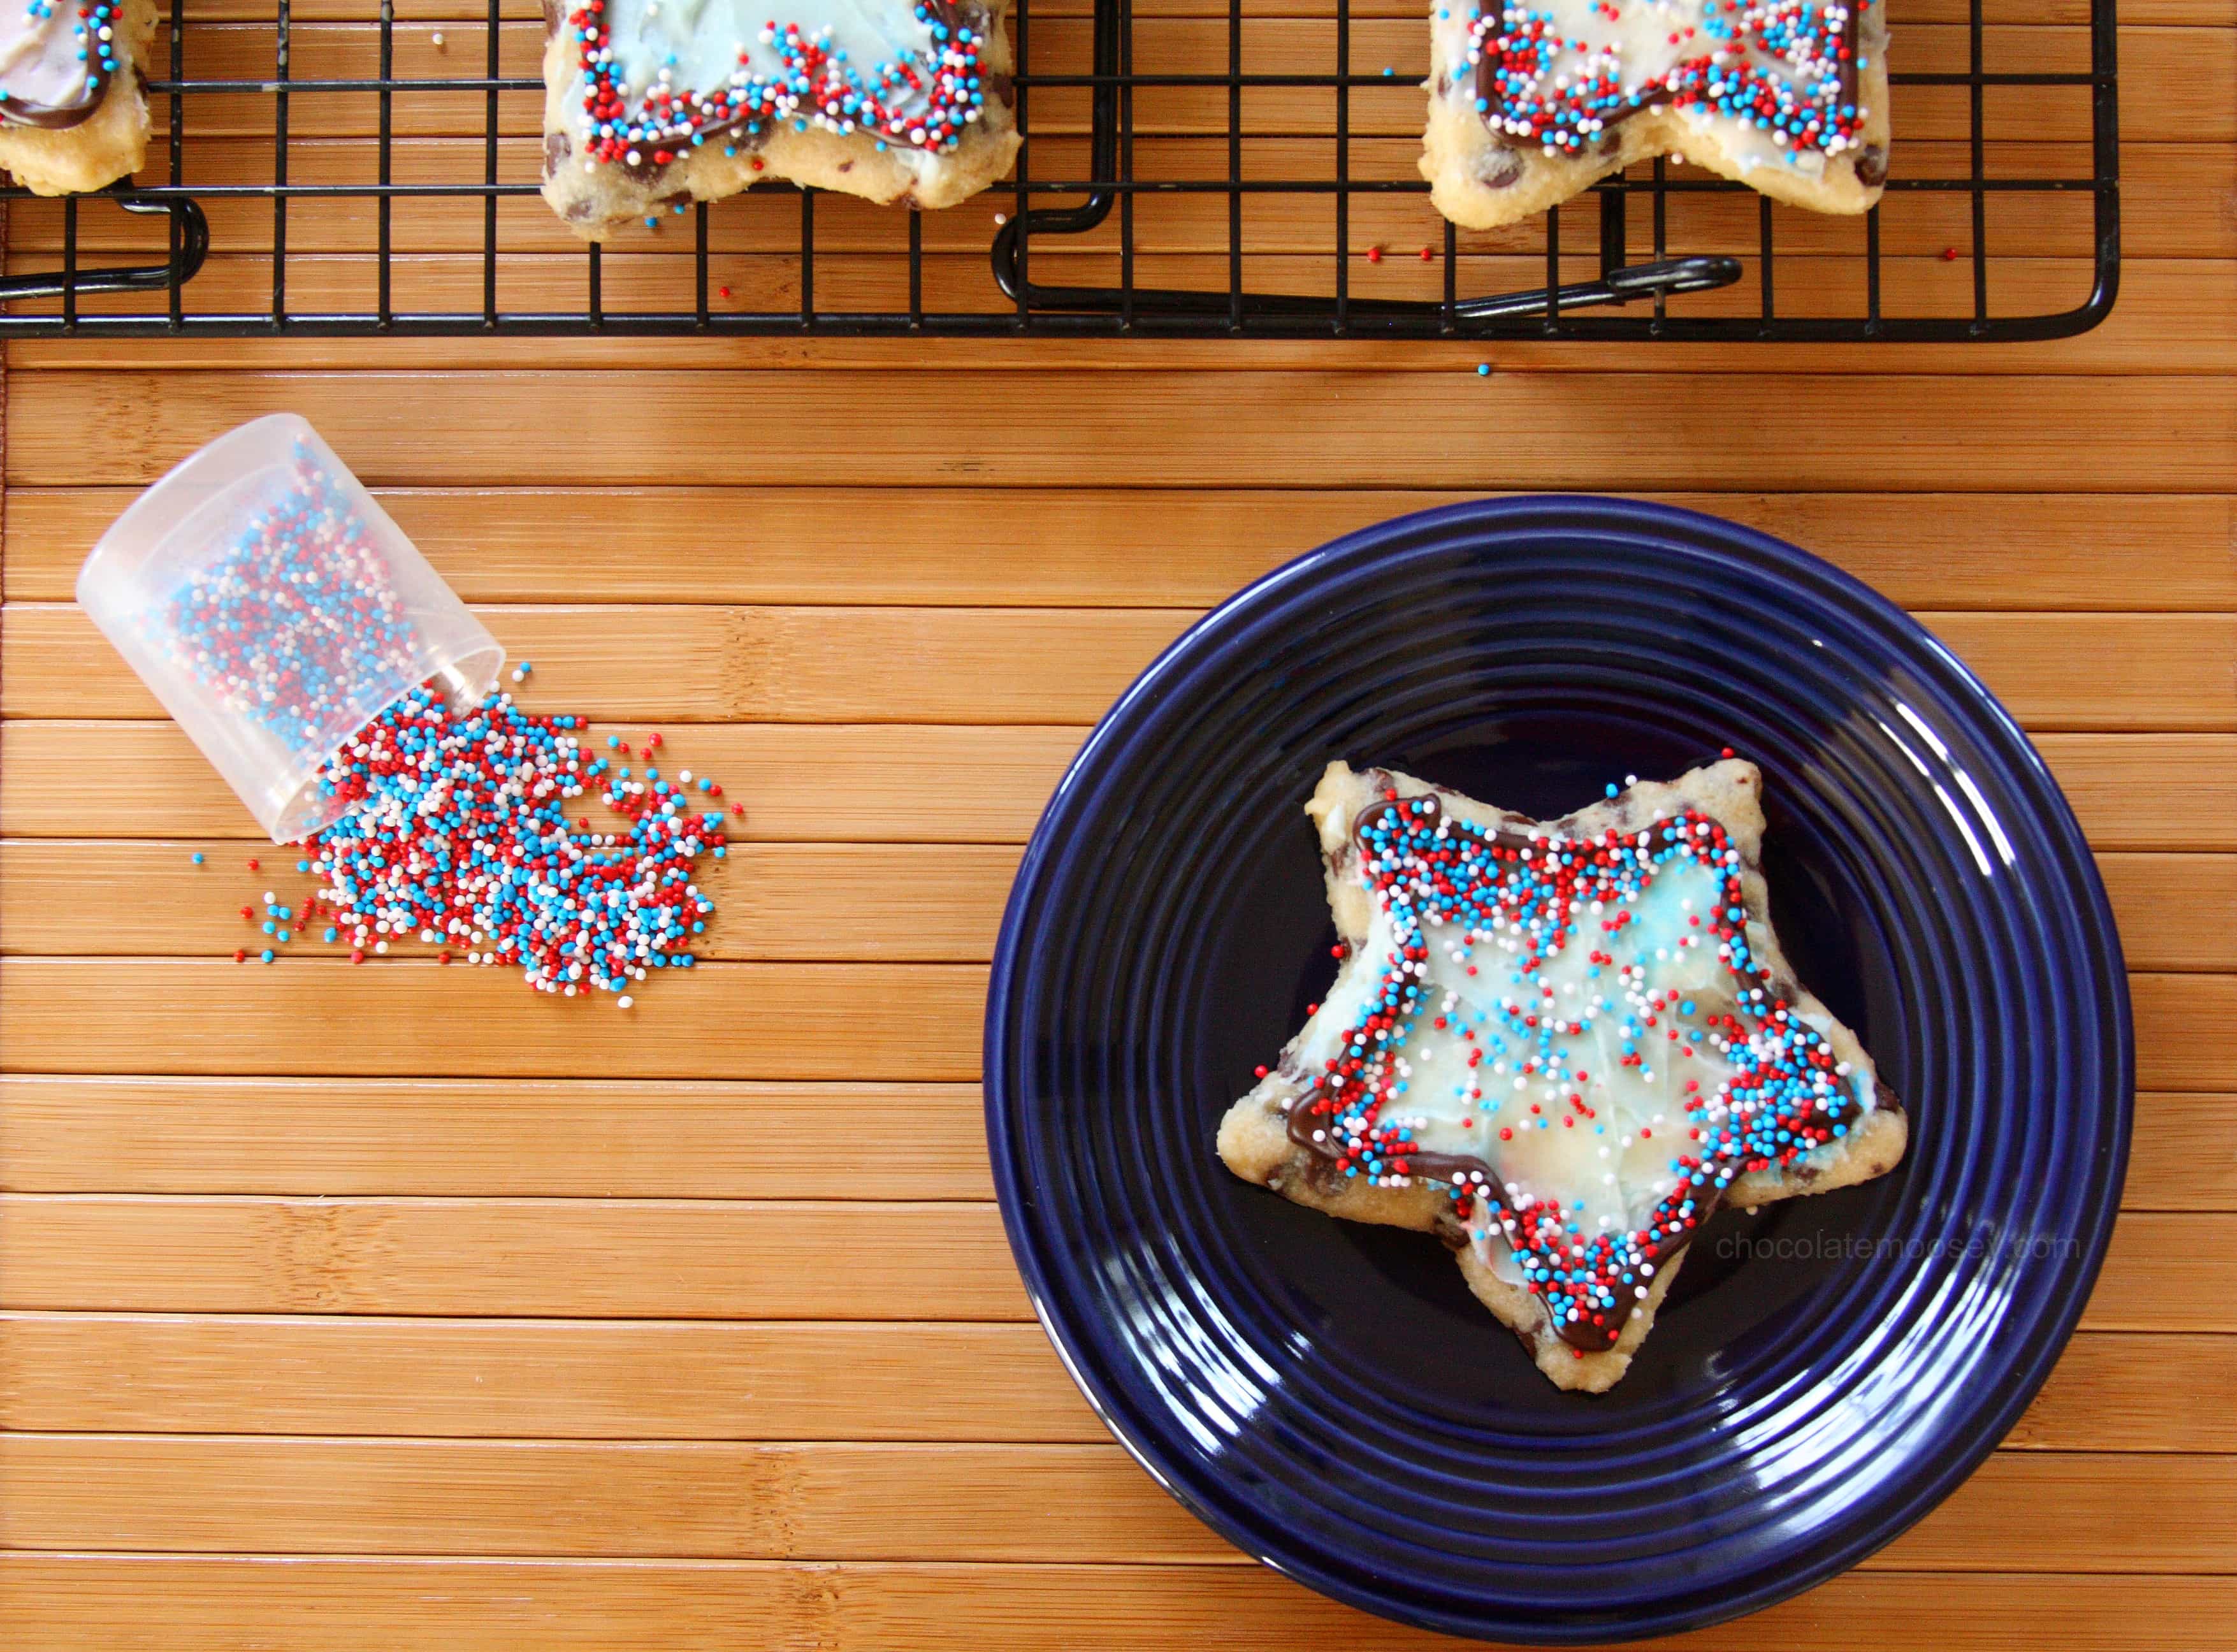
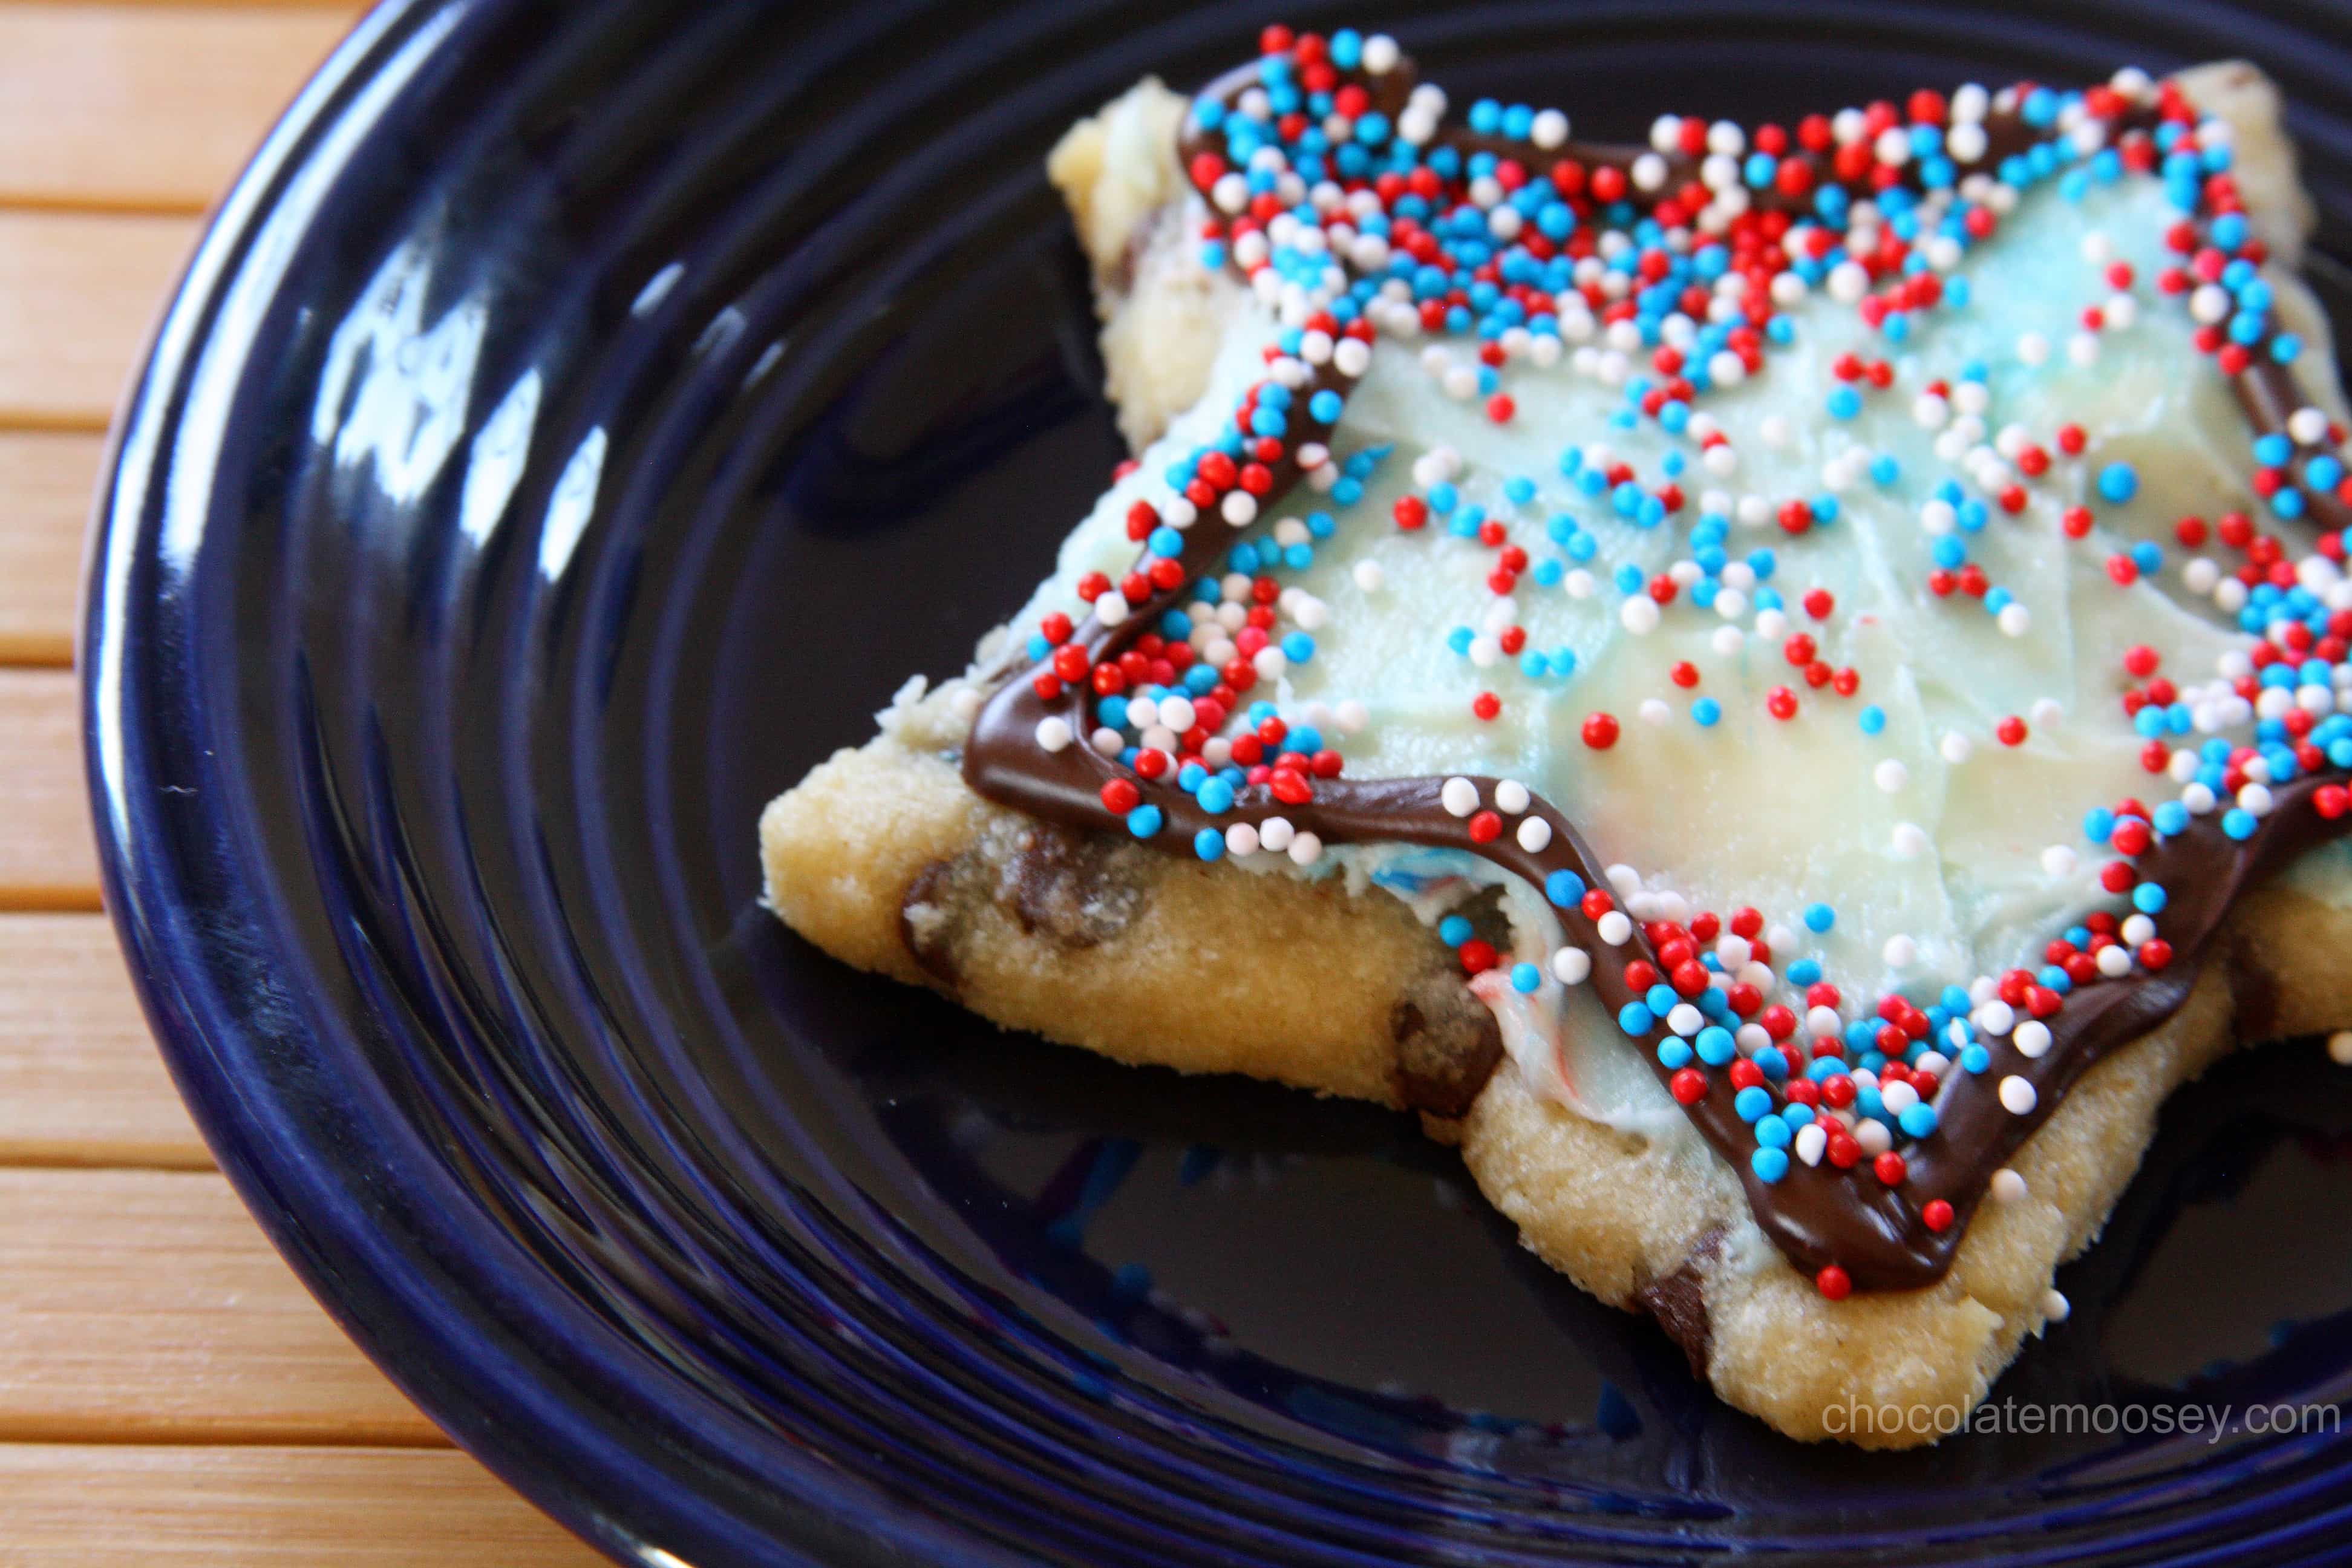
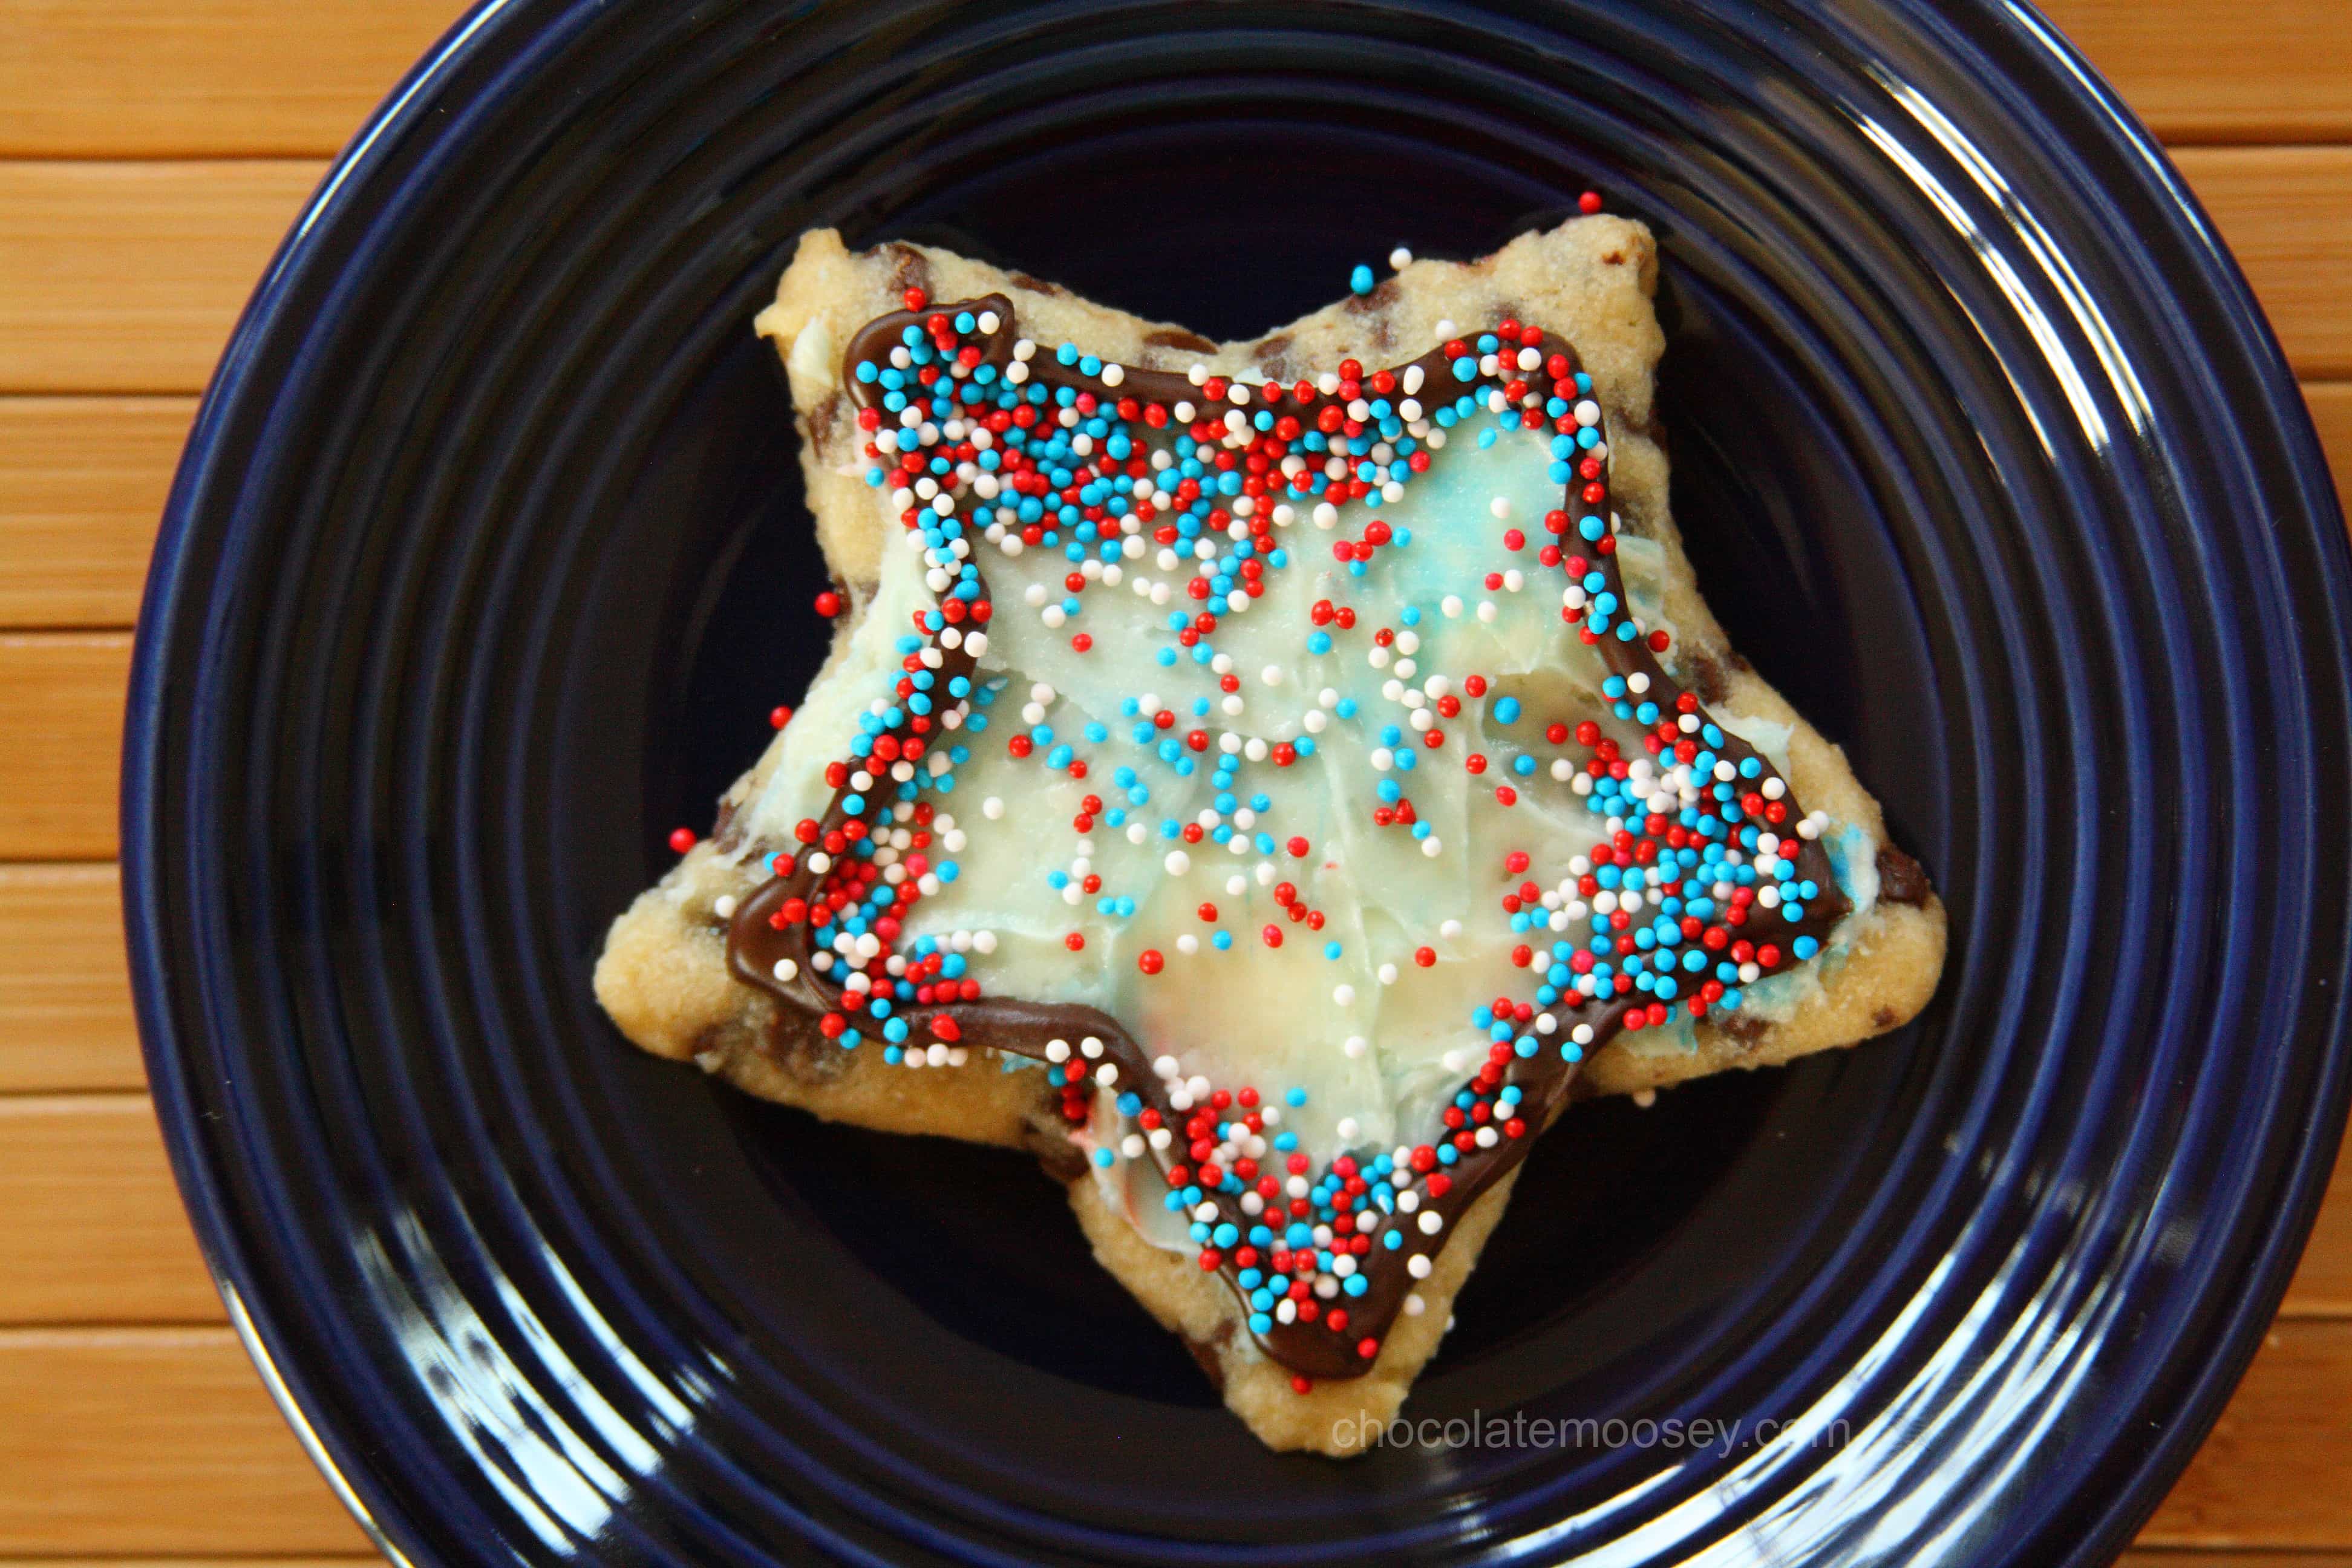
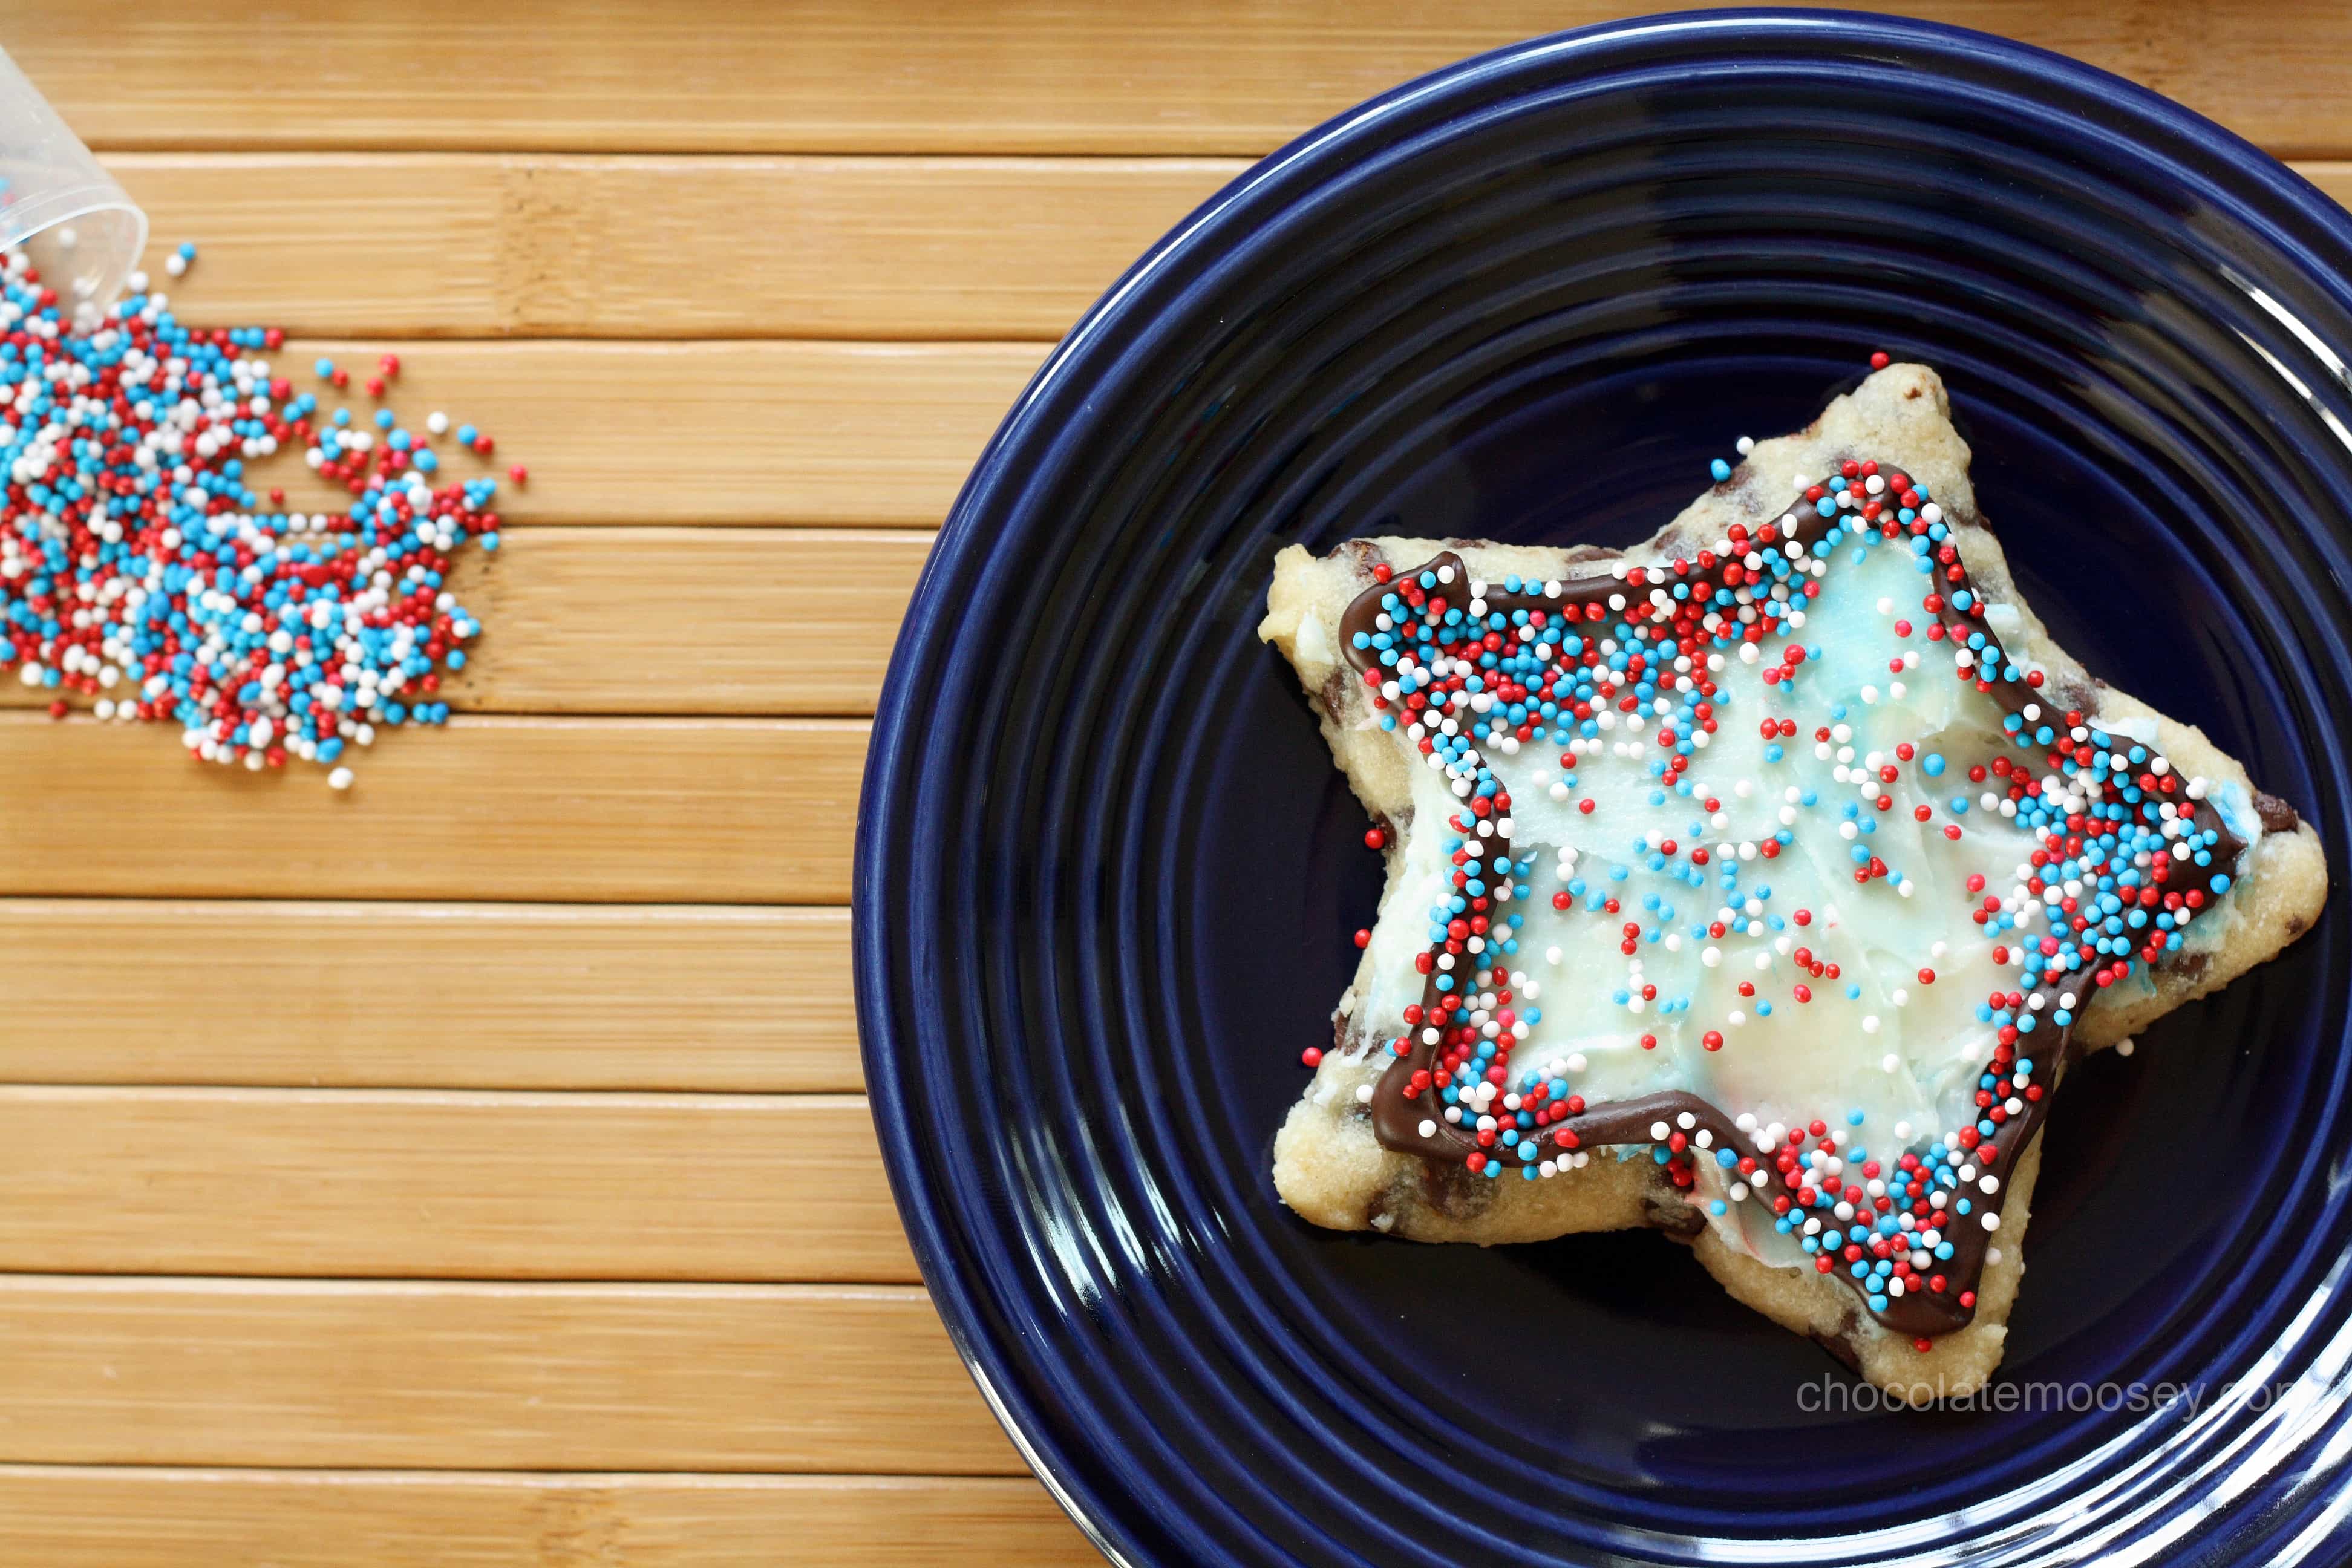
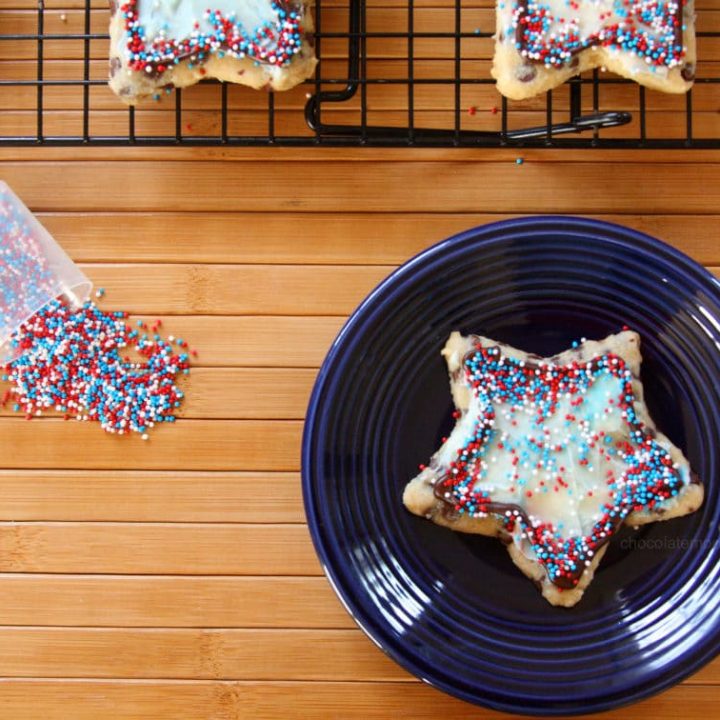
As you can guess by the photos, I originally made these roll out chocolate chip cookies for 4th of July with a star cookie cutter and red, white, and blue sprinkles.
You can also make these to add to your best Christmas cookie tray.
Now don’t get me wrong – these chocolate chip cookies are delicious without frosting, so sometimes I stop there and eat them as is.
However, if you want to get creative you can frost them with buttercream frosting and decorate with sprinkles.
You can even take it one step further and pipe chocolate around the edges. Melt chocolate chips directly in a sandwich bag, push it all to one corner, then snip and pipe away.
While the chocolate is still hot, add sprinkles so they’ll stick. It’s best if you spread on buttercream before piping the chocolate.
More Cut Out Cookie Recipes
Looking for more cookie dough to roll out? Check out these other cut out cookie recipes:
Chocolate Chip Cut-Out Cookies
Chocolate Chip Cut Out Cookies are a fun twist to making chocolate chip cookies with cookie cutters. Roll out the dough into shapes then eat them as is or decorate with vanilla buttercream & sprinkles.
Ingredients
- 1/2 cup (4 ounces, 112 grams, or 8 tablespoons) unsalted butter, softened
- 1/4 cup (54 grams) packed brown sugar
- 2 tablespoons (28 grams) granulated sugar
- 1 egg yolk, room temperature
- 1 teaspoon vanilla extract
- 1 1/4 cups (149 grams) all-purpose flour
- 1/2 teaspoon salt
- 3/4 cup (115 grams) mini semisweet chocolate chips
Buttercream and Glaze (Optional)
- 1/2 cup (50 grams) powdered sugar, sifted
- 1/4 cup (2 ounces, 56 grams, or 4 tablespoons) unsalted butter, softened
- Pinch of salt
- 1/4 teaspoon vanilla
- Sprinkles, to decorate
- 1/4 cup (40 grams) mini semisweet chocolate chips
Instructions
- In a large mixing bowl, beat together butter, brown sugar, and sugar until light and creamy, about 1 minute.
- Scrape down the bowl then beat in egg yolk and vanilla.
- Gradually beat in flour and salt then add mini chocolate chips. A dough will form, but if it seems too crumbly, you may need to beat another 30-60 seconds on low for it to come together.
- Remove the dough from the bowl and divide into two pieces. Place each piece between two sheets of plastic wrap. Roll each dough flat until 1/4-inch thick. Refrigerate for at least 1 hour or until firm.
- Preheat oven to 350F/177C. Have 1 large or 2 small ungreased baking sheets ready (use parchment paper for easy clean up if desired).
- Working with one dough piece at a time, remove the top plastic wrap then cut into desired shapes. As you run out of dough, gather up the scraps and reroll. If the dough gets too warm and sticky, refrigerate until cold again.
- Repeat with the second dough piece.
- Bake cookies 9-11 minutes or until golden brown. Let sit for 5 minutes then carefully transfer to wire racks to cool completely.
- Store in an airtight container as is for up to 1 week or continue below for optional decorating.
- For the buttercream: In a medium bowl, beat together sugar, butter, and salt until creamy, about 1-2 minutes. Add vanilla and beat for another minute.
- Spread buttercream on top of each cooled cookie. Decorate with sprinkles before the frosting hardens.
- To pipe chocolate glaze: Place chocolate chips in a plastic sandwich bag - do not seal. Microwave for 30 seconds then knead until smooth. If needed, microwave in 10 second increments until chocolate is fully melted.
- Push all of the chocolate to one corner of the bag then make a small cut to the corner. Pipe onto the cookies as desired then add more sprinkles. Let the chocolate harden before serving.
- Store frosted cookies in a single layer in an airtight container for up 1 week.
Notes
The amount of cookies made heavily depends on the size of your cookie cutter. If you're looking to make this a small batch recipe, freeze one of the dough pieces in a freezer bag until ready to cut. Or cut them all out at once then wrap and freeze the shapes.
This post may contain affiliate links. As an Amazon Associate and member of other affiliate programs, I earn from qualifying purchase.


Just wrap up the whole batch and send them to me please! What pretty cookies and might tasty looking too.
They are a tad bit fragile, but I’m sure you wouldn’t mind eating pieces either, right ;) Thanks Renee!
Carla, I can’t wait to see your post every week because it has been such a pleasure to see your blog evolve. This post and photography is just gorgeous!
I sure have come a long way since January, haven’t I? Thank you for everything you do for #SundaySupper!
Very cool, Carla!
Thanks Cindy!
I have never made cut out chocolate chip I always stick to boring sugar, but I love chocolate chip so much more! I’m looking forward to trying.
As much as I love sugar cookies, these are more fun ;) Thanks Lane!
Never thought of making cut-out cc cookies! Smart! (Visiting you from #SS)
I haven’t either until I saw these in one of my books! Turns out you can make almost any flavor a cut-out cookie. Thanks!
So can I replace the chocolate chips with other add-ins?
It’ll depend. What are you thinking of using? I think as long as they’re the same size of mini chocolate chips, probably.
I was going to make white chocolate macadamia
My biggest concern is the size of the white chocolate chips since I used mini chocolate chips. You can try it with them although I’m wondering if your dough might end up being a bit thicker to accommodate for that. Or you can maybe chop them smaller? Let me know how they turn out!
I’ve never done a chocolate chip cut-out cookie! Why not? Because I’m not as smart as you!
We’ll be making these in our kitchen. You know we will. :D
*blushes* you’re too kind to me. I’m sure I’ll hear about it if you do make them! :)
Chocolate Chip is hands-down my favorite cookie! And now there’s a cut out version – AWESOME!
Same here! Cant pass up a good CCC. Thanks Laura :)
These are so freaking adorable! My nephew would love to help me make this!
Oh he (and you) will have so much fun! I know I did, including a mess haha Thanks!
Kids will definitely love making these! My kids love it anytime sprinkles are involved. Great photos!
Thanks Brandie!
My nephew would be all over this! He loves chocolate chip cookies, but loves to decorate too. I think we’d pull out my Ninja Bread Men cookie cutters for this project :)
Ninja?! I’m coming over!!
Oh, boy, would my kids be hanging out in the kitchen if these gems were in the works!!! So yummy!
It would be a fun time in the kitchen for sure! Thanks Liz!
These look fabulous…choc chip is my all-time FAVE cookie! Add icing and sprinkles? More the better…I’m a big kid at heart too!!
Who knew CCC could be made better? Thanks Wendy!
These cookies are the cutest. I’ll take some, please. Happy #SundaySupper, Carla!
Coming right up ;)
So yummy. I love a great cookie. These are so adorable too so that’s a bonus.
Thanks Kim!
So my favourite cookies are just plain boring sugar cookies with icing. But my husband finds them too dull I think I will give these a try and see if we can satisfy both taste preferences. Thanks
Nothing wrong with sugar cookies! I still eat them :) Thanks Laura!
I love this idea. Especially since sugar cookies and I do not get along. (I’ve never made a good one, and my wife is still struggling with it.) We’ll have to give these a shot!
These haven’t given me any trouble, so I hope you have success with these! Thanks Jerry
A twist on two classics, fantastic idea! I like rustic decorations too. They look perfect for so many occasions!
Thanks Paula!
this is so pretty and it’s not even too difficult to make. Love it.
Thanks Angie :)
I know none of my kids would mind having a big stack of those cookies placed in front of them! I hadn’t thought to add chocolate chips to cut outs, I love the idea!
I don’t think anyone would mind these cookies at all ;) Thanks Kristen!
Too cool, never seen chocolate chippers as cutouts!
Thanks Sarah!
How fun I have never made cut outs with chocolate chip cookies
Do you think that this will work well with detailed cutouts? Some of the cutout cookies I made just made the details hard to see.
When I made the stars, they did spread a little, which is why I ended up outlining the shape with chocolate. Depending on how detailed you are getting, I’d say probably not a good idea with this dough unless you pipe the details.
Do these cookies turn out softer or chrunchier?
They are more on the crunchy side than soft side, but they aren’t crispy like a cracker. It’ll also depend on how thin you roll them. If you leave them too thick, they may be softer than intended.
I had to show your post to my husband! He drooled!:)
Really cool, never seen chocolate chippers as cutouts!
Cheers Lisa
So much better than sugar cookies, right? ;)
My dough came out all grainy. I thought maybe it was supposed to be like that so I struggled to roll it out and then put it in the fridge. Which I spilled a bunch of it all over while doing.. Then after an hour I took it out of the fridge and it spilled all over again. I got 3 cookies out of it and while I was doing it the dough kept cracking. I’m going to have to throw out the rest of the crumbles…Any idea what I did wrong?
Hmm I don’t have enough information about what you did wrong (did you change the ingredients? The instructions?), but a crumbly dough either means it was too dry or wasn’t mixed long enough for the dough to come together. Also it looks like you’re in Colorado – are you baking at high altitude? That will affect the dryness of your dough. I’m in PA at normal altitude so I’m not sure how to compensate for that.
I was a bit dubious because the mixture seemed so crumbly – but boy – these cookies baked up perfectly and tasted amazing as well. My son now prefers these to the more classic chewy cookies we used to make.
They’re a bit crumbly so they don’t spread and lose their shape. Glad you both enjoyed the cookies!
Can I use different butter than unsalted?
You can use salted butter then cut the salt down to 1/4 teaspoon.
Thank you so much for the tips on rolling out dough. I, too, have numerous cutters that I never use, because I struggle with my dough sticking to everything. I look forward to trying your methods!
Hope you have great luck with this recipe! Let me know how they turn out.
Hello!
As a budding baker, I was super excited to try this recipe!
I love chocolate chip cookies, but I wanted the fun of making cutouts. So I really enjoyed these!
I really love the flavor, they’re not too sweet and to me, they kinda taste like pancakes!
Thank you for this recipe!
-Sammi :)
Glad you enjoyed the recipe!
These cookies were fun to make, but they are definitely a strange texture. Not very sweet so good if you don’t like sweet stuff
Hmm what was strange about the texture? They aren’t meant to be like traditional chocolate chip cookies but rather like shortbread.