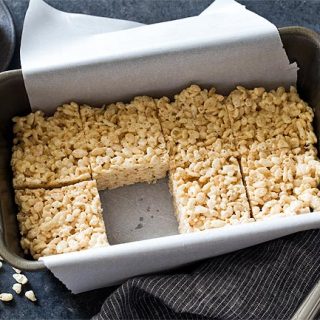
Small Batch Rice Krispie Treats
Love cereal treats but don’t want to eat a whole batch? Small Batch Rice Krispie Treats made in a loaf pan are the ideal ooey gooey no bake dessert that are both delightful and perfectly portioned.
Growing up, I ate packaged rice krispie treats in my lunch box made by the cereal company who invented them.
Although they were fine, it wasn’t until I ate my first rice krispie treat that I really appreciated what they were – crispy cereal treats made with ooey gooey marshmallows.
Marshmallows are one of my favorite ingredients. Now we have an entire treat completely dedicated to their flavor and gooeyness.
I love making them from scratch but don’t make them often enough. Probably because I’d eat the entire pan in one sitting.
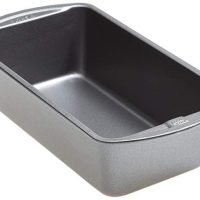
The solution? Making a small batch in a bread pan, which I got the idea from my Small Batch Brownies, Small Batch Lemon Bars, and Small Batch Cheesecake.
And since it’s been blazing hot in Pittsburgh, now is the perfect time to post my recipe for Small Batch Rice Krispie Treats.
It’s a no bake recipe that only takes a few minutes on the stove to make. I try to avoid turning up on my oven because it heats up my entire apartment being the gas inferno it is.
Plus you only need 3 ingredients – butter, marshmallows, and cereal. Make them now and have them ready to eat tonight!
Ingredients For Rice Krispie Treats
As I mentioned earlier, you only need 3 ingredients to make half batch rice krispie treats:
- Butter: Butter both adds flavor and helps bind together the cereal treats.
- Marshmallows: Because you’re melting marshmallows, size doesn’t matter so use regular/large or mini, just as long as it equals 5 ounces.
- Rice cereal: Can’t have rice krispie treats without the rice krispies! You can also swap in your favorite cereal like with these Fruity Pebbles Bars.
How To Make Small Batch Rice Krispie Treats
Making this rice crispy treats recipe with large marshmallows is very easy! Here’s how you do it:
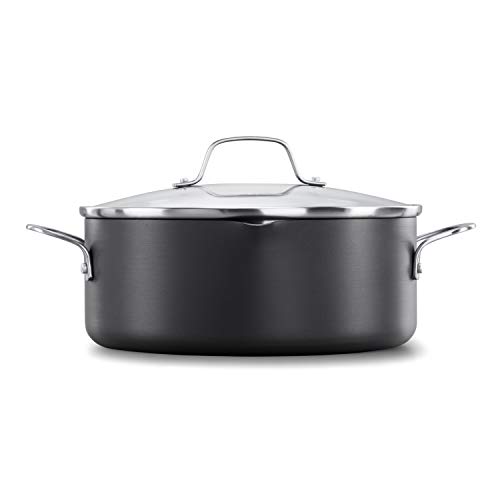
- Melt butter in a large pot. Even though this recipe makes a small batch, I like to use a Dutch oven (affiliate link) so I have plenty of room to stir.
- Add marshmallows. Keep stirring until melted and don’t let them burn.
- Stir in the cereal until everything is coated.
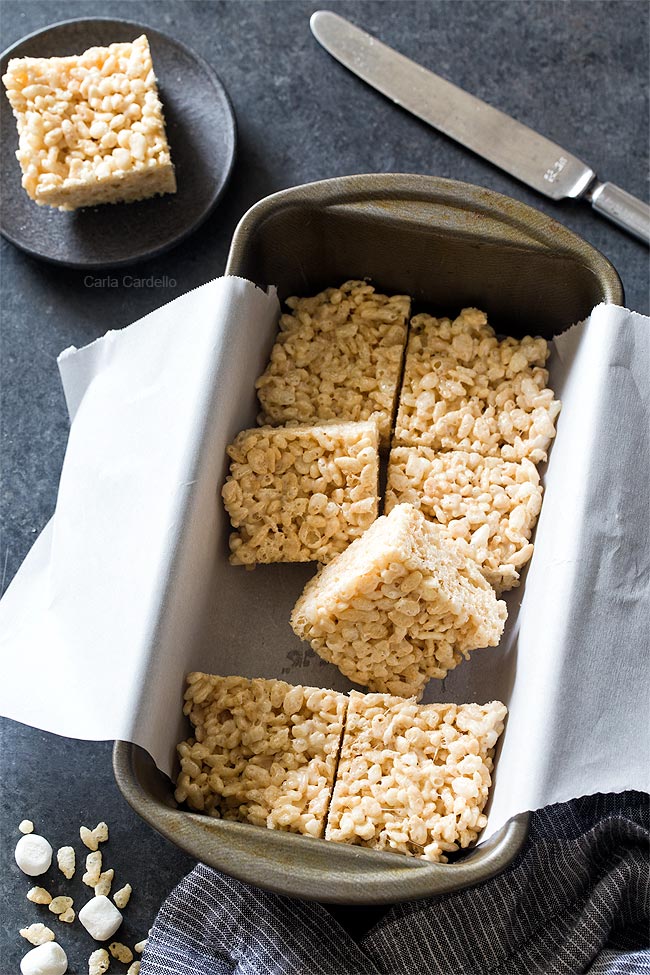
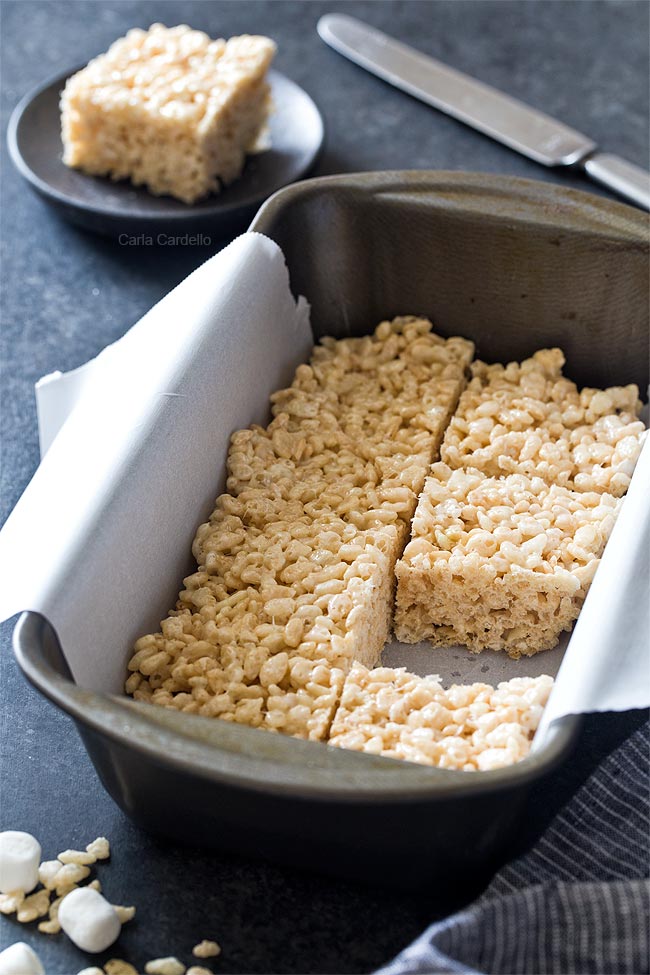
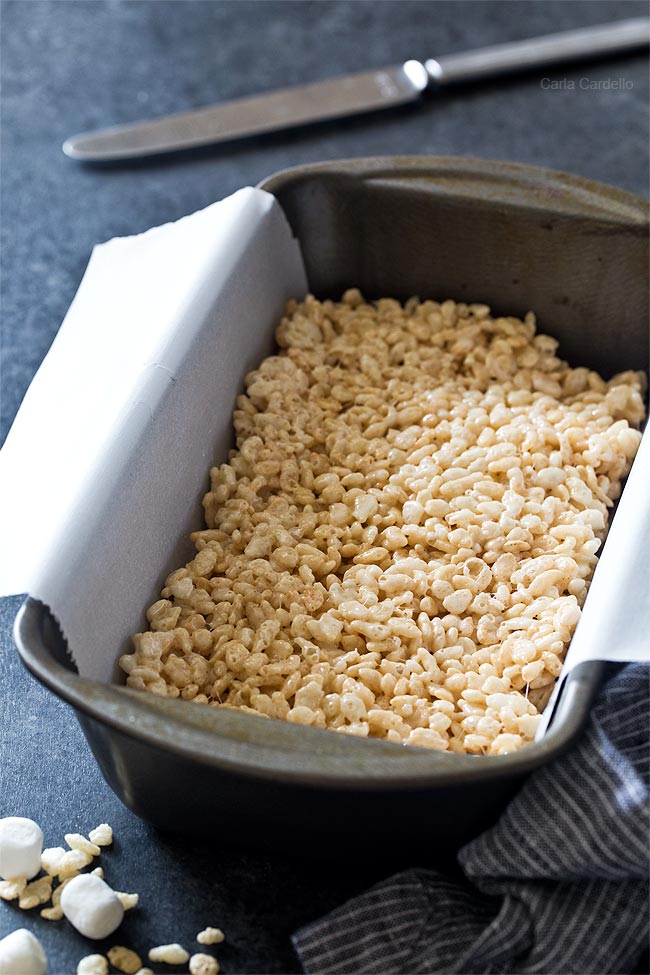
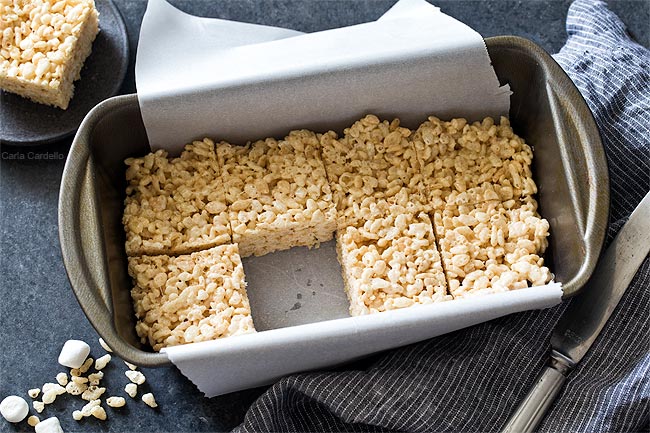
- Transfer to the loaf pan and pat down into a single layer. Let cool until firm then serve.
How To Keep Rice Krispie Treats From Getting Hard
Nothing is as disappointing as making half batch rice krispie treats from scratch, only for them to set up rock hard.
The biggest reason your rice crispy treats got hard is because you overcooked the marshmallows over high heat.
Using low and slow heat, remove your pan from the heat as soon as the marshmallows just melted.
Sometimes I’ll even remove it when it’s 90% melted then by the time you stir in your cereal, they’re fully melted.
Like most candy the longer you cook the sugar, the harder the marshmallows get. Overcooked marshmallows = hard rice krispie treats!
And this should go without saying, but make sure you’re using fresh marshmallows. Old, stale marshmallows will also result in hard rice crispy treats.
How long do rice crispy treats last?
When stored in an airtight container at room temperature, small batch rice krispie treats can last up to 3 days.
How To Keep Rice Krispie Treats From Sticking To Your Hands
There’s no doubt homemade rice krispie treats are sticky (and hot!) from the marshmallows.
Of course you can grease your hands with some butter, but 1 – I find that messy and 2 – the cereal is still really hot to handle.
The best way to keep small batch rice krispie treats from sticking to your hands is patting them down with a piece of greased parchment paper.
Not only will it not stick, you won’t burn your hands. Win win.
More Rice Krispie Treat Recipes
The following homemade rice krispie treats were made in a regular pan. However, you can easily cut the recipes in half:
- Peanut Butter Rice Krispie Treats (Small Batch)
- Caramel Rice Krispie Treats
- Chocolate Twix Rice Krispie Treats
- Rice Krispie Pumpkins (cute for Halloween!)
Small Batch Rice Krispie Treats
Love cereal treats but don’t want to eat a whole batch? Small Batch Rice Krispie Treats made in a loaf pan are the ideal ooey gooey no bake dessert that are both delightful and perfectly portioned.
Ingredients
- 1 tablespoon butter (add 1/8 teaspoon salt if unsalted)
- 5 ounces marshmallows (roughly 3 cups mini marshmallows or 4 cups regular marshmallows)
- 3 cups crispy rice cereal
Instructions
- Line a 9x5 loaf with parchment paper.
- In a Dutch oven or large pot over low heat, melt the butter (add the salt if using).
- Once melted, add the marshmallows and stir with a wooden spoon until 90% melted*. Don't overcook or you'll end up with hard treats.
- Turn off the heat and stir in the cereal until everything is coated.
- Transfer to the loaf pan and pat into a single layer using a greased piece of parchment paper. Cool completely before cutting into squares, about 1 hour.
Store in an airtight container for up to 3 days.
Notes
- *It's very important you melt the marshmallows on low heat and pull them when they're almost fully melted. The longer you cook the sugar, the harder the marshmallows get. Overcooked marshmallows = hard treats!
- If your treats do get a bit hard, you can microwave them before eating.
- Enjoyed this recipe? Check out Peanut Butter Rice Krispie Treats and Caramel Rice Krispie Treats.
Recommended Products
As an Amazon Associate and member of other affiliate programs, I earn from qualifying purchases.
This post may contain affiliate links. As an Amazon Associate and member of other affiliate programs, I earn from qualifying purchase.
Looks so yummy!!! Thanks for sharing this recipe!
Let me know if you try it!
I used to love rice krispie treats as a kid, they were always a fav! I can’t believe I have never made my own before, this is so easy!
One of the easiest recipes you can make!
Thanks these were perfect. Just the size I needed.
Wonderful! Glad you enjoyed the recipe.
Your recipe of rice krispie treats is looking so yummy. I will try it real soon. Thank you.
Let me know what you think!
I am loving these bars…I can’t wait to make them again for my kids’ bake sale.
Wonderful! Best of luck at the bake sale!
So delicious and easy to make!
Thanks! Glad you enjoyed the recipe.
Can I use low fat margarine instead of butter?
I haven’t tried it, but I think you’ll be ok since you’re not baking it.
Is the recipe correct in only using 1 Tablespoon of butter? I made these today and they turned out really hard and crunchy. Thanks!
Yes, that’s correct. The butter helps melt the marshmallows. Otherwise the marshmallows will burn. With that said, it sounds like your marshmallows weren’t fresh or your heat was too high. I addressed this issue in my blog post under the section “How do you keep rice krispie treats from getting hard?”
I also made these today and while melting the marshmallows even slowly on low heat it wasn’t enough butter. I would suggest a tablespoon and a half.
What kind of pot are you using? Is it a wide pot? I’m wondering if maybe using a smaller pot means everything doesn’t get coated with the 1 tablespoon.
Our sons wanted these and so I started ti make them. Oh no! Not enough Alice Krispies. Desperate, I added corn flakes to make the amount of cereal needed. It was really a good combo. At some point I decided to add coconut and a few coarsely chopped pecans that is now our favorite way to make Rice Krispies treats.
Glad you were able to use both cornflakes and rice krispies! Love the addition of coconut and pecans.
I tried this recipe just this morning because I just had a craving for some rice krispie treats, and they came out perfect!! I only have 4th of July rice krispies right now, so I dyed the marshmallow mixture blue, and my grandma LOVED them she thought they were so adorable lol!!
Love the festive twist! Glad you enjoyed them.
I have made these several times…but this time, I made them with Honey bunchws of O’s as I did not have enough rice krispies…as a final day of school treat for the little girls in my neighborhood…they were a hit! Thank yu so much for all the smikes I get with these!
Love the adaptation! Glad you enjoyed the recipe.
I didn’t make this recipe but for St.Pat’s Day, I made rice krispe bars recipe. Put all on aluminum and cut with my four leaf clover cutte.r. Frosted with green icing and sprinkles to match. Turned out nice.
That sounds like a fun idea for the holidays!
Great recipe and the perfect size for 2 people. I did add vanilla, approximately 1/2 teaspoon or to taste. I also cook my marshmallows and butter in the microwave. It’s faster and the bowl cleans easier. One minute, stir, then 30 second intervals., stirring in between, I did it 2x. Used a bowl big enough so that I just added the rice krispies to the melted marshmallows. Another tip is to spray the bottom of a spaula with cooking spray and then use it to flatten the squares, no parchment paper required or greasy fingers!
Thx for the small batch recipe!
Yes for such a small amount, you can certainly microwave it in a large enough bowl. Smart about the spatula. Thanks for sharing!
Omg mine usually turn out hard and crunchy hard and all the comments about it being hard is probably because they let the marshmallow melt all the way. Butter doesn’t make it soft it’s the marshmallow. That one tip about letting it melt 90% changed the whole recipe for me!! Thank you so much
Glad the marshmallow tip worked for you!
Love Rice Krispy Bars!! 😋
Didn’t realize I only had approximately 2 cups Rice Krispies. So added 1 cup Reese’s Peanut Butter Puffs Cereal & 1 more tablespoon of butter. So good!!😊
Love easy & quick recipes! Thank you!
I kinda love that version! Glad you had extra cereal to help you out.
Great half recipe! Thank you! I like to lightly butter the bottom of a drinking glass and use that to press down the hot treat into my pan.
Smart!