Funfetti Layer Cake with Whipped Vanilla Buttercream Frosting
Let’s have some fun and celebrate with this homemade Funfetti Layer Cake with Whipped Vanilla Buttercream Frosting. Guaranteed to put a smile on your face!
Eight years ago today marked the day that would change my life and my career, although I didn’t know it back then.
Funny how a moment that seemed so insignificant is the moment that sets the ball rolling for your future.
Eight years ago I started my food blog Chocolate Moosey (as it had been something else before then).
I wish I could remember that moment, but quite frankly I don’t remember most of the details.
No epiphany moment to talk about – just that I was studying abroad in Ireland.
It was my last month overseas, and I was feeling really homesick. Everyone’s friends and family were visiting them; mine weren’t.
I remember sitting in my room, probably looking for recipes for dinner that night. Somewhere along the line, I wrote my first “recipe” being peanut butter and jelly cracker sandwiches (I guess I was super excited to post something?).
I realized most college students didn’t know how to cook, so I wanted to teach them.
Although Chocolate Moosey no longer focuses on college cooking, I’m still here eight years strong sharing my love for food and recipes to anybody who can turn on a stove.
Eight years for a blog is a big deal as most blogs started don’t last that long (or even started that early).
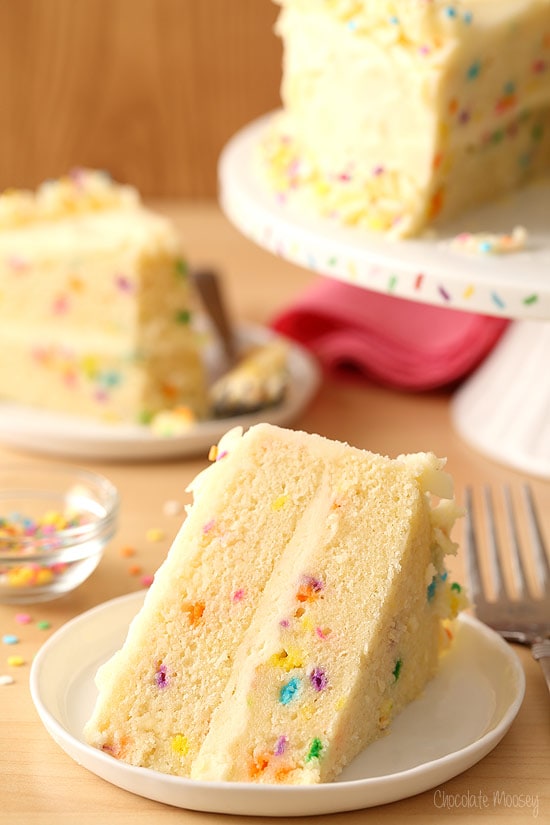
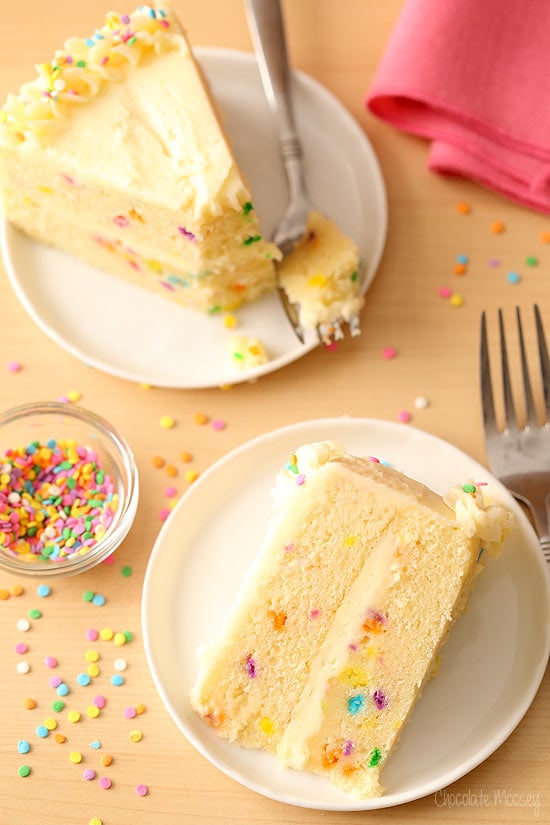
A celebration this big deserves cake. A homemade layer cake. A fun cake. A Funfetti Layer Cake.
Even though I don’t use cake mixes anymore, growing up my favorite cake was the boxed Funfetti cake, not just for the sprinkles but also for the taste (which is mainly butter and vanilla).
Of course I had to recreate one from scratch, complete with a whipped vanilla buttercream frosting.
If I had any matches or one of those gas grill lighters, I would’ve added some candles, but I got rid of them when I moved and completely forgot to buy more.
Whether you’re celebrating a milestone, a birthday, or just want cake for the hell of it, this is the cake that screams fun (and don’t forget the matches for the candles).
I haven’t told anybody this, but the past two years I was going through a quarter life crisis, although I didn’t realize this until it was mostly over.
I knew I felt lost and insignificant, but I didn’t know this had a name.
By the time I realized what was happening (thanks to this mini chart), I finished phase three (quitting my job and moving to Pittsburgh) and was starting on phase four (rebuilding my life).
Now I can attest that phase five is over, and I made it to the other side. I had no intention of quitting my solid, full time job and doing recipe developing and food photography for a living, but sometimes you just can’t argue with the universe.
My favorite quote that sums up my past 5 years: “Sometimes on the way to the dream, you get lost and find a better one.”
I used to want to be a video editor for Food Network, but now I can’t imagine doing anything else (although Food Network if you’re reading this, I can shoot for your magazine).
I also couldn’t have done it without you and your support, so thank you.
For every ad and sponsored post you see here, it helps support my career and allows me to pay for hosting services and groceries (lots and lots of groceries) to keep bringing you recipes you love.
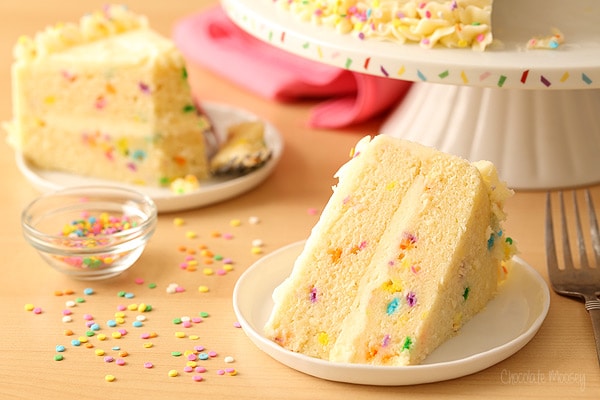
The key flavors to a homemade Funfetti cake are butter and vanilla.
I didn’t want to go out and buy butter extract because it would just sit in my pantry until I make my next Funfetti cake, so yes there’s a good bit of butter in this cake. Please do not substitute margarine.
For the sprinkles, I used confetti sprinkles, but you can use regular rainbow sprinkles, just as long as they are not the non-pareils as the color will bleed with those.
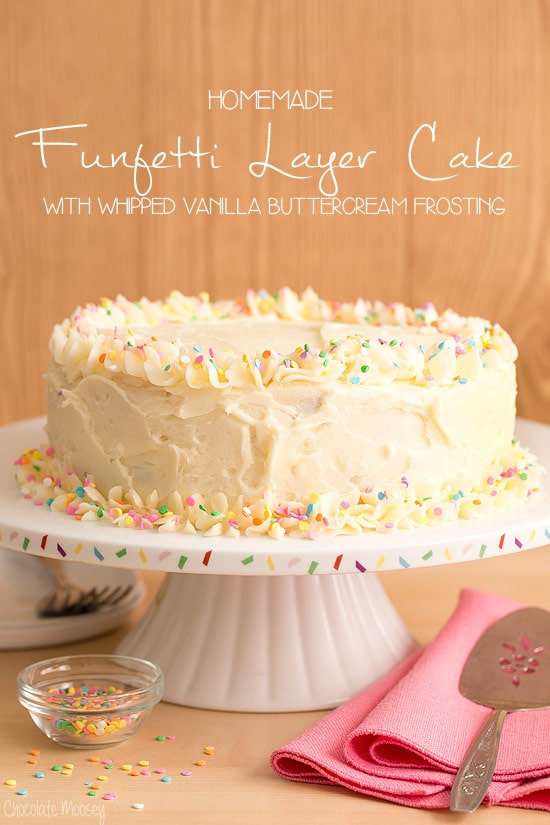
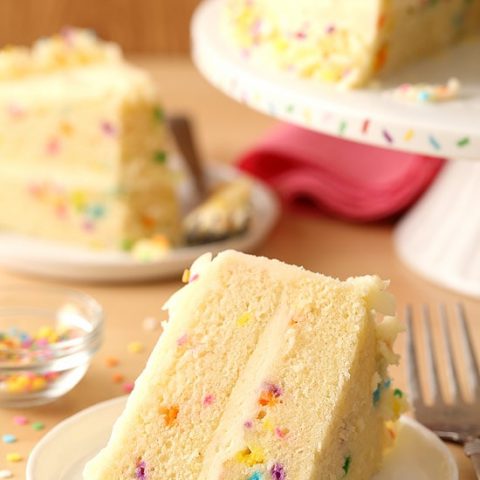
Funfetti Layer Cake with Whipped Vanilla Buttercream Frosting
Let’s have some fun and celebrate with this homemade Funfetti Layer Cake with Whipped Vanilla Buttercream Frosting. Guaranteed to put a smile on your face!
Ingredients
- 2 cups cake flour* (spooned into the measuring cup then leveled off, not scooped and packed in) (see Note about how to make cake flour)
- 1 1/2 teaspoons baking powder
- 1 teaspoon salt
- 1 1/2 cups granulated sugar
- 1 cup (8 ounces or 16 tablespoons) unsalted butter, melted (do not sub)
- 2 eggs, room temperature
- 3/4 cup buttermilk or whole milk, room temperature
- 1/4 cup plain Greek yogurt or sour cream, room temperature
- 2 teaspoons pure vanilla extract (not imitation)
- 1 cup rainbow sprinkles plus more for garnishing (not non-pareils)
Vanilla Frosting
- 1 cup (8 ounces or 16 tablespoons) unsalted butter (do not sub)
- 2 cups powdered sugar, sifted
- Two pinches of salt
- 2 teaspoons pure vanilla extract (not imitation)
- 2 tablespoons heavy whipping cream or whole milk
Instructions
- Preheat oven to 350F. Grease two 8-inch round pans (1 1/2 inches deep, 4 cups volume) then line with parchment paper cut to fit the bottom of the pans.
- In a large mixing bowl, combine flour, baking powder, salt, and sugar.
- Add the melted butter and beat on low for 1-2 minutes or until everything is moistened, and somewhat smooth.
- In a separate bowl or directly in the measuring cup, whisk together the eggs, milk, yogurt/sour cream, and vanilla then gradually beat into the batter. Add the sprinkles.
- Divide the batter between the two cake pans then bake for 30-35 minutes or until a toothpick inserted in the center comes out clean (it's ok if there are a few cake crumbs as long as it isn't batter). Cool for 15 minutes in the pans then invert onto a wire rack to finish cooling.
- For the frosting: In a large mixing bowl, on low speed beat together the butter, sugar, and salt for 1 minute or until somewhat incorporated then beat on high speed for another 2-3 minutes or until creamy and smooth.
- Scrape down the bowl, add the vanilla and cream/milk, then beat for another 2-3 minutes or until light and fluffy.
- If the cake layers are not flat, trim some of the cake off of the top until flat. Place one cake layer on a cake stand or plate. Slide pieces of parchment or wax paper underneath the cake for easy clean up later.
- Spread some of the frosting on top of the cake for the filling. Top with the remaining cake layer.
- Spread a thin layer of frosting all over the cake, sealing in the crumbs (don't use more than half of the frosting). Refrigerate 15 minutes.
- Finish covering the cake with the remaining frosting then decorate with sprinkles. Carefully remove the paper pieces. Refrigerate until the frosting is firm. Store the cake covered in the refrigerator. For best results, let the cake sit at room temperature for 30 minutes before serving. Cake is good for up to 1 week.
Notes
*If you don't have cake flour, you can easily make your own at home! Measure out 2 1/2 cups all purpose flour then take out 5 tablespoons flour and put it back into the flour bag. Add the remaining flour to a sifter set over a bowl then add 5 tablespoons cornstarch to the sifter. Sift together into the bowl. Repeat this process 4 more times (yes, you need to sift them together 4 more times in order to aerate the flour). Use cake flour as directed in the recipe.
Source: Adapted from Love and Olive Oil
More Cake Recipes
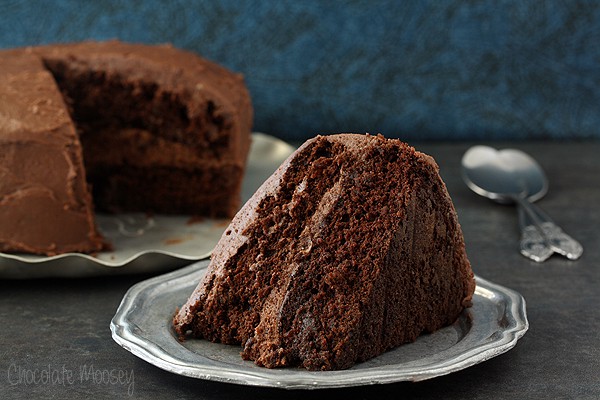
Devil’s Food Layer Cake with Whipped Chocolate Buttercream Frosting
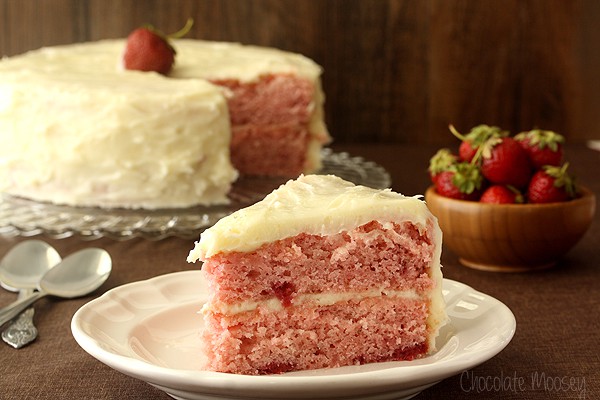
Strawberry Layer Cake with Cream Cheese Frosting
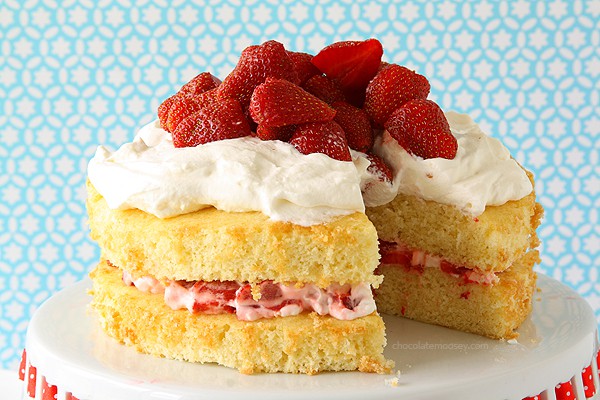
Strawberry Shortcake Layer Cake
This post may contain affiliate links. As an Amazon Associate and member of other affiliate programs, I earn from qualifying purchase.


Happy bloggie birthday, Carla! I’m so happy that blogging has worked out for you so well. The interwebz is a better place with you in it. :D
Love this homemade funfetti cake! It’s so simple and festive.
Cheers to 8 years! You should be so proud. This cake definitely put a smile on my face… Now, pass the plate!
Happy Anniversary! Seriously, nobody deserves to be thriving at this career more than you do. I’m so glad that life’s crazy twists and turns have brought you here, but it’s clearly where you are meant to be!
Also, this cake is perfect, and that cake stand has never looked more right. Pinned!
Interesting to read how your dreams and blog have evolved. Happy Blogversary!!
Nothing better than a classic to celebrate, and yours looks delish! Love your cake stand too!
Happy 8th! :D This cake looks really perfect for such celebration :D
HAPPY BLOGIVERSARY!!! 8 years-that is soo amazing. It’s fun to see how far you’ve come! I’m so happy for you and how things are working out-you’re amazing and I know things will just keep getting better! (btw I’m pretty sure I’m in phase 3 of my quarter life crisis still :P)
this cake is the perfect thing-I love how buttery it is and how pretty pretty pretty it looks!
This cake looks INCREDIBLE, I love funfetti cakes! Congrats on 8 years, that’s a real achievement! :)
What a gorgeous cake! Love it!
Carla,
Happy blogiversary! My sister-in-law would love this funfetti cake.
Annamaria
The cake looks perfect, of course, and pinned. But thank you for sharing a little bit more of your life here. You know I love this kind of stuff. :)
Hi there
Any idea how to convert to 2 9 in cake pans?
Since I don’t own 9 inch pans, I don’t have experience converting it. You can either leave it as is and have slightly thinner cakes or you can search online for how to convert an 8 inch cake into a 9 inch cake. I found this source but haven’t tested it myself http://thetoughcookie.com/2015/03/07/use-different-size-cake-pan-round-cake-pans-simplified/ Hope that helps!
Can I use regular All Purpose Flour instead of Cake Flour?
I addressed that in the notes section of the recipe. It’s not an exact substitution, but yes you can.
I just made this cake two days ago for a friend’s birthday. The cake turned out really well, and it was a hit! It has a lovely texture and the taste of vanilla is amazing! I will definitely be making this cake again. Thanks for the wonderful recipe! :)
Glad you enjoyed it! Thank you for the positive feedback.
Do you need for confectioners sugar with this much butter in the frosting? The ratio seems to be on the side of butter.
Good question! It’s similar to making cream cheese frosting with the amount of fat in it. 2 cups should be enough to thicken it for spreading (but not so thick you tear up the cake), but if it’s too runny, you can gradually add more.
Your photography is gorgeous. So professional looking. I can’t wait to try this Funfetti cake (one of my favorite types thanks to nostalgia). It looks so moist, buttery and delicious, I want to eat it through the screen.
Thank you! Let me know if you try it.