Peppermint Bark Brownies
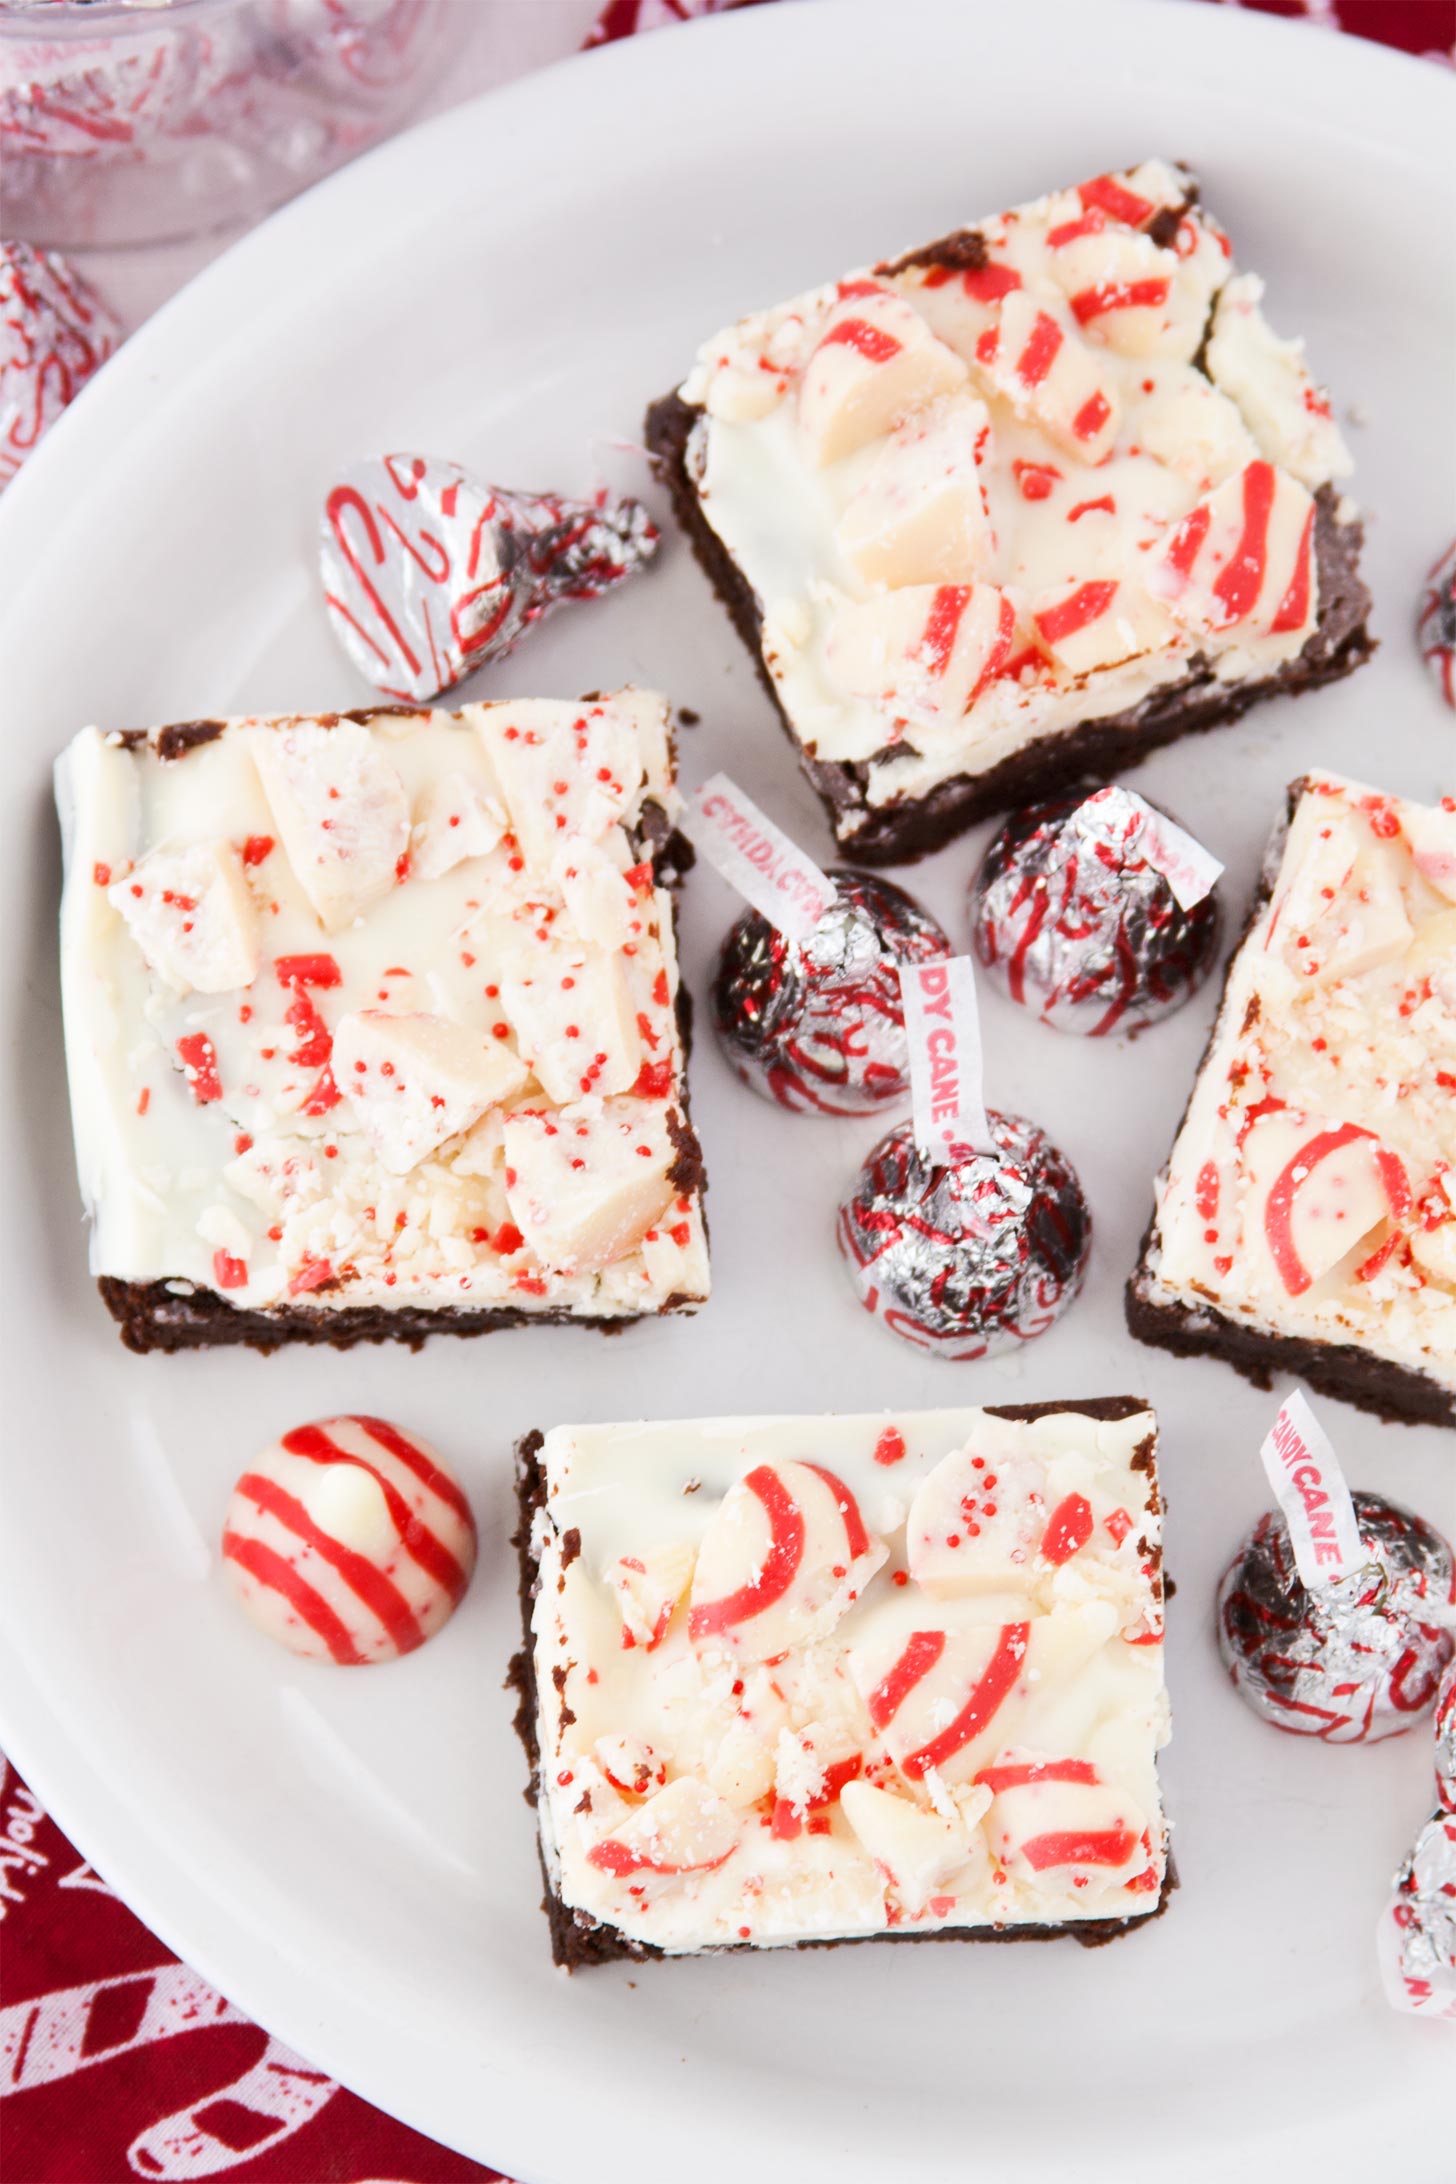
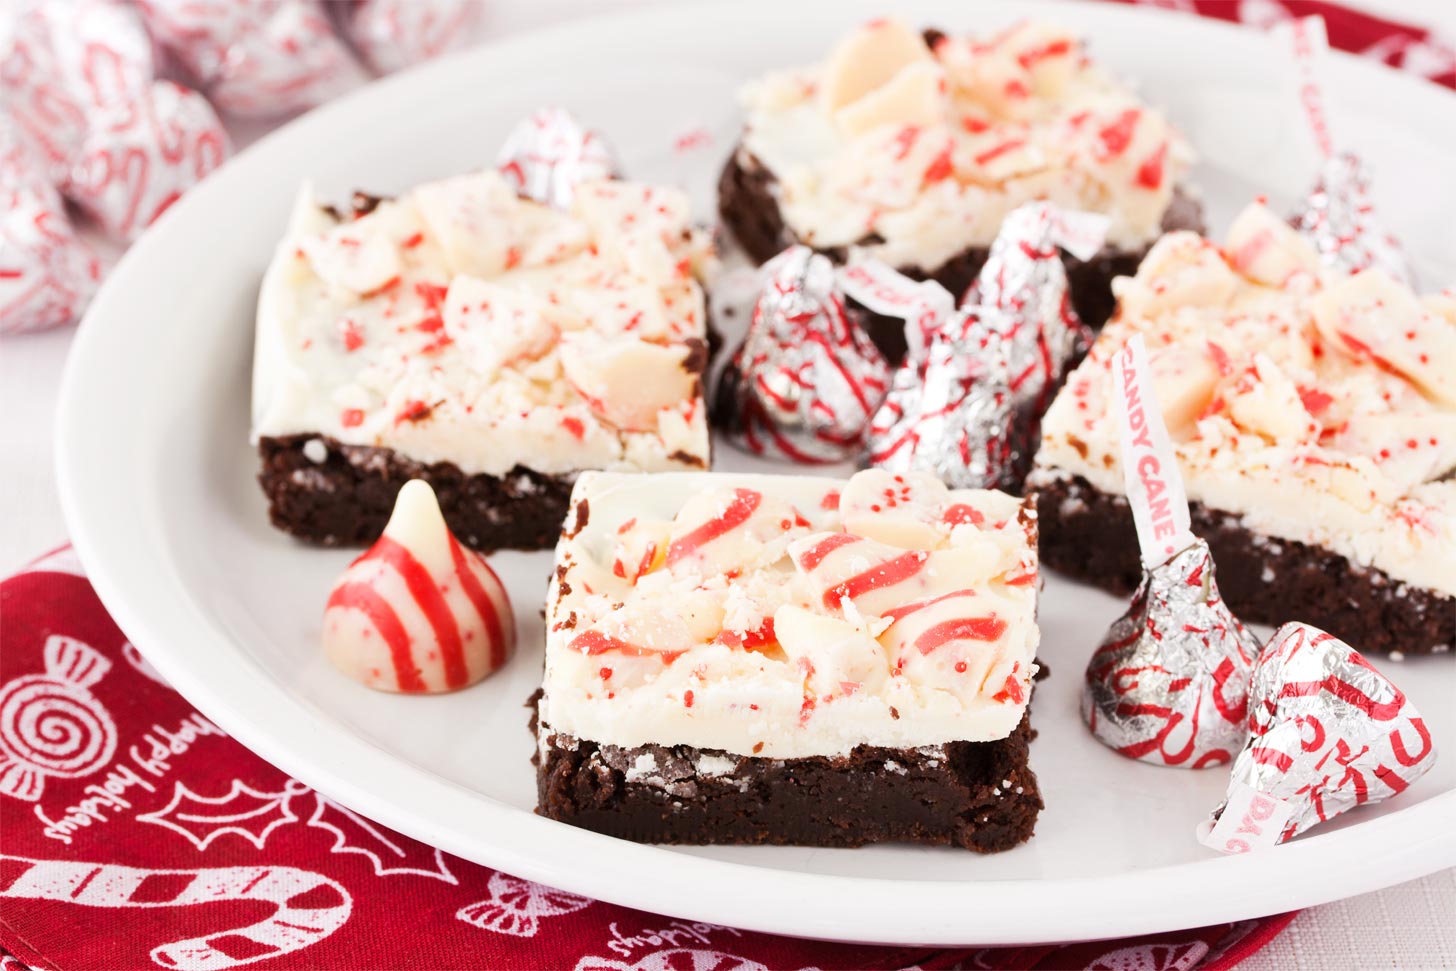
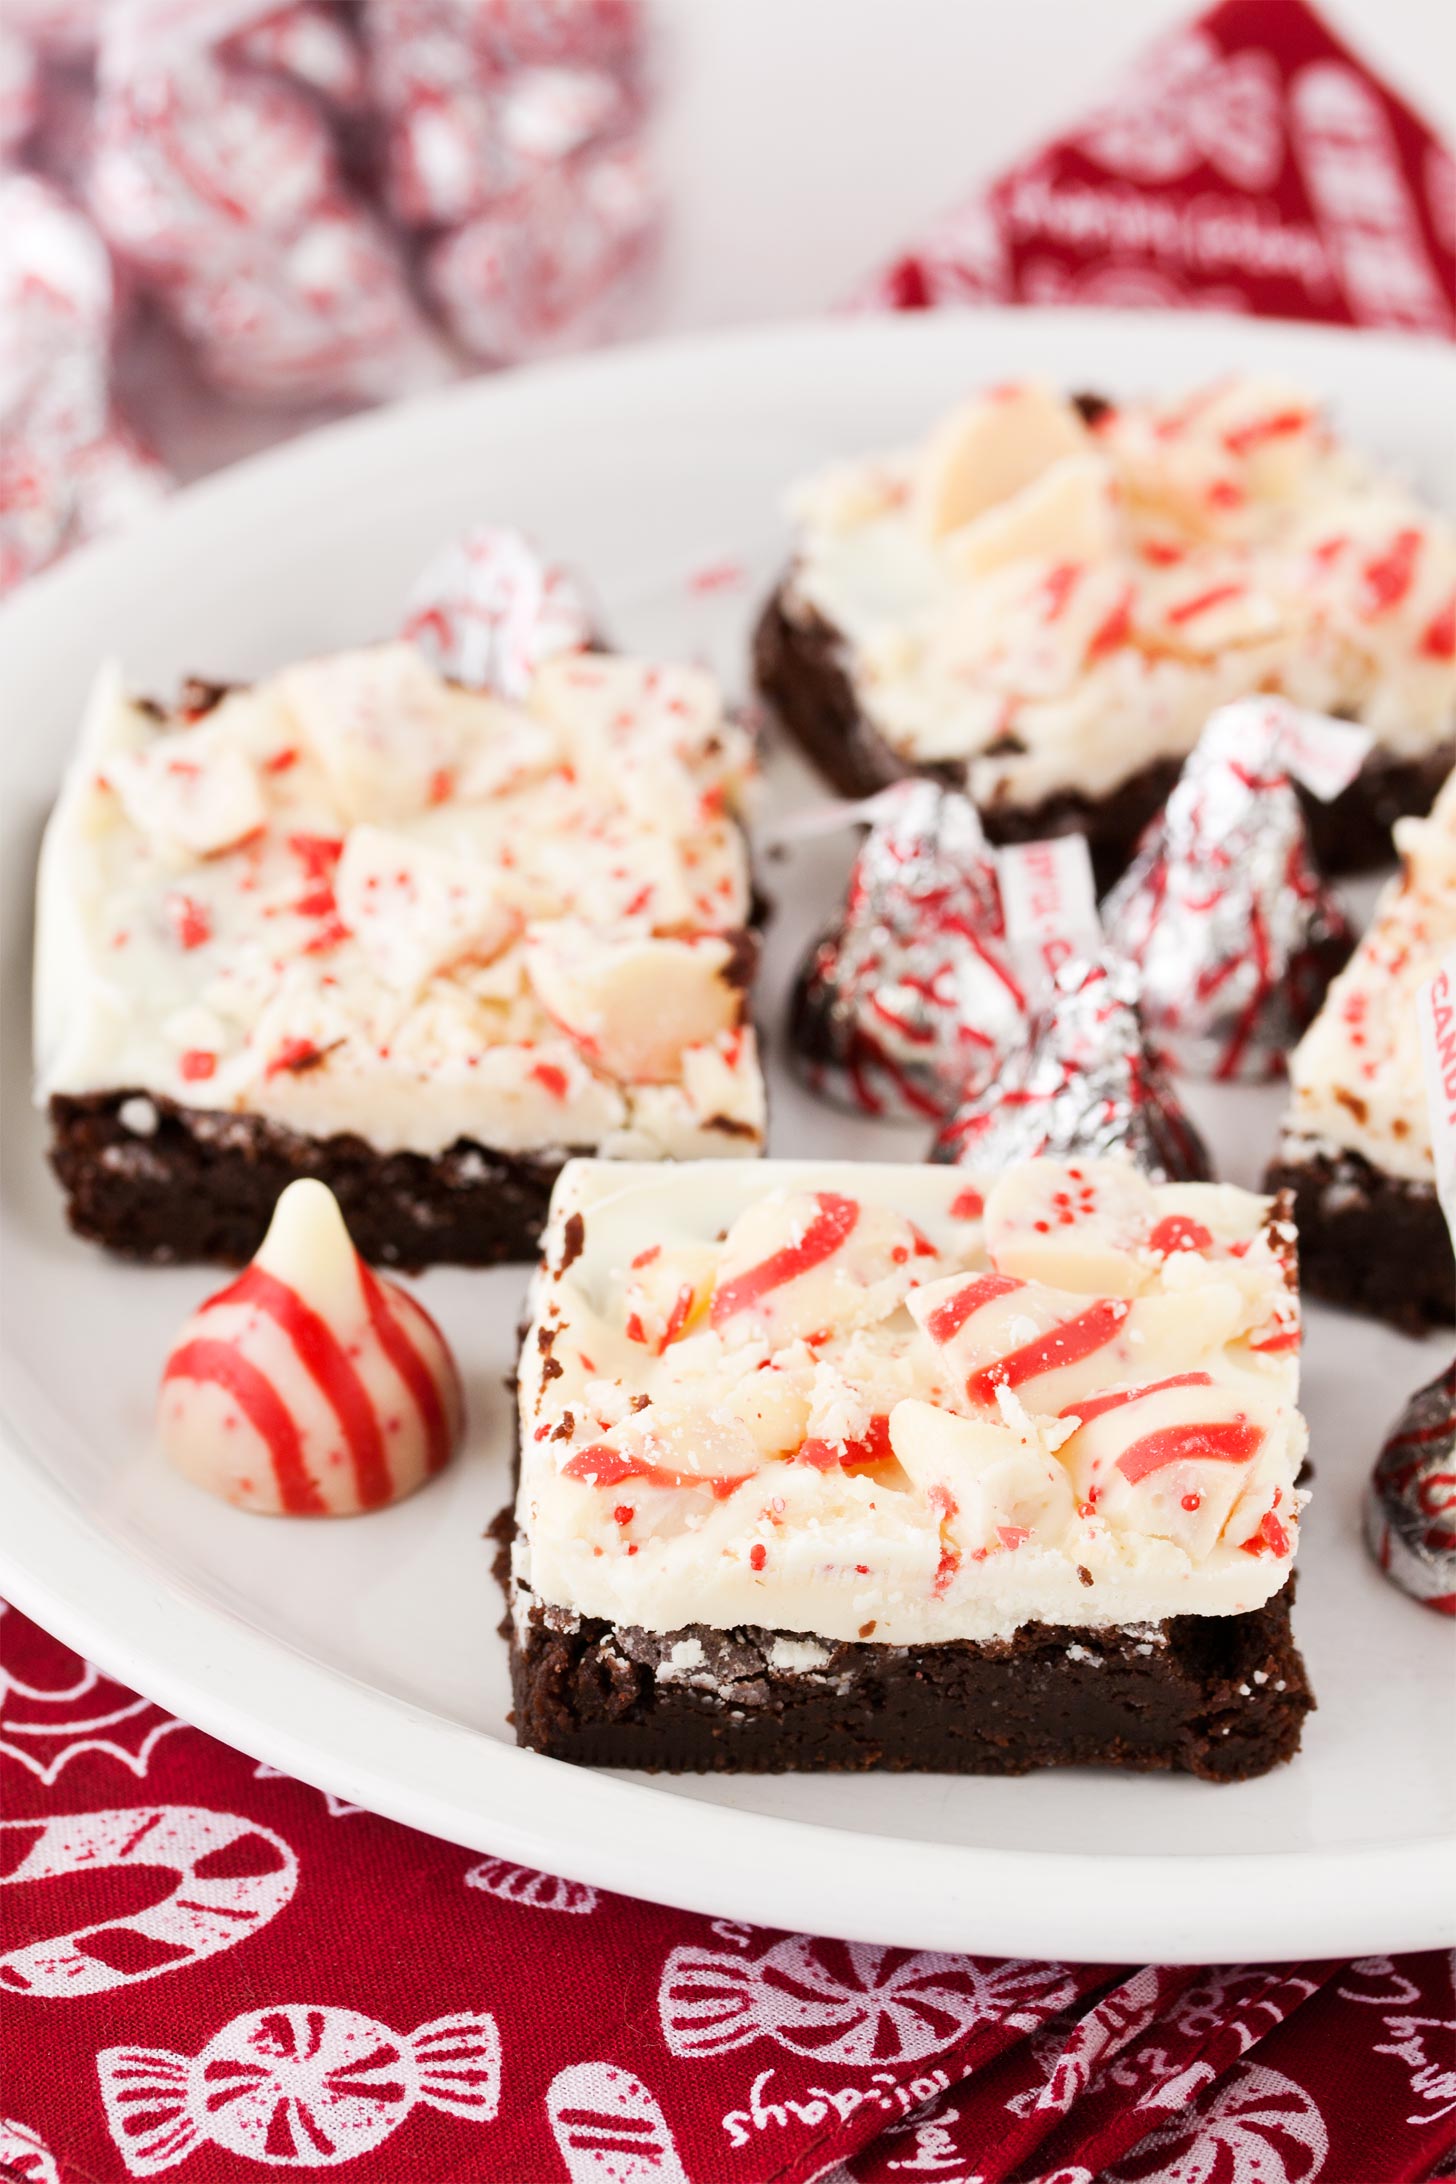
If you love peppermint bark candy, then you’ll love these rich and chewy Peppermint Bark Brownies with a sweet layer of white chocolate and chopped candy cane kisses (or crushed peppermint) on top! Baked in an 8×8 pan, they’ll add holiday magic to your Christmas cookie tray.

Nothing says Christmas dessert quite like peppermint and chocolate together.
There’s peppermint hot chocolate with peppermint whipped cream of course, peppermint brownie cookies, and peppermint cheesecake with a chocolate cookie crust.
Another super duper popular Christmas candy? Peppermint bark, which is a layer of chocolate with peppermint extract and crushed candy canes.
I decided to take that concept one step further with these Peppermint Bark Brownies!
They’re rich and chewy peppermint brownies (similar to my small batch brownies) topped with homemade peppermint bark using white chocolate and chopped up candy cane kisses.
Of course you can easily use crushed up candy canes, but I’m obsessed with seasonal candy for the limited edition flavors. Plus they’re a little easier to eat as I’m not a huge fan of hard candy.
Even though these are fudgy and decadent brownies, nobody is going to complain if you add them to your Christmas cookie tray. I know I certainly wouldn’t.
Forget the milk and cookies – Santa really wants a pan of these candy cane brownies!
Ingredients For Peppermint Bark Brownies
To make your peppermint chocolate brownie recipe, you’ll need the following pantry ingredients:
- Butter: Adds richness and a chewy texture
- Unsweetened chocolate: Adds a fudginess that cocoa powder alone can’t accomplish. If using sweetened, you’ll have to reduce the sugar.
- Cocoa powder: Adds a deep chocolate flavor that baking chocolate can’t achieve alone.
- Sugar: Sweetens the batter as well as help contribute to shiny, cracked tops.
- Salt: Ensures your peppermint brownies aren’t bland.
- Egg: Adds structure and moisture
- Peppermint extract: Where these peppermint brownies get their candy cane flavor
- Flour: Used to thicken the batter
- White baking chocolate: Used for the base of the peppermint bark
- Shortening: Helps the chocolate melt smoothly and gives the chocolate more of a snap when eaten. I prefer shortening over butter because dairy can cause chocolate to seize more and may make the color more off-white than white
- Candy cane kisses or crushed candy canes: Adds a minty crush to the bark layer
What if I don’t like white chocolate?
You can easily substitute semisweet or dark chocolate for white chocolate in your candy cane brownies.
How To Make Peppermint Bark Brownies
Here’s how to make your brownies with peppermint bark:
- Melt butter and unsweetened chocolate.
- Whisk in cocoa powder, sugar, and salt.
- Beat in egg and peppermint extract.
- Stir in flour then transfer to an 8×8 pan.
- Bake at 350F for 25-30 minutes.
- Melt white chocolate and shortening.
- Spread on top of cooled brownies then top with candy cane candy.
Store leftovers in airtight container for up to 1 week. Refrigerate if the chocolate gets too soft from a warm kitchen.
Other Bark Flavors
If you’re not a fan of peppermint bark, check out chocolate pretzel bark and banana bark.
More Brownie Recipes
If you enjoyed this peppermint chocolate brownie recipe, you’ll love these other brownie recipes:
- Brownies For Two
- Microwave Brownie
- Peanut Butter Brownies
- Peanut Butter Cheesecake Brownies
- Guinness Brownies
- Chocolate Covered Strawberry Brownies

Peppermint Bark Brownies
If you love peppermint bark candy, then you’ll love these rich and chewy Peppermint Bark Brownies with a sweet layer of white chocolate and chopped candy cane kisses (or crushed peppermint) on top! Baked in an 8×8 pan, they’ll add holiday magic to your Christmas cookie tray.
Ingredients
- 1/2 cup (4 ounces or 8 tablespoons) unsalted butter, cut into 8 pieces
- 2 ounces unsweetened chocolate*, chopped
- 1/2 cup unsweetened cocoa powder, sifted
- 1 + 1/4 cups granulated sugar
- 1/4 teaspoon table salt
- 1 large egg, room temperature
- 1 teaspoon peppermint extract
- 3/4 cup all-purpose flour, sifted
For the glaze
- 8 ounces white chocolate, chopped
- 2 tablespoons shortening
- 1 cup chopped candy cane kisses or crushed peppermint candies
Instructions
- Preheat oven to 350F. Line an 8x8 pan with parchment paper.
- In a large saucepan, melt together the butter and unsweetened chocolate.
- Remove from the heat and whisk in the cocoa, sugar, and salt (mixture will be grainy - keep going).
- Beat in the egg and peppermint extract.
- Switch to a rubber spatula then stir in the flour, being careful not to overwork the batter.
- Spread the batter into the pan and bake for 25-30 minutes or the edges pull away from the pan, the middle no longer looks wet, and a toothpick inserted in the center comes back with a tiny bit of chocolate but not wet batter. Cool completely.
- Once the brownies are cool, make the glaze: Add white chocolate and shortening to a large heatproof bowl.
- Bring a medium saucepan of water to a simmer. Once simmering, remove it from the heat then add the white chocolate bowl on top (do not let the bowl touch the water). Very gently and slowly melt the chocolate using a rubber spatula until smooth.
White chocolate is very delicate to melt, so do not use high heat, do not rush the melting, and do not get any moisture in the bowl or it'll seize up. If this happens, you'll have to start over. - Spread on top of the brownies then top with kisses or peppermint candy. Let harden before serving (you can chill in the refrigerator to speed up the process).
Store in an airtight container for up to 1 week. Refrigerate if the glaze gets too soft from a warm kitchen.
Notes
- *To substitute semisweet chocolate, reduce the sugar to 1 cup.
- If you enjoyed this recipe, check out my Small Batch Brownies, Guinness Brownies, and Chocolate Covered Strawberry Brownies.
Recommended Products
As an Amazon Associate and member of other affiliate programs, I earn from qualifying purchases.

This post may contain affiliate links. As an Amazon Associate and member of other affiliate programs, I earn from qualifying purchase.
I think chocolate and peppermint were created to go together…what a fun idea!
It’s like you condensed Christmas and baked it
i love peppermint bark. it sounds even better like this!
Oh, man, my family would inhale these luscious brownies! So yummy and festive!
I have to admit, I’m a sucker for white chocolate anything!
Oh my gosh… these are genius! I love peppermint-flavoured brownies, but those crunchy bits of candy cane always get stuck in my teeth and ruin the experience. Using candy cane kisses sounds perfect.
I have to admit I’m not a fan of peppermint (it doesn’t do well in my system). Such a share because they are so pretty with the red and white kisses. I do see the possibilities with using different flavored kisses with these brownies. The white chocolate bark top would make any of the kisses stand out.
I like the peppermint, so you need to share with me! I spotted the candy cane and cherry cordial kisses at the market today and was so tempted to buy them, but I don’t need to bake anymore stuff than I already am!
Those kisses are my favorite! And pairing them with brownies was a genius move!
We make peppermint bark every year because it’s a Christmas thing. You’ve got to. I love that you used the peppermint Kisses on the brownies though, Carla. Much easier on the teeth!
Two great flavors together, these look pretty and YUMMY!
Hi Carla
I am just curious what the addition of shortening is for in the melted white chocolate ?
I have all the ingredients now I’m good to go woohoo
Robyn 🎄
It helps give it a smoother consistency since you’re spreading it over the brownies. Plus white chocolate is finicky so the extra fat can help with melting.