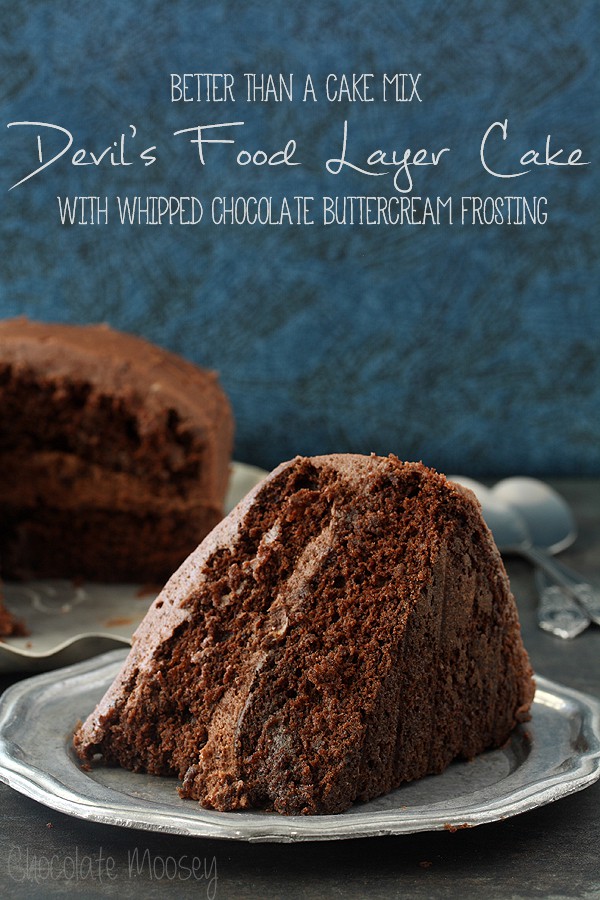
Devil’s Food Layer Cake with Whipped Chocolate Buttercream Frosting
A simple Devil’s Food Layer Cake with Whipped Chocolate Buttercream Frosting tastes just like a boxed mix but better because of one special secret ingredient. It’s also the perfect chocolate cake to celebrate a special occasion.
Seven years ago this month (yesterday to be exact), I started a journey I didn’t expect to take. I wrote my first post as a food blog and haven’t stopped since.
Sure, I took breaks while I finishing up my college degree, but I kept going.
It wasn’t until about two years ago that I got serious with blogging.
There are days where I wonder why I put so much energy into it, but the truth is there’s nothing else I’d rather do in my free time.
Why spend my evenings wasting away on the couch watching tv when I can be doing what I love?
And sure, this isn’t my full time job, but this journey has taught me so much. How to be open with others, how to challenge myself, how to be nicer to myself.
It has taken me places I didn’t think I would go and meet friends I didn’t expect to meet.
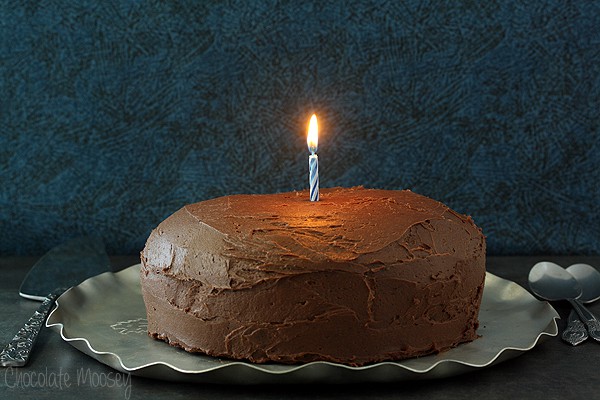
And now it’s starting to take me down a path I didn’t know existed to hopefully the next chapter in my life. So as with any anniversary celebration, it’s only appropriate to celebrate with cake.
I chose Devil’s Food Layer Cake with Whipped Chocolate Buttercream Frosting because it’s very similar to the cake from a box my mom made me growing up.
Can’t go wrong with an easy chocolate cake and a sinful chocolate frosting.
Mom usually made me a Devil’s Food Cake from a box, and I can happily say this is the from scratch version that tastes almost exactly like its cake mix cousin.
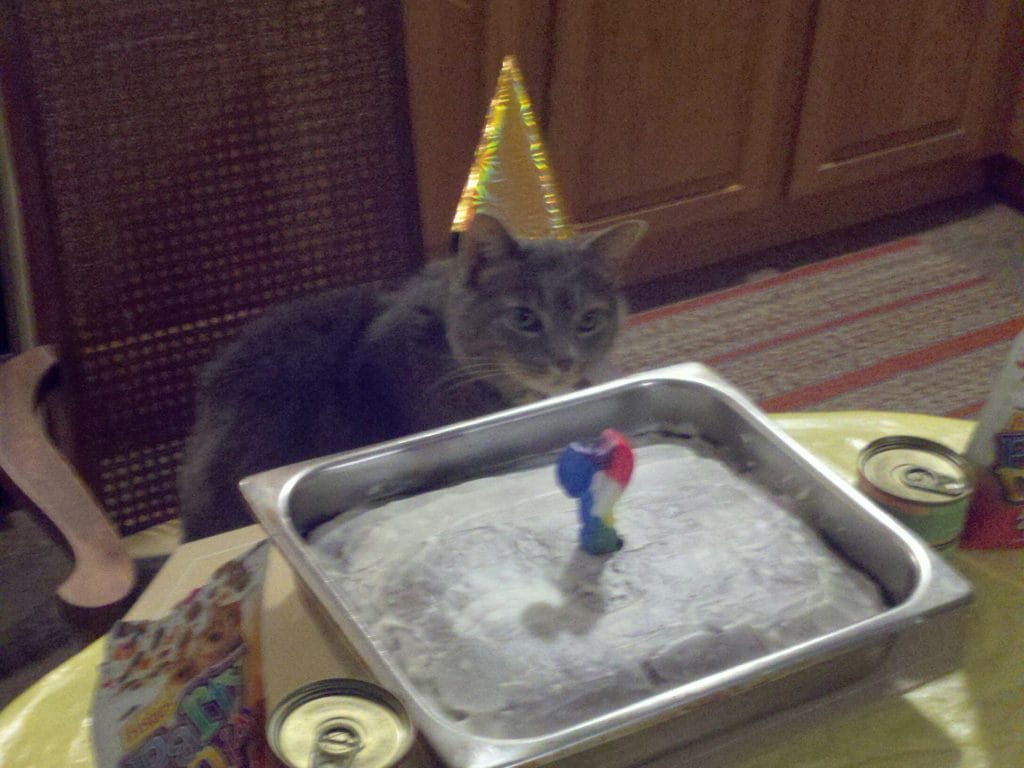
Also, I couldn’t resist sharing this picture again of Murray with his devil’s food cake. Do you think they have cakes in kitty heaven? (disclaimer to animal activists – no he didn’t actually eat it)
I amped up the cake by using a special secret ingredient – coffee.
Don’t worry if you don’t like coffee; you can’t actually taste it. It’s there to enhance the chocolate flavor.
If I handed you a piece of cake, you wouldn’t say coffee was in there.
However, if you don’t have coffee in the house, just use an equivalent amount of hot water.
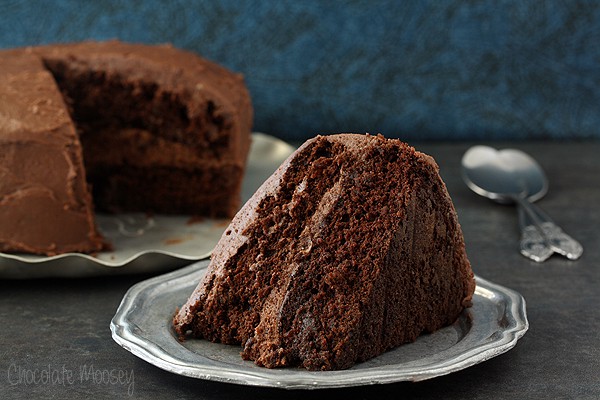
Why is it called Devil’s Food Cake anyway?
That question stumped me because isn’t it just a chocolate cake? After researching a bit, I still don’t know.
Some recipes use cocoa powder and melted chocolate. Others use only cocoa. Some use boiling water/coffee. Others don’t.
I have two theories – 1. It was named to counter Angel Food Cake and 2. This cake is so sinful, rich and decadent that it makes you want to be a glutton, which is one of the deadly sins (hence, Devil’s Food).
Leave me a comment with your theory!
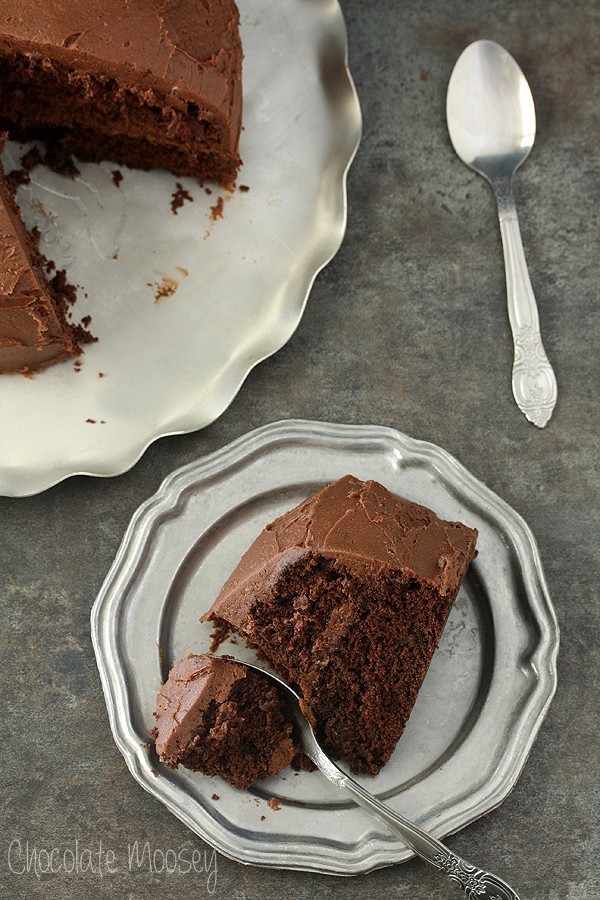
For the frosting, it’s called whipped buttercream because it’s a cross between chocolate whipped cream and chocolate frosting.
That also means refrigeration, but all you need to do is let the cake sit out at room temperature for 30 minutes to soften.
You can also pair devil’s food cake with Strawberry Cream Cheese Frosting. You’ll have to double the recipe to frost an entire 2 layer cake.
Only want to make one layer? Check out my Single Layer Chocolate Cake.
Equipment you may need (Amazon affiliate links):
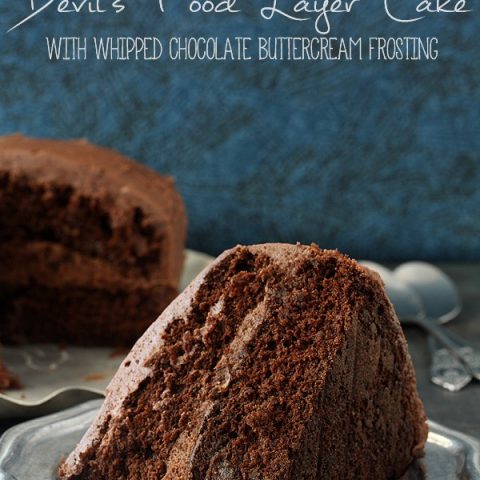
Devil's Food Layer Cake with Whipped Chocolate Buttercream Frosting
A simple Devil’s Food Layer Cake with Whipped Chocolate Buttercream Frosting tastes just like a boxed mix but better because of one special secret ingredient.
Ingredients
- 1 1/3 cups all purpose flour
- 1/2 cup unsweetened cocoa powder
- 3/4 teaspoon baking soda
- 1/2 teaspoon baking powder
- 1/4 teaspoon salt
- 10 tablespoons unsalted butter, softened
- 1/2 cup brown sugar
- 1/2 cup granulated sugar
- 3 eggs
- 1 teaspoon vanilla extract
- 2 ounces bittersweet chocolate, melted
- 1/2 cup milk
- 1/2 cup hot coffee or hot water
Frosting
- 1 1/2 cups (3 sticks or 12 ounces) unsalted butter, softened
- 3 cups powdered sugar
- 1/2 cup unsweetened cocoa powder
- Few pinches of salt
- 1 teaspoon vanilla extract
- 3 tablespoons heavy whipping cream
Instructions
- Preheat oven to 350F. Lightly grease two 8-inch round cake pans then line the bottoms with parchment paper (cut to fit the bottoms only).
- In a medium bowl, whisk together the flour, cocoa, baking soda, baking powder, and salt.
- In a large mixing bowl, beat together the butter, brown sugar, and sugar until light and creamy, about 2-3 minutes. Beat in the vanilla and eggs, one at a time, until fully incorporated (don't be concerned if it looks curdled). Beat in the melted chocolate.
- Add the flour mixture alternately with the milk, adding the flour in 3 additions and the milk in 2 additions (begin and end with dry ingredients). The batter should be thick like frosting. Carefully add in the hot coffee or water.
- Divide the batter evenly between the two pans. Bake 25-30 minutes or until a toothpick inserted in the middle comes out clean. Cool in the pans for about 15 minutes, run a knife along the edge of the pan to loosen, and invert onto a cooling rack or plate. Cool right-side-up.
- For the frosting: In a large mixing bowl, beat the butter, powdered sugar, cocoa powder, and salt until smooth and creamy, about 2-3 minutes. Add the vanilla and cream. Beat for about 2-3 minutes until light and fluffy.
- If the cake layers have rounded tops, use a long serrated knife and a gentle sawing motion to cut off the rounded part and have flat layers.
- Place one cake layer on a serving plate or stand. Place small strips of parchment paper underneath the cake for easy clean up after frosting. Using a long metal icing spatula, cover the top generously with frosting.
- Top with the second layer (top side up) and gently press down to stick. Cover the entire cake with a thin layer of frosting (don't use all of it just yet), enough to capture possible crumbs (you should still see some of the cake peeking through). Refrigerate the cake 15 minutes.
- Finish frosting the whole cake with the remaining frosting. Pull out the parchment paper strips and discard. Refrigerate for at least one hour before serving. Bring to room temperature at least 30 minutes before eating.
Adapted from: Baking: From My Home to Yours
—-
If you enjoyed this Devil’s Food Layer Cake with Whipped Chocolate Buttercream Frosting, you may also like these recipes:
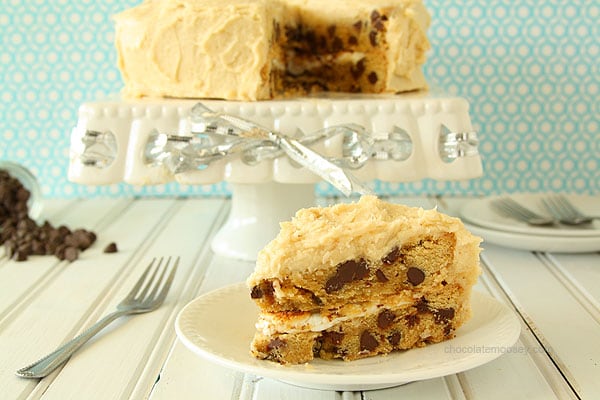
Chocolate Chip Cookie Cake with Toasted Marshmallow Filling and Cookie Dough Frosting
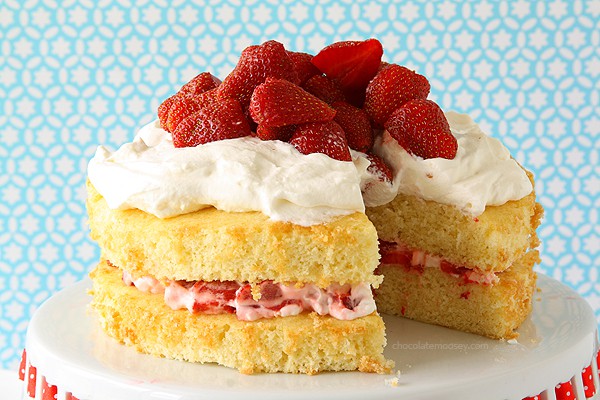
Strawberry Shortcake Layer Cake
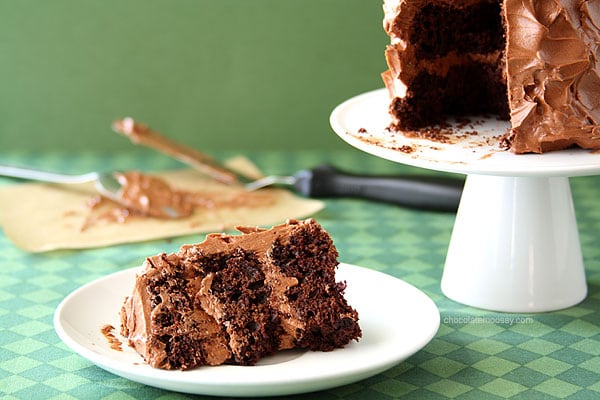
Mini Layered Guinness Cake with Irish Cream Ganache Frosting
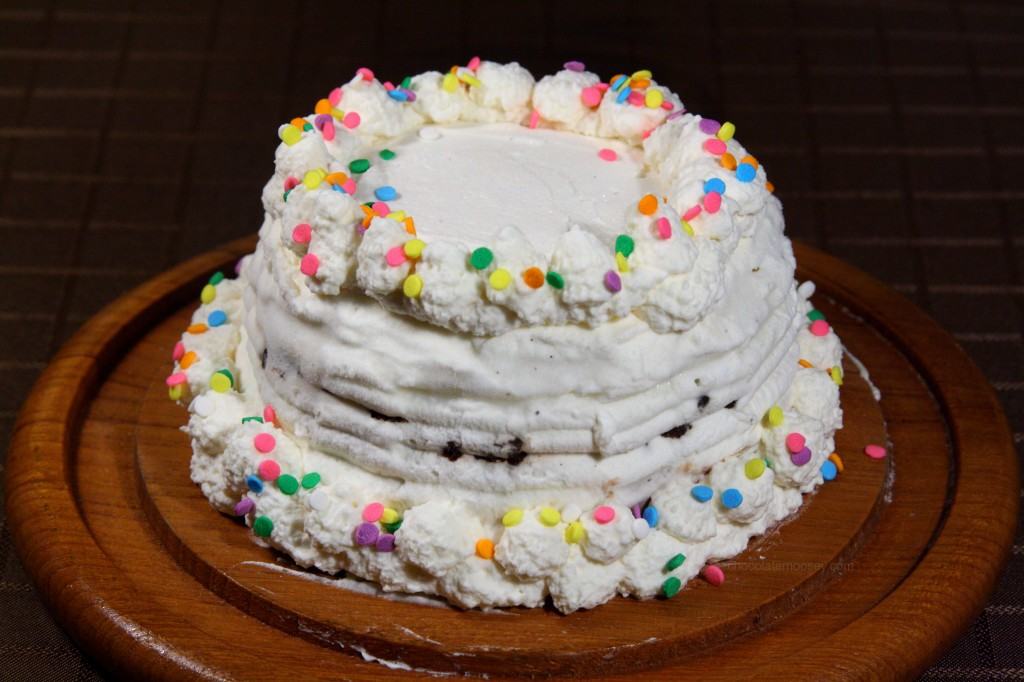
Copycat Dairy Queen Ice Cream Cake
This post may contain affiliate links. As an Amazon Associate and member of other affiliate programs, I earn from qualifying purchase.


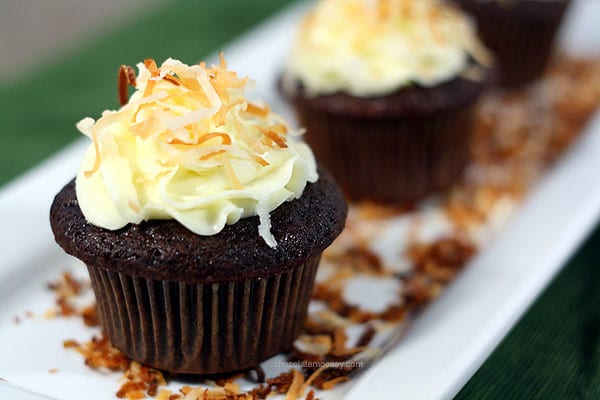
It looks like a perfect chocolate cake, indeed!
Congrats on 7 years girl! I’m just about at my one year mark, so I am in awe of you! This cake looks FABULOUS! All that chocolate…YUM! Oh, and I LOVE that you used coffee – it makes chocolate so good! Pinned!
Congratulations, Carla! For a hobby, you rock the socks off of food blogging ;). And as a house full of HUGE Devil’s Food lovers, I know this will be made soon (perhaps my son’s birthday in a few days)!
WOOOOWW! I just want to face plant in this cake. Please.
Happy anniversary and I’m looking forward to seeing where this journey takes you. The cake looks wicked good and I’m a big believer in adding coffee to chocolate cake, even though I don’t like coffee per se.
Happy bloggie birthday Carla! 7 years is an amazing milestone. And that devil’s food cake looks so sinful! (Fun fact: I researched once why some chocolate cakes use boiling water, and it’s to help dissolve the cocoa powder so acts more like melted chocolate than powder. Some people say it also helps the cocoa powder “bloom” and enhances the flavor, but since blooming is not usually something you want chocolate to do, I’m not so sure of that.)
::wipes drool from Macbook::
That looks AMAZING. I add coffee to my favorite chocolate cake, too – it really enhances the flavor!
Happy 7 year blogiversary, my friend! What an amazing journey you’ve been on. Your blog is one of my favourites because you make the best food evaaaaah and I’m so happy and honoured to be able to call you a friend. These photos are gorgeous (so dark and moody. I need to learn how to take photos like this) and the cake is beyond. It looks so rich and moist and sinful, it’s perfect! I love the photo of Murray and the cake. Of COURSE there’s cake in cat heaven – but it’s made out of tuna and catnip and other cat-friendly foods.
YUM, look at all those cakes
Happy Blogaversary!!! I am SO happy we’ve become friends and I am constantly impressed by your food, strength, writing, etc. You’re amazing.
and this CAKE-is amazing toooo! SO chocolatey and insaaaane!
looks like the perfect chocolate cake!
Yum! Looks so, so good. Happy blog birthday!
I love the addition of coffee in chocolate cake. It adds moisture and amps up the chocolate flavor. Happy 7 years, Carla! You have come a long way, and I can’t wait to see what the future brings. It has been an abolute pleasure getting to know you over the past few years. Thank you so much for all of your professional help. This cake is gorgeous!
Happy 7 years Carla! So glad you started to take things seriously in the last two my blogging BFF :-) So what do I have to do convince you to make this for EWR? How about a mini version because there is nothing like chocolate on chocolate.
7 yrs—-significant number. I should put on my gypsy outfit and get out my crystal ball to see
if there is another 7 year run in you future. I am not much of a couch potato myself. I would rather be doing something, not in a driven way but because I enjoy it. Sweet blog—-good choice
of the cake to celebrate and the reason why you chose it. Smiles—–
Holy heck it’s breakfast, but I’d rather have a slice (or 4) of this cake. Looks phenomenal!! Congrats on 7 yrs :)
I’m a little late, but Happy Blogiversary! You have taught me co much and continue to inspire me, Carla! And this cake looks absolutely decadent.
Oh YUM! Even my husband leaned over to see this one – I love a layer cake and devil’s food is perfect!
When it comes to the name of this DELICIOUS cake, I couldn’t agree with you more! It does make me want to be a glutton!!
Oooh i made something very similar a few months ago, and it was delicious! Loved seeing how you had a different take on it. I’m definitely making this! thanks for sharing!
What a great Mother’s Day present for me! I made the Devils’s Food Cake and it was fantastic! Everybody wanted seconds.
This sounds like my husband’s favorite chocolate cake recipe that I use frequently which has coffee included. Folks, you really don’t taste the coffee. The chocolate is amped by the coffee, only. Really tastes like a chocolate cake! I’ve not tried this frosting before but I will! Fathers Day 2015 is fast approaching and this will be on the menu! Thanks for a fabulous post!
What a lovely Chocolate recipes here i love all my favorite chocolate recipes. Thanks for this lovely chocolate recipe. I am a chocolate lover.