

Apple Upside Down Cake
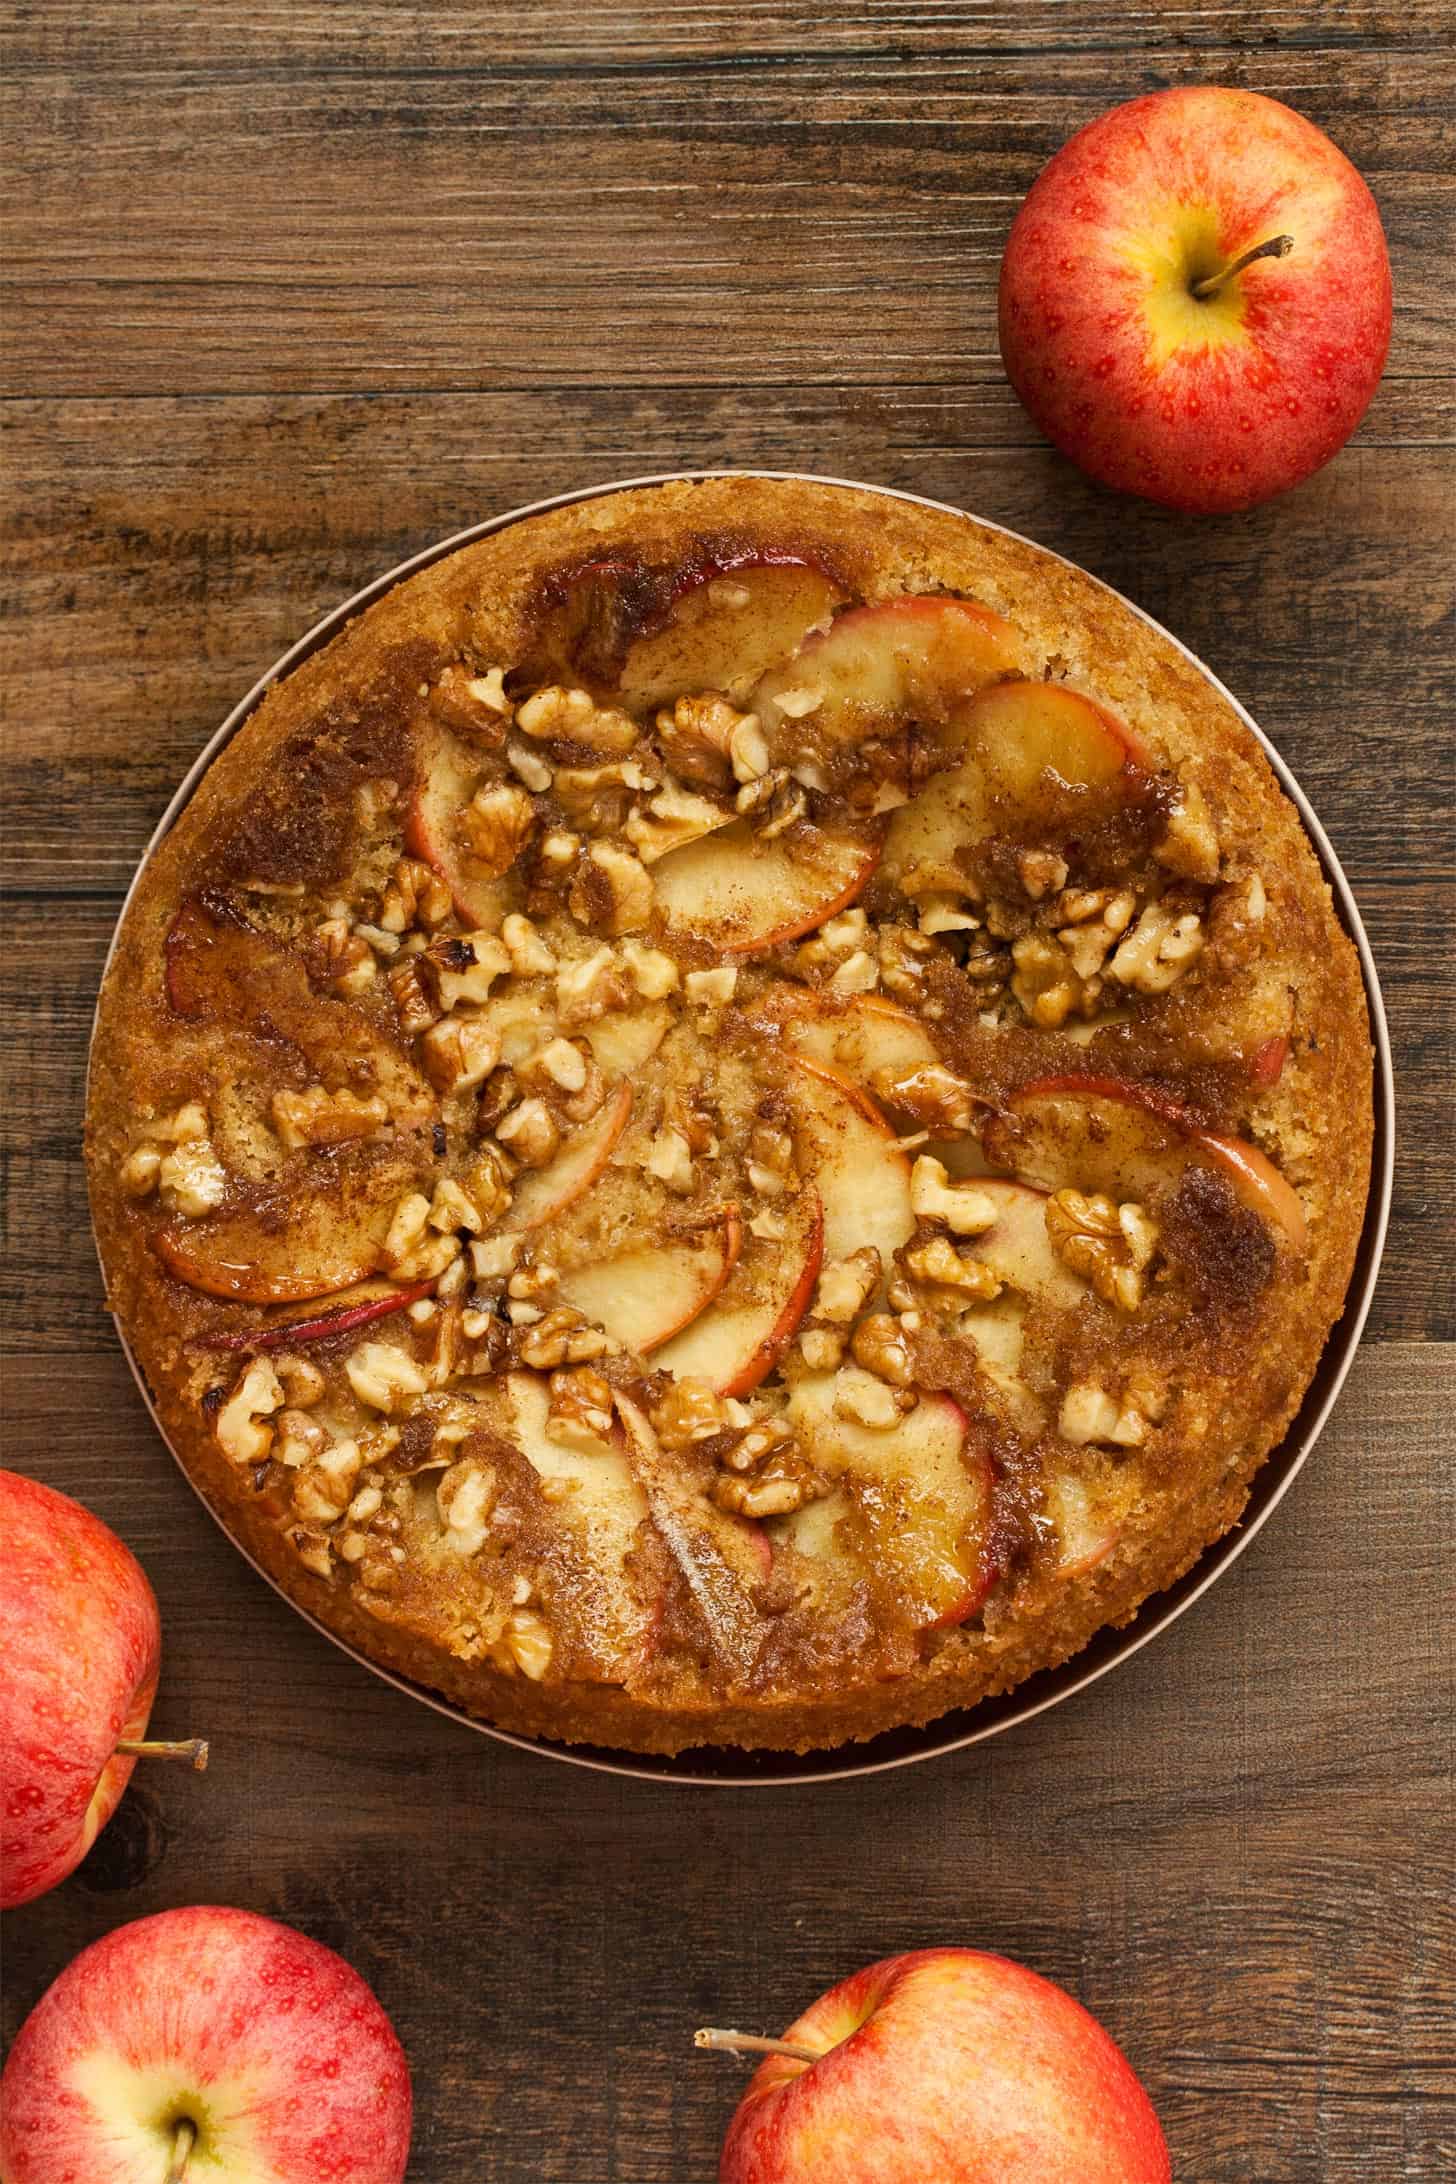
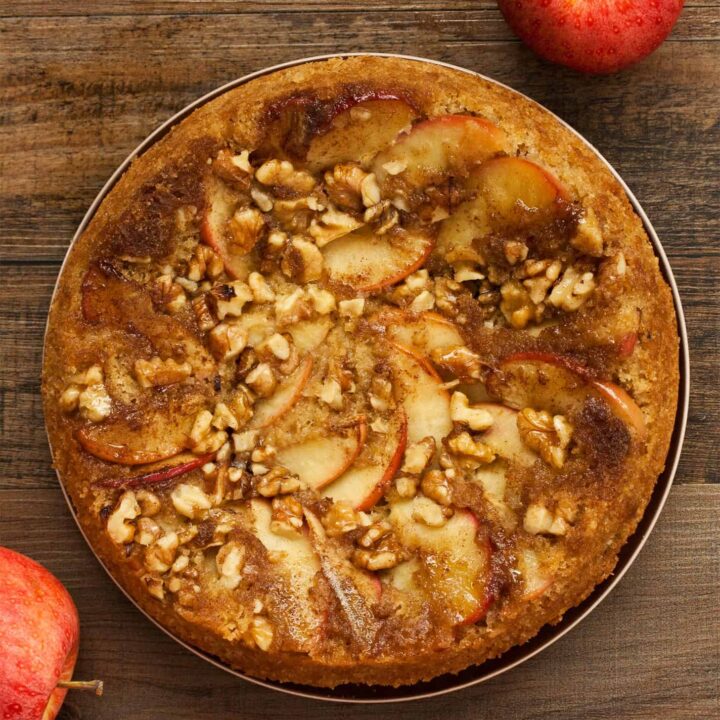
You’ll flip over how easy yet impressive it is to bake this Apple Upside Down Cake with caramelized apples, crunchy walnuts, and warm fall spices! Learn which apples are best for baking plus how to make both an 8 inch and 6 inch apple cake.
Every year I go to one of the local apple orchards to pick fresh apples. The bags they give you are TINY so I buy two for myself while my parents only need one.
The first time we tried going this year, it poured all day so the farm cancelled their picking for the day. I had to wait until the following weekend when the weather was much better.
Although I was upset with the rain delay, it sure was worth it to make this Apple Upside Down Cake!
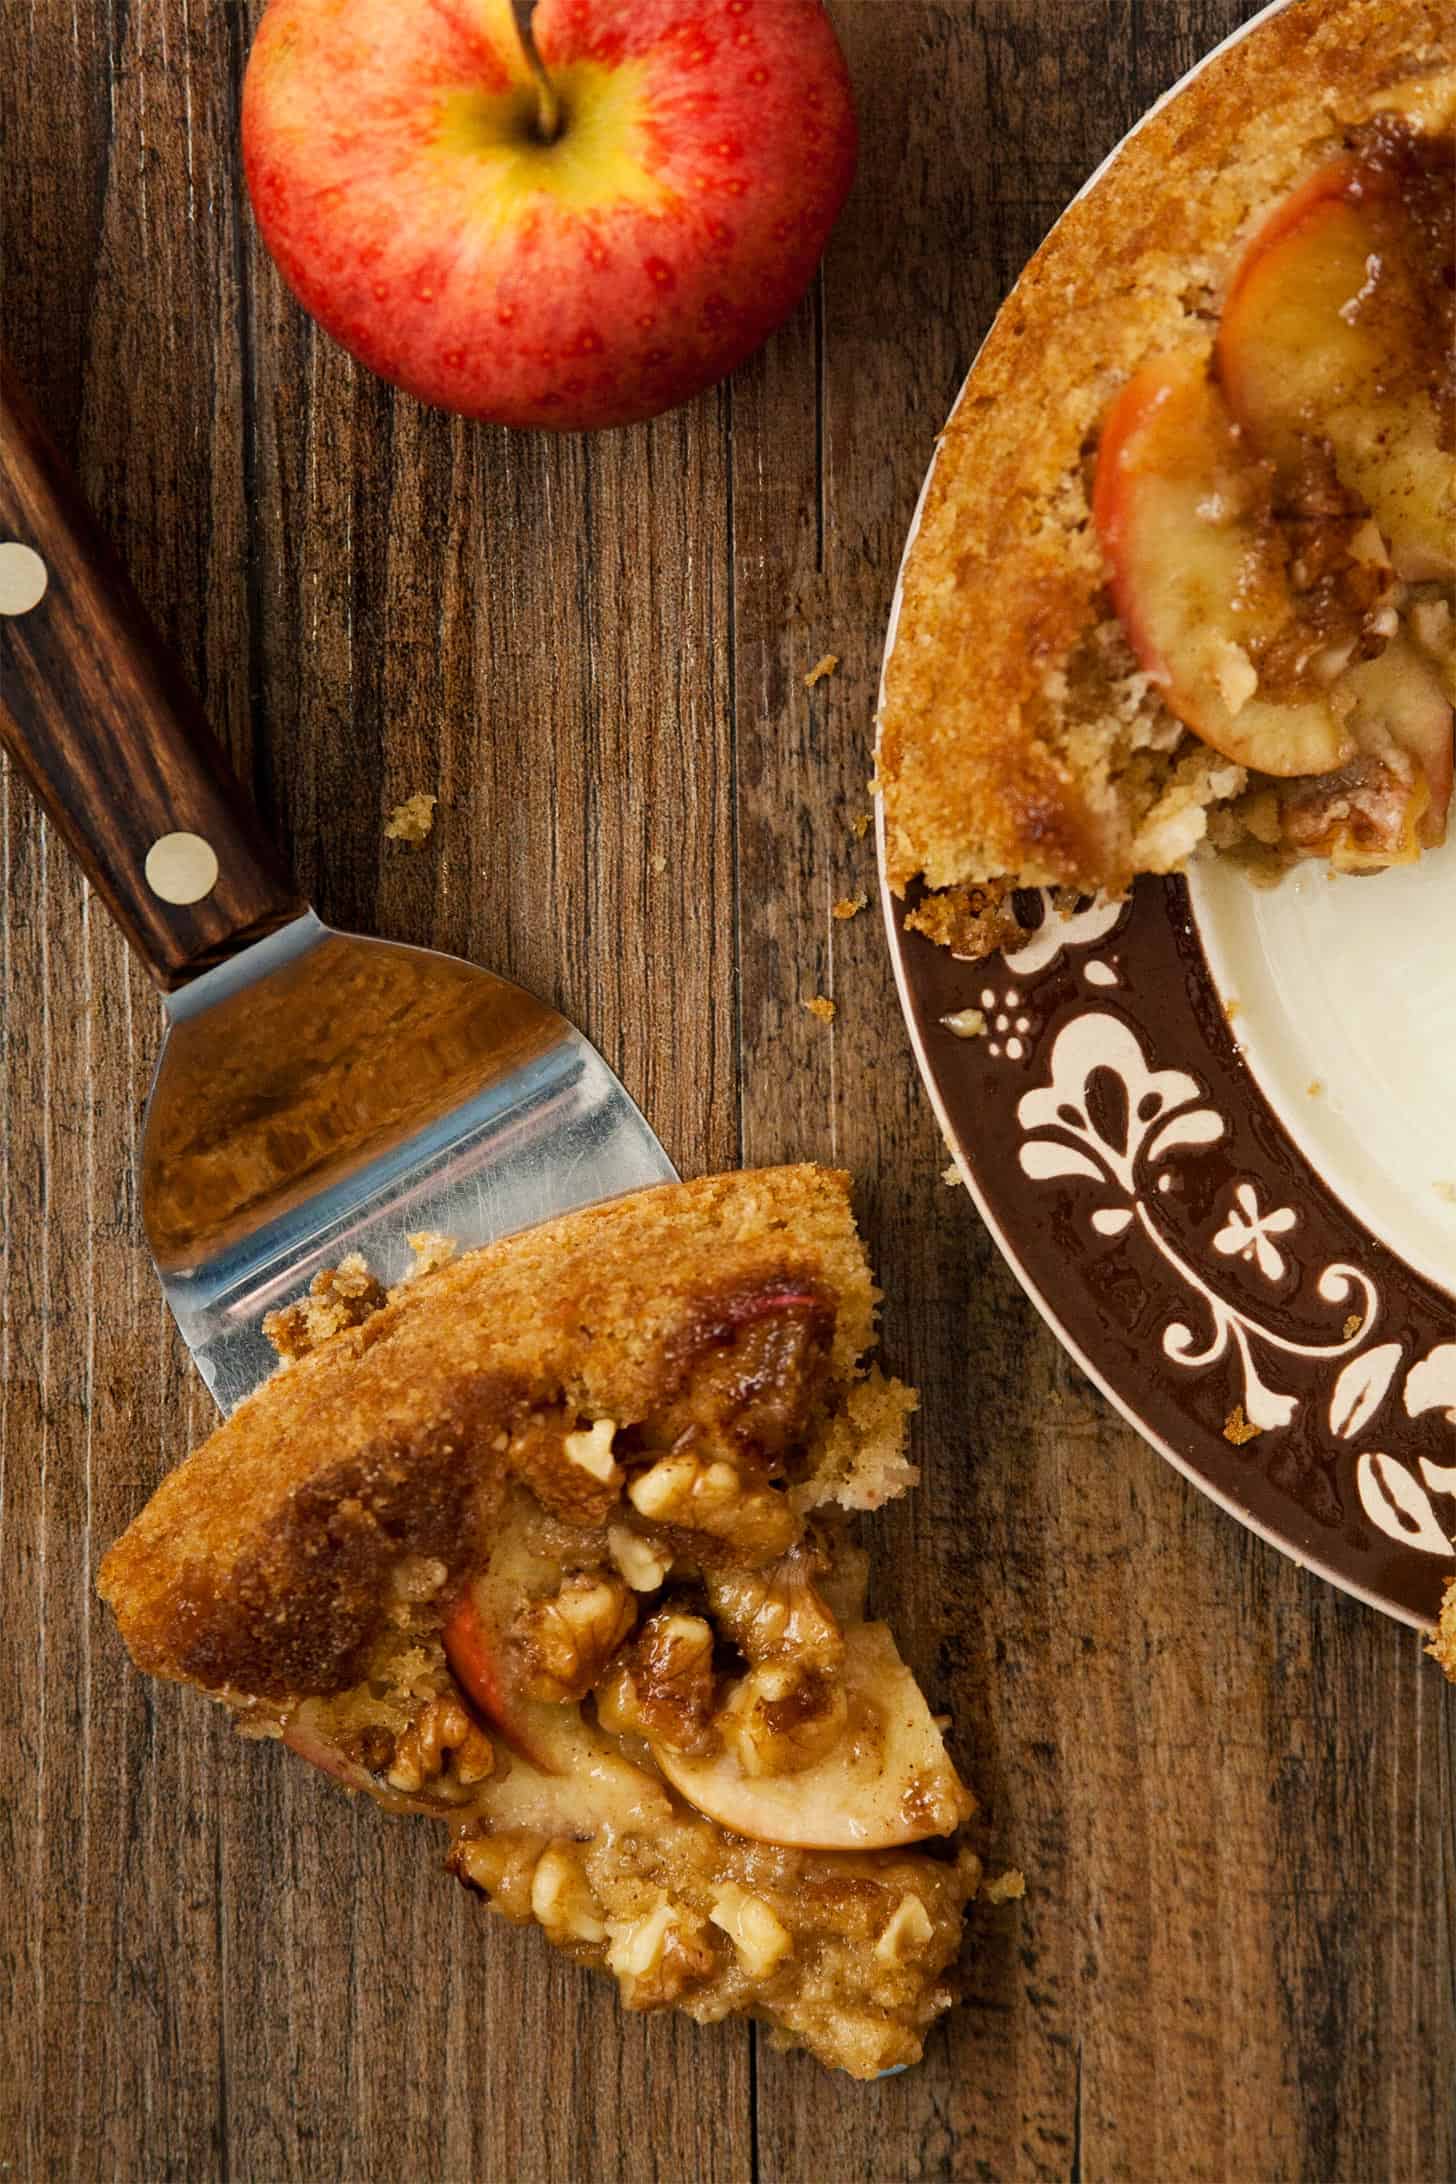
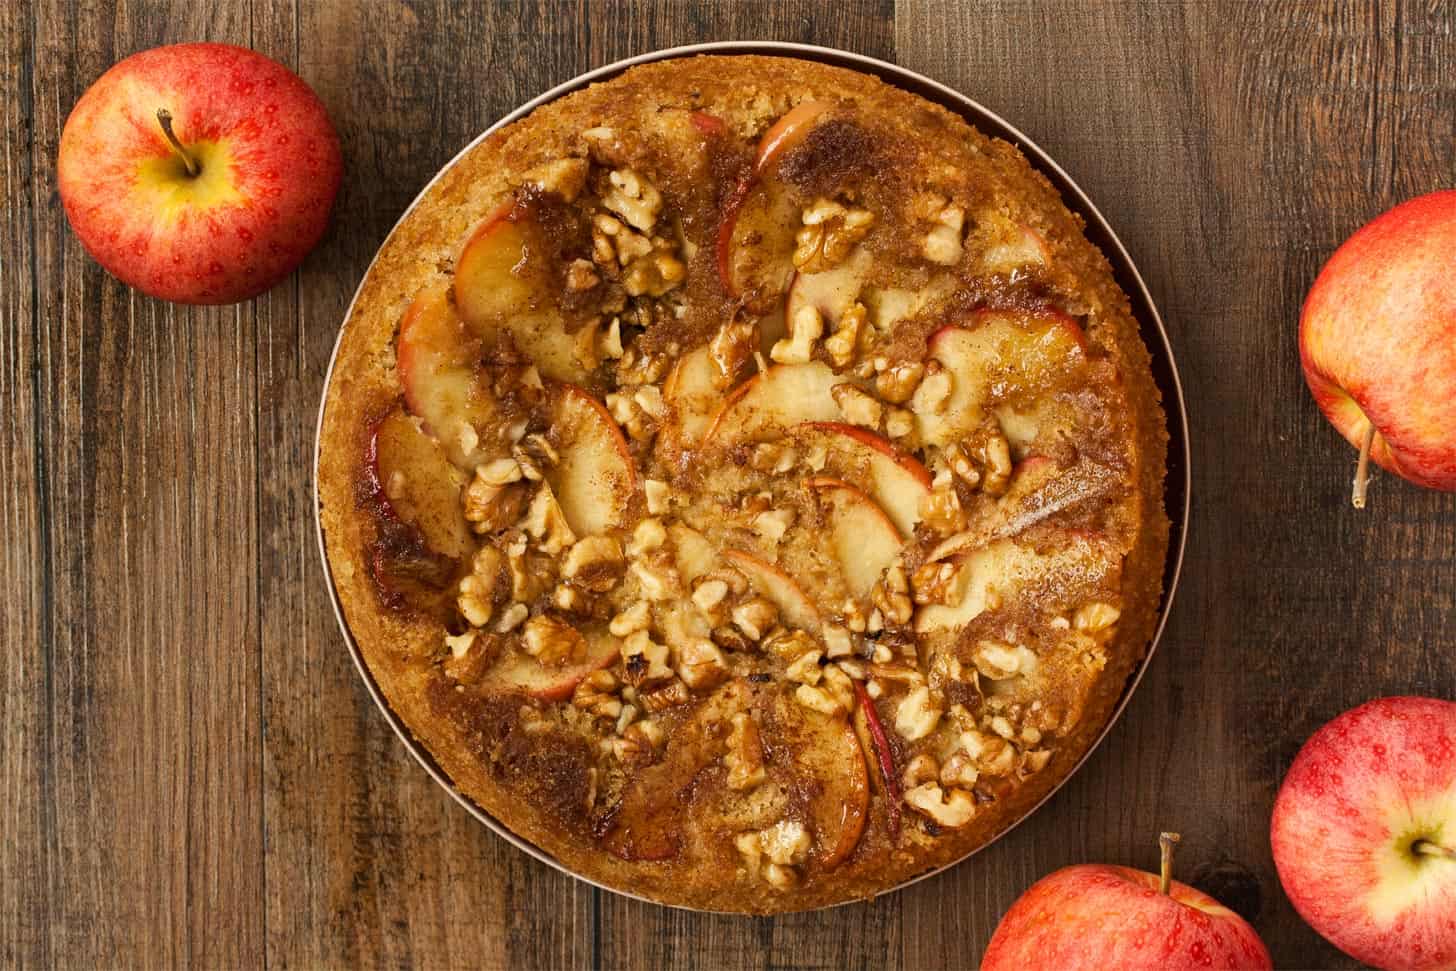
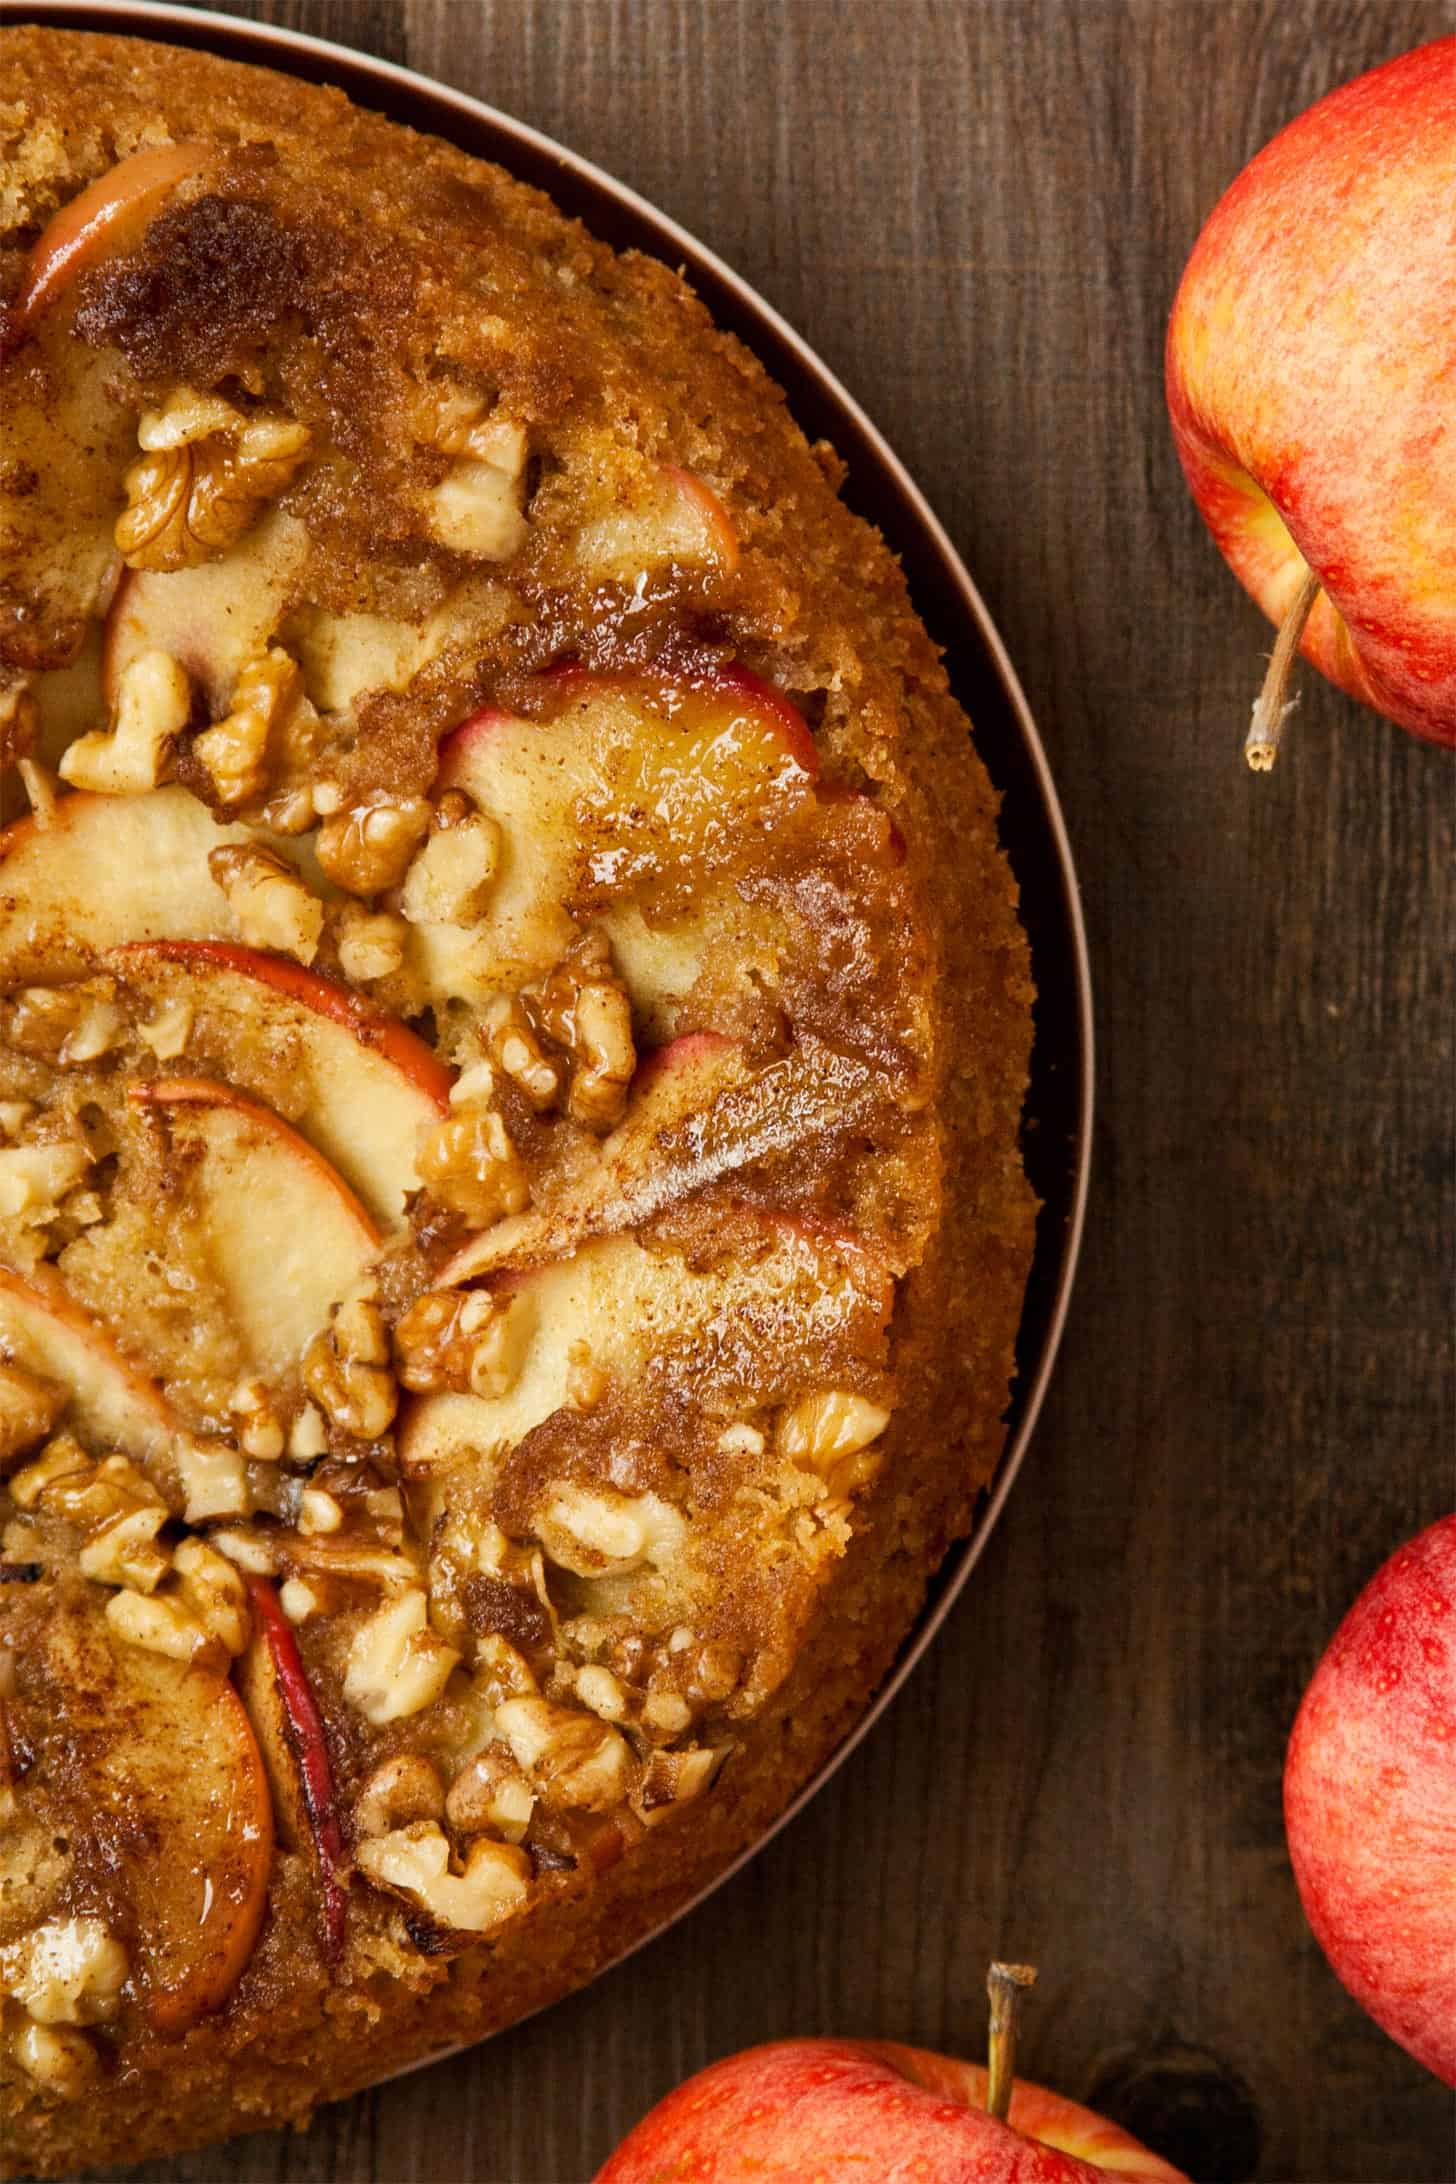
This is a homemade spice cake topped with caramelized apples and crunchy walnuts that doesn’t require fancy decorating skills because you flip it out of the pan to reveal an impressive gooey brown sugar apple topping.
It’s the cousin to my award-winning strawberry upside down cake which I love to make in the spring.
Unlike my apple fritter cake, this upside down version gives you caramelized fruit and crunchy nuts in every bite.
This upside down apple cake gets its flavor from warm fall spices – cinnamon, nutmeg, and clove – while sour cream adds moisture and a little tang to balance the sweetness.
As the weather gets chillier, it’s the perfect cozy fall dessert to eat with a cup of hot apple cider while wearing your favorite sweater and cuddling the cat.
The best part? I tested this apple upside down cake recipe in both 8 inch and 6 inch cake pans so you can decide on whether you want a regular-sized cake to share or a small cake so you’re not tempted with too many leftovers at home.
Why You’ll Love This Apple Upside Down Cake Recipe
- Gets you in the mood for fall! With the weather being wacky (80 degrees in October one day, frost the next), one bite will transport you to the apple orchard in a cozy autumn sweatshirt.
- Makes both 8 inch and 6 inch pans! The original recipe used an 8 inch pan, so I kept that version as well as tested it to add to my list of 6 inch cake recipes.
- Versatile topping! You can use different fruit such as pears or peaches or another nut such as pecans or almonds.
Ingredients You’ll Need
This apple upside down cake uses everyday baking ingredients so you likely have everything in your pantry right now to get started once you buy your apples!
- All-purpose flour: Forms the structure of the cake
- Baking powder and baking soda: Leavening agents to help the cake rise
- Cinnamon, nutmeg, and cloves: The trifecta of warm fall spices
- Salt: No bland cake here!
- Butter: The base for the caramelized apples as well as adds fat and flavor to the cake batter
- Brown sugar: Sweetens the cake and helps caramelize the apples
- Sour cream: Helps moisten the cake as well as adds some tang to balance the sweet topping
- Egg: Helps bind the batter as well as the cake rising
- Vanilla extract: Helps bring out the other flavors even more
- Walnuts: Adds some much needed crunch to an otherwise soft and moist cake
- Apple: The star of the cake!
What are the best apples for upside down cake?
Choose a firm baking apple that holds its shape in the oven rather than turning completely soft. Some great choices are Fuji, Gala, Golden Delicious, and Honeycrisp.
You don’t need to peel the apple for your fall cake, so that’s less prep for you to do!
How to Make Apple Upside Down Cake
Here’s how to make your apple upside down cake:
- MELT. Preheat oven to 350°F. Melt the butter for the topping directly inside your cake pan then brush it over the bottom and sides.
- WHISK. Mix together the flour, baking powder, baking soda, salt, cinnamon, nutmeg, and cloves.
- BEAT. Beat the butter and brown sugar together until creamy, then beat in the sour cream, egg, and vanilla. Gradually add the flour mixture.
- TOPPING. Whisk the remaining brown sugar into the melted butter in the pan. Arrange the apple slices in a single layer and sprinkle the walnuts over them. Carefully spoon the cake batter over the top.
- BAKE. Bake at 350°F for 40-45 minutes until the center is set and a toothpick inserted into the cake comes out clean.
- INVERT. Let the cake rest for 15 minutes. Loosen the edges with a thin knife, place a cooling rack over the pan, and carefully turn the cake upside down. Lift the pan away slowly.
Storage and Freezing
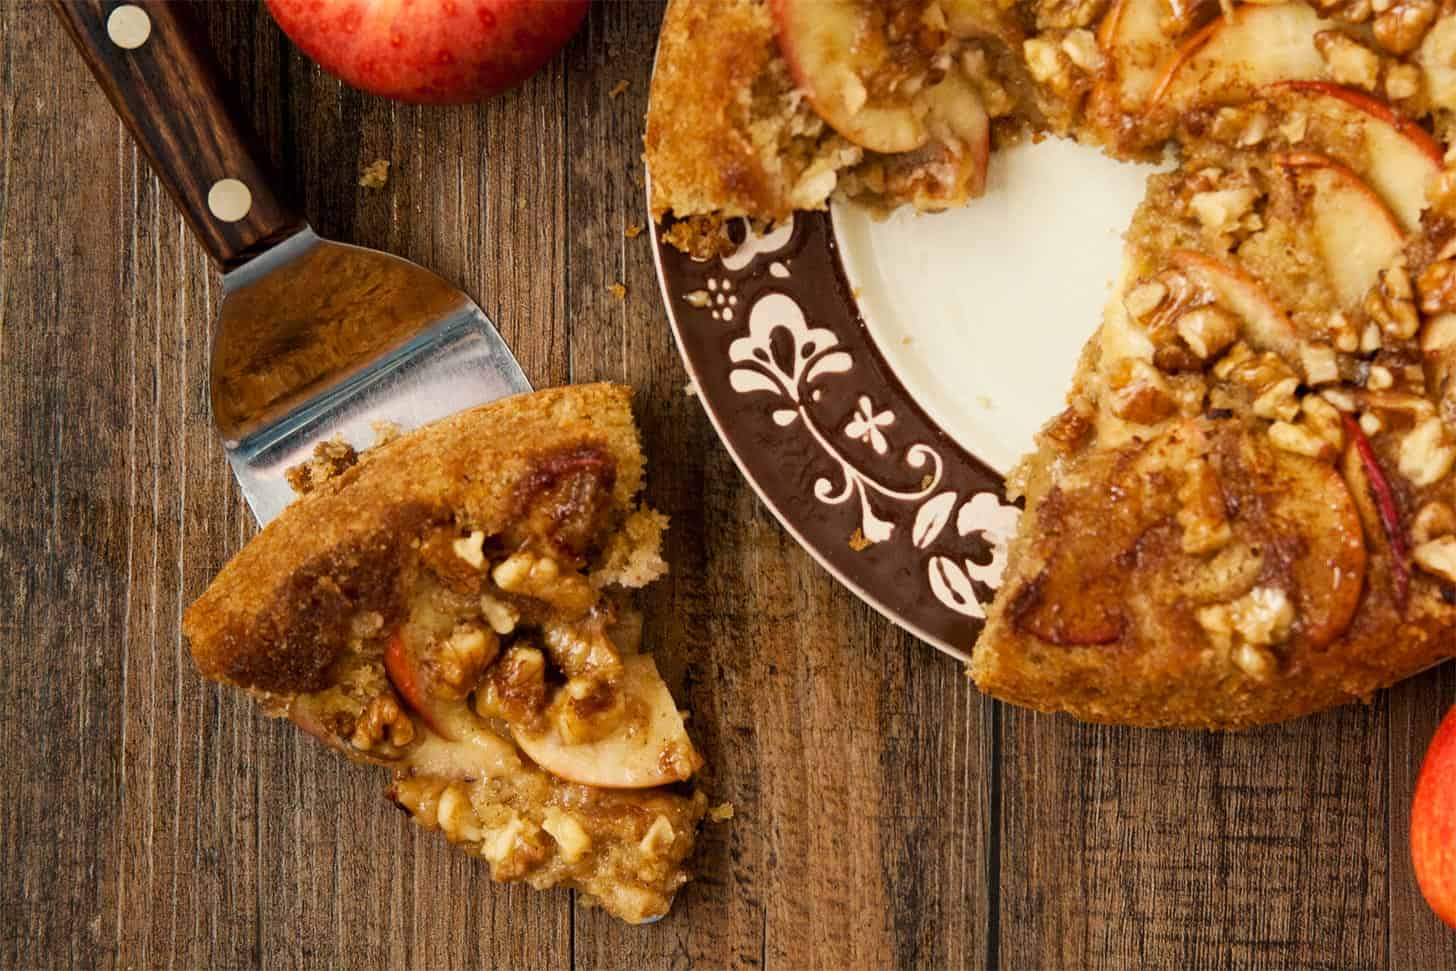
- Room temperature: Store cooled apple cake in an airtight container at room temperature for up to 2 days. Although refrigeration isn’t necessary, you can also refrigerate for up to 4 days. Warm cake before serving.
- Freeze: Place whole cake or cake slices on a cookie sheet and freeze for 1 hour. This prevents the topping from being sticky. Wrap the cake in plastic wrap then place inside a freezer-proof bag. Freeze for up to 3 months.
How to Keep Apple Upside Down Cake From Sticking
Ok so you brushed both the bottom and the sides of your pan with melted butter to ensure it doesn’t stick. Now it’s for the moment of truth – flipping the cake out of the pan!
First, let it cool for a minimum of 15 minutes but a maximum of 30 minutes. You want to give it time for the topping to set up BUT if it cools completely before removing, the butter will set and stick directly to the pan.
Loosen the edges with a knife then place a cooling rack over top of the pan and invert. If it doesn’t come out right away, put it back down then re-loosen it again with the knife and try again. You may want to try pulling the edges a little harder to ensure it’s not sticking to the bottom or sides.
Now if the cake does stick to the pan, don’t panic! Most of the time you can carefully scrape what stuck out of the pan and gently press it back into place on the cake. Nobody will know.
How to Serve Apple Upside Down Cake
Although a slice of upside down apple cake with coffee or tea is satisfying on its own with the caramelized apple topping, adding some homemade whipped cream or vanilla bean ice cream makes it taste even better.
You can amp up the flavor even more with maple whipped cream, peanut butter whipped cream, apple cider ice cream, or buttermilk ice cream.
Apple Upside Down Cake FAQs
Yes, you can bake it ahead, let it cool completely, then store at room temperature for up to 1 day ahead of time.
No. Peeling is optional as it adds color and texture. However if you want a softer topping, peel the apple before slicing.
You may have removed the cake too soon so it didn’t get a chance to set, waited too long and the butter cooled to the pan, or you didn’t loosen the edges enough.
Yes. For a nut free apple cake, you can remove the walnuts (although it’ll lack some crunch and nuttiness).
More Apple Recipes
Since you likely have more apples at home waiting to be eaten, check out these other apple dessert recipes:
Apple Upside Down Cake
You’ll flip over how easy yet impressive it is to bake this Apple Upside Down Cake with caramelized apples, crunchy walnuts, and warm fall spices
Ingredients
- 1 + 1/3 cups all-purpose flour
- 1 teaspoon baking powder
- 1 teaspoon ground cinnamon
- 1/2 teaspoon ground nutmeg
- 1/4 teaspoon ground clove
- 1/4 teaspoon baking soda
- 1/4 teaspoon table salt
- 1/2 cup + 2 tablespoons (5 ounces or 10 tablespoons) unsalted butter, softened
- 2/3 cup + 2 tablespoons packed brown sugar (soft and moist, not dry and crumbly)
- 1/2 cup full-fat sour cream, room temperature
- 1 large egg, room temperature
- 1 teaspoon vanilla extract
- 1/2 cup chopped walnuts
- 1 small baking apple, cored and sliced (such as Fuji or Golden Delicious)
Instructions
- Preheat oven to 350F. Put 2 tablespoons butter into an 8-inch round pan and place into the oven (*for a 6 inch cake, see Notes for measurements). Heat until butter is melted then remove from oven. Brush the melted butter around the bottom and sides of the pan. Set aside.
- In a medium bowl, whisk together the flour, baking powder, cinnamon nutmeg, clove, baking soda, and salt.
- In a large mixing bowl on medium-high speed (with paddle attachment if using a stand mixer), beat together the remaining 1/2 cup (8 tablespoons) butter and 2/3 cup brown sugar until smooth and creamy, about 1 minute.
- Scrape down the bowl then beat in the sour cream, egg, and vanilla.
- Turn the speed down to the low then gradually beat in the flour mixture. Do not overbeat the batter.
- Whisk the remaining 2 tablespoons brown sugar into the melted butter in the pan. Lay apples slices on top in a single layer then top with walnuts. Add the cake batter and spread evenly.
- Bake for 40-45 minutes or until a toothpick in the middle comes out clean. Let cake rest for 15 minutes before running a knife around the edge and inverting it onto a plate. Serve warm.
Notes
- *For a 6-inch round cake pan, use the following ingredients and bake for 25-30 minutes:
3/4 cup all-purpose flour
1/2 teaspoon baking powder
1/2 teaspoon ground cinnamon
1/4 teaspoon ground nutmeg
1/8 teaspoon ground clove
1/8 teaspoon baking soda
1/8 teaspoon table salt
1/4 cup + 1 tablespoon (5 tablespoons) unsalted butter, softened
1/3 cup + 1 tablespoon packed brown sugar
1/4 cup full-fat sour cream, room temperature
1 large egg, room temperature
1/4 teaspoon vanilla extract
1/4 cup chopped walnuts
Half of a small baking apple, cored and sliced
Recommended Products
As an Amazon Associate and member of other affiliate programs, I earn from qualifying purchases.

First published October 2, 2013
This post may contain affiliate links. As an Amazon Associate and member of other affiliate programs, I earn from qualifying purchase.
I’m glad you made that decision two years ago and kept blogging. I enjoy your recipes and posts very much. It’s nice to see an upside down cake that isn’t pineapple. It looks mighty good too.
It’s been a long road, but I’m glad I ended up where I am! Thanks Renee, especially for your friendship :)
The only way to grow is through hardship, but it’s not easy. Being able to look back and feel rewarded is awesome and so glad you can do that Carla! I have sunday supper to thank for opening up my blogging world and I’ll be forever thankful. This cake is beyond amazing!
Yes, I have Sunday Supper to thank as well because it’s how I started getting involved in the blogging community. Thanks Paula.
What a touching story Carla! I totally hear you on the friends being other bloggers thing too, I have almost no “real life” friends because nobody here “gets” blogging and food the way the rest of our community does! That cake does look fantastic though… now to convince someone to eat it!
Yea, I still get deer in the headlights look when I try to explain what blogging is. A few coworkers have accepted it (and maybe not 100% understand it haha). Thanks for your friendship, Sarah.
Change is always hard, especially when your world is turned upside-down :) I’m going through a big career change right now too. Baking my way through it!
Yea I’ve seen a few tweets from you about it. I wish you the best of luck in your journey!
I can’t stop crying. There are just all of these…tears….
I can relate on SO many levels, Carla, but rather than control this comment with MY story, I just want you to know that I’ve been the upside down cake, too. It’s so true that some of life’s most beautiful endings start out as bland, dry, ordinary beginnings. Not only that, but most of the beauty I’ve witnessed in my life has shown itself from the inside out!
I’m beyond blessed to know you. I hope the day comes, SOON, when we can meet in person. <3
Aw, no tears! I wanted to share this part of my story because I know people out there can relate. People say things to me all the time about being single and living alone and how tough it is. Yes, it’s tough but it’s doable. Someday we will meet, Becca!
Love this post, Carla- I’ve been there myself, and that silly old adage of rain before the rainbow really can be true. I love how you threw yourself into something you were passionate and talented at to get you through a tough time; it was clearly the right decision! Isn’t it nice how food can sometime reveal more to us than we might think?
My blog has helped me in so many ways, it’s unbelievable. Thanks Ruthy!
Your wonderful post gave me chills! Thank you for starting your blog as I enjoy it very much. You have many supporters! Kind regards, Annamarie
Thank you, Annamarie :)
I’m allergic to nuts, but this still looks great :)
This cake is pretty great without nuts too ;) Thanks Nessa!
I know what you mean–I get geeked about something blogging-related and get blank stares from most of my friends. I also understand what it’s like jumping into the unknown…I left my friends and family all in Ohio when I moved to South Dakota 9 years ago. I’ve baked and blogged a LOT in that time. Sometimes cake makes everything better!
That was definitely a big move! At least I’m only a few hours, but it still sucks on days I can’t be there for memories. Thank goodness for blogging friends :)
Walking away from toxicity and drama can be the hardest thing to do! But I am so proud that you did it and focused your energy into this wonderful space so we could get to know you, Carla: blogger, baker, friend. This beautiful cake is a great analogy to the sweetness of life when we turn things over and look for the good. I love it!
Your words mean a lot to me! Thanks Stacy :)
I can totally relate! After 7 years of contemplating, I finally walked away too, and it changed my life forever. Hardest and best decision I ever made…if only I had some of this cake at the time to help me through!
It’s such an amazing feeling to look back and realize we made it, isn’t it? Thanks Steph!
Your blog buds are here for you anytime you turn your life upside down! You’re awesome, girl!
(And so is this cake, by the way!)
Thanks Jen! I’m glad we started our (sorta) weekly phone chats :)
Big decisions like that are never easy, but it is so huge when it means a step in the right direction! Congratulations on taking the plunge and doing what you needed to do. Sometimes flipping things upside down is exactly what is needed.
Speaking of which… this cake sounds incredible! I’ve been dreaming of autumn-fruit upside-down cakes for weeks now, and it’s like you answered the call. Yum!
Thanks Willow!
Good for you, Carla! Change takes courage and I’m glad you were courageous to take that chance and make that change.
And your cake looks yummy, too!
I’m so glad you made that tough decision, Carla and walked away. Change is the hardest thing, when you’re set in a routine and there’s so much fear about the unknown. No one ever wants to make a bad decision but we never know until we make it, right? Your blog is one of the best. Seriously. I come here again and again not only for incredible recipes like this one (I MUST MAKE THIS CAKE!!!) but because you’re talented, you’re passionate, you’re hilarious, you tell it like it is and reading your words is like hearing a good friend talk. I feel the same way as you do – nowadays, the people I talk to the most are other bloggers and my readers. Blogging has enriched my life so much and I’m sure you feel the same way.
Looks delicious! Thanks for the recipe.
I’m glad you’re in a happier place in life now. It takes courage to walk away and to share your feelings in a public forum. Congrats to you and the cake looks absolutely wonderful!
Thanks Faye!
What kind of apples do you recommend using?
There are a lot of baking apples to choose from, but I usually use Fuji, Gala, or McIntosh.