DIY Faux Wooden Photography Boards
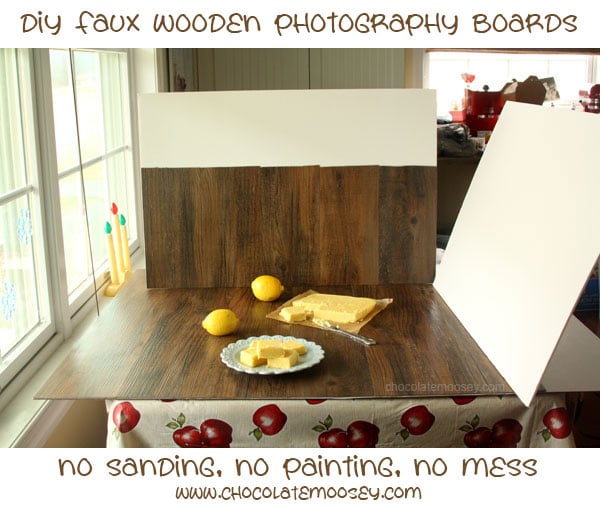
If you are into food photography, chances are you want to get your hands on some wooden boards for your base. Me too, but who wants to deal with gluing, sanding, and painting? You can easily assemble Faux Wooden Boards using vinyl boards and posterboard in 10 minutes without splinters and the mess.
This post happened by accident after spending an hour at Lowe’s. I was looking for tongue and groove boards that I could easily glue together. When I found some at Lowe’s, they were too wide. Frustrated, I looked at wood along the back wall and ended up in the flooring section. Tongue and groove boards in the right size! Unfortunately, I had to buy a big pack and not individual pieces ($50!). Defeated, I thought I had to wait another day until I could go to Home Depot (which is in another town).
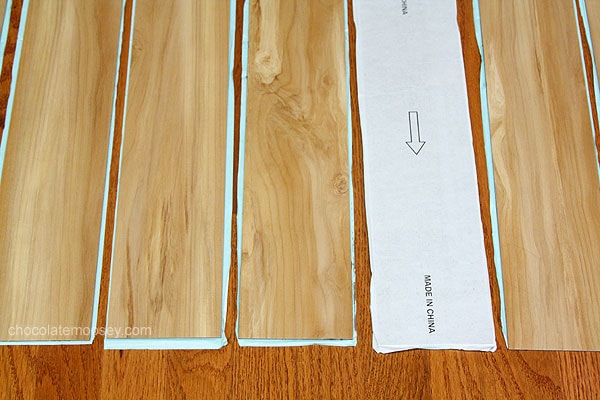
As I was leaving Lowe’s, I saw them. Vinyl boards that look like wood sold as individual pieces! (If all you see is the boxed set, ask for someone to open the box). Instead of gluing or nailing, you peel the paper off of the back and stick to your surface. The boards are flimsy on their own, so I figured I could buy foam board for support. Unfortunately, I didn’t buy enough pieces the first time, so I had to run back to the store. It wouldn’t be a big deal, except it’s roughly a 40 minute trip one way. Oy.
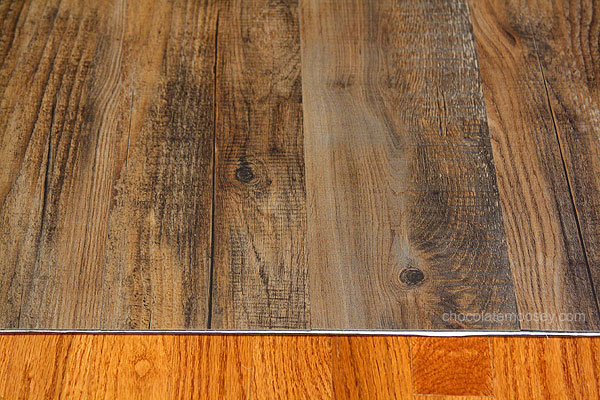
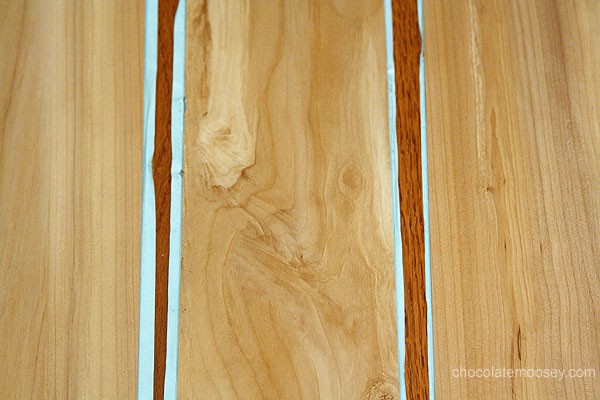
The pieces range from $1-$3. The light brown pieces (called “Sunlit Maple 399158”) were $0.98 each while the dark brown (slightly wider and called “Antique Woodland Oak 399147”) were $2.36 each. I ended up using 8 light brown and 6 dark brown pieces. I bought a trifold board for support, which cost me $2.50 each at Dollar General. This means that my two boards cost roughly $10 and $17.
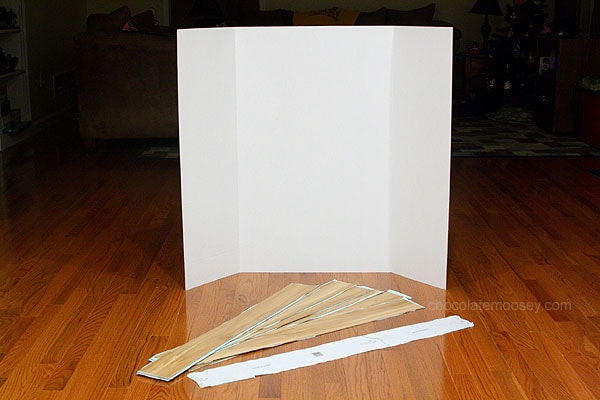
If you know what you want and have everything ready to go, putting together one board would take you roughly 10 minutes. I think I spent 45-60 minutes photographing and assembling two boards and a backdrop, but keep in mind I took time to set up each scene as I went.
[rss-cut]
How To Make Faux Wooden Photography Boards
1. Remove the cat.
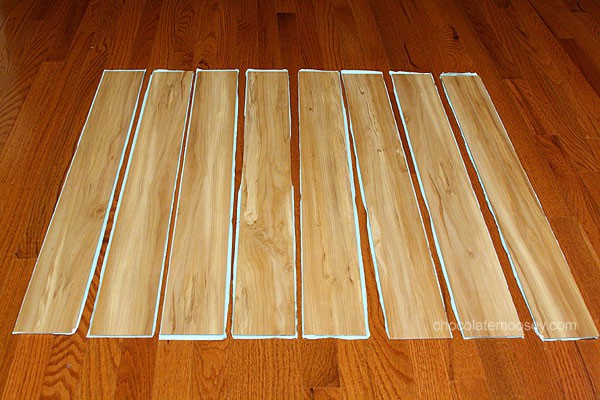
2. Make sure you have enough pieces so you don’t have to run back to the store.
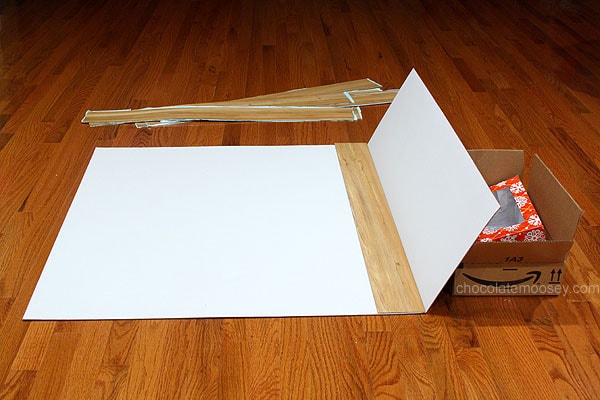
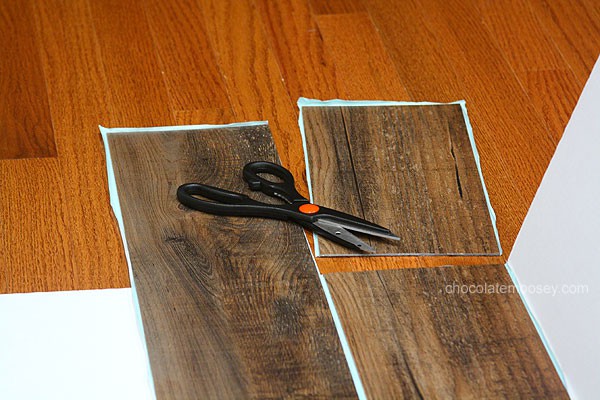
3. Lay out your pieces without peeling so you know exactly what you want. My dark brown pieces were longer than the board, so I cut them. I also managed to fit the light brown pieces all to the left of the one flap so I have a built-in “reflector.” I wasn’t quite as lucky with the wider dark brown pieces.
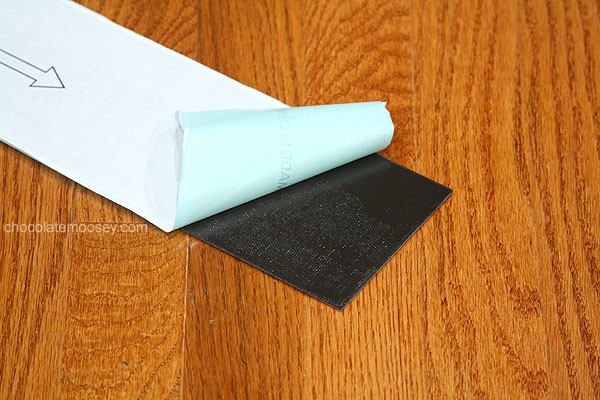
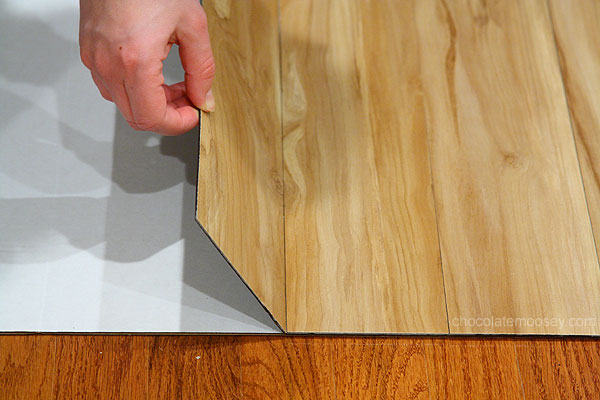
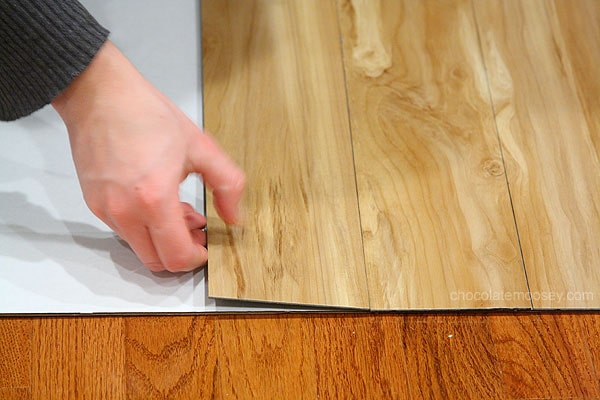
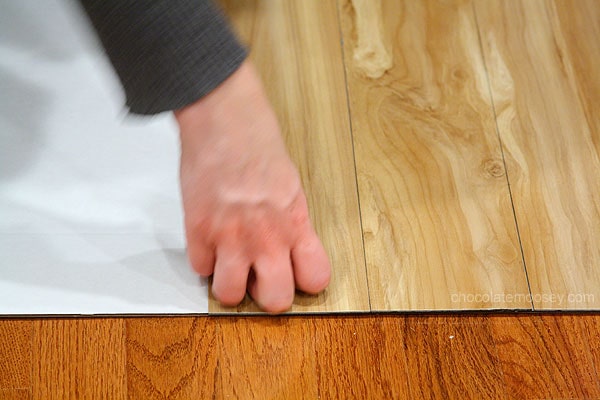
4. Take one piece and peel off the backing. Carefully line it up straight on the poster board and set in place. Press down to secure (my fingers were sticky, so I used my knuckles). Repeat with the remaining pieces. Take your time lining them up because they can be a bit flimsy. I managed to assemble everything by myself, but it wouldn’t hurt to have some extra hands.
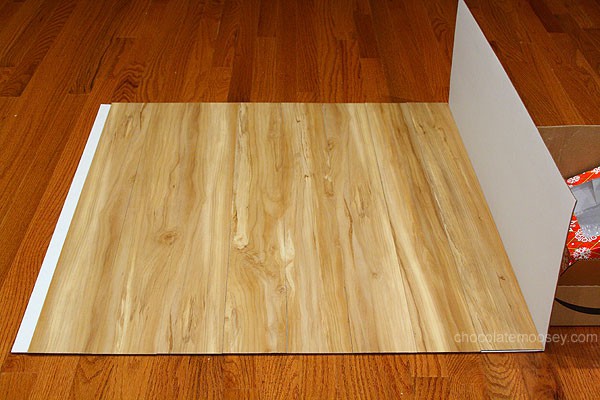
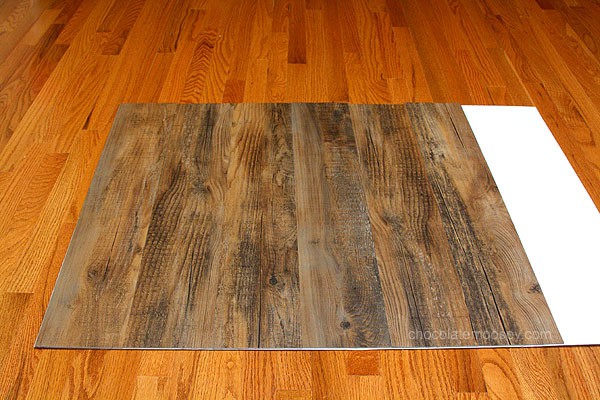
5. Once everything is in place, it is a good idea to apply pressure with books or something heavy to make sure they stick really well.
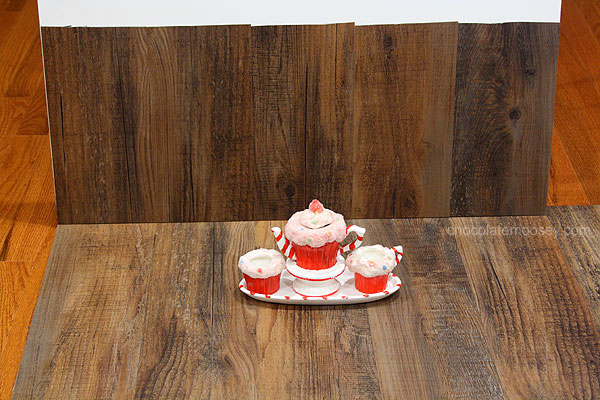
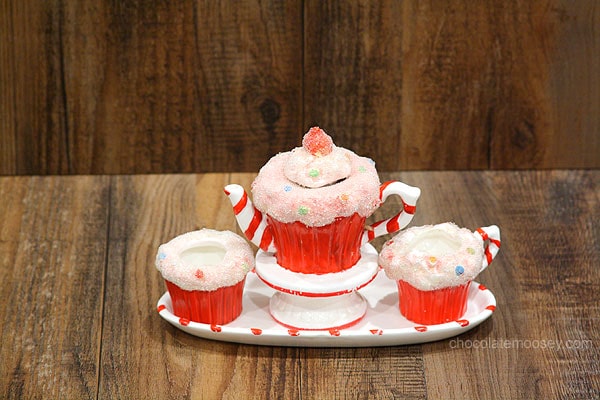
Since I had pretty decent-sized boards left from the dark wood, I made a backdrop. Think I’m going to buy some more light brown ones for a backdrop too.
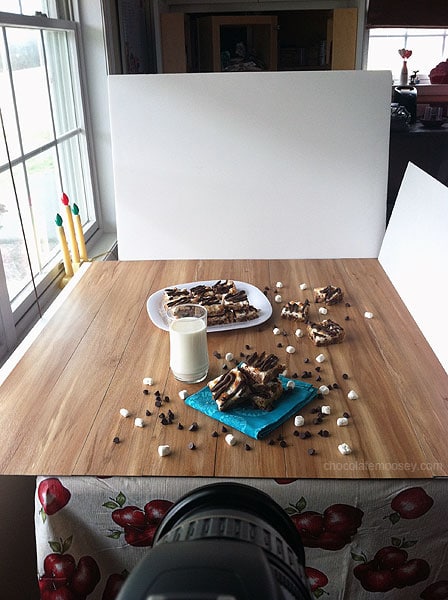
The worst part about this project is the glue after peeling the paper. I had to wash my hands several times to get the residue off, but I can deal with that considering how little work it takes to make these. I couldn’t find any that looked like white wood, so I did end up finding a small pack of tongue and groove boards that can be painted on both sides. I’m thinking white and teal.
—
Liked this tutorial? Here are some tutorials from other food bloggers that use actual wood:
- DIY Wood Photography Boards from Table For Two
- DIY Distressed Wood Photo Backdrop from Love & Olive Oil
- DIY Photography Background from Running To The Kitchen
This post may contain affiliate links. As an Amazon Associate and member of other affiliate programs, I earn from qualifying purchase.


Fabulous idea, Carla! I am making a list for my next trip to Ace Hardware, the closest thing we have to Lowe’s or Home Depot here in Dubai.
I need a bigger house! I would love to make this but have no where to store it…
I know what you mean! What’s nice is they are a lot thinner than regular wooden boards, so you can slide them behind a dresser or maybe even beside the fridge.
Awesome Carla! I’m definitely visiting the flooring section on my next trip to Lowes and Home Depot.
Carla, this is great! I see a trip to Home Depot and Lowe’s in my very near future. Luckily for me, they are right across the street from each other!
This is awesome! Thank you sooo much for sharing. I’m headed to the store as soon as I can!!
Thank you for this post. One of my goals for 2013 is to improve my picture taking (and to start editing the pictures).
Haha love it!! I kinda want some dark brown now too!
Step 1 :) something tells me I’m going to run into a similar issue…
I didn’t know about these boards. If I invest in a SEPTA pass ill look into them (not something I can easily bike home). I’d also recommend the odds and ends section of ikea. Sometimes they have random wood boards for $5 if there’s one near you!
Aren’t wood boards the best?! I think I’ll have to make more using your method!
Great post! Love the step about removing the cat. I often have to do this with my dogs, and then sometimes I just leave them in anyway ;)
Awesome post- I pinned it to my “Blogging 101” board! I did one a while back on how to paint boards for food styling: http://www.recipegirl.com/2011/06/11/if-youre-into-food-photography-and-styling/
This is such a great idea! Thanks, Carla!
These are brilliant!! I found some at Home Base here but they were either deck boards that had large gaps in between or extremely shiny wooden floor boards. The search continues…
I wonder if wearing rubber gloves would help with the residue issue? It might or it might make it crazier since the gloves would stick to the pieces. I’m thinking the disposable kind doctors wear. Stickiness aside great post!
The gloves would keep the glue off of your fingers, but then the glue would get on the gloves. The glue does come off after a little bit of scrubbing, so you aren’t stuck with it all day. Good luck if you do try the gloves!
You rock, Carla. I’m always looking for ways to have new backdrops, etc. Looks easy enough!
Excellent info! Thank you so much for sharing!
Ugh! I was so excited to try this out but my local Home Depot did not have these! They only had squares, but they had a weird pattern on them. Will have to check another one, or maybe Lowe’s.
I had someone else say they didnt have luck at Home Depot. I stopped by Home Depot after this post and did find some boards, so I’m not sure if it’s a regional thing. Good luck at Lowes! I’ve been in several and know multiple stores have them.
Such a good idea! My husband has made me a few “tabletops” with actual pieces of wood, which is a lot more work since you have to glue and stain, etc. This looks so easy. I LOVE that you were able to get a “built in reflector” on one. Genius :)
Neat ! This I can handle !! Making a couple when I get the next free weekend !
Thanks for sharing this!! I’m doing infant photography and wanted some decent flooring that would be easy to transport to peoples houses! this looks like it will work Perfectly!!
This is awesome! It seems like the vinyl would also be really easy to wipe down after you’ve dripped some bit of the food you’re photographing on it. :)
Yes vinyl is much more forgiving to clean up melted ice cream, chocolate smudges, powdered sugar, etc. than wood!
Excellent tutorial, as usual. Thanks Carla, you smart girl you:)
Thank you so much for posting this on Facebook for me to read! I’m not stressing out as much now about the thought of pink countertops!
Carla,
This is why I listen to you guys! I have my backdrop, the one, that is real wood and real paint and yes it’s fine except I want other colors and since mine is real wood – heck – it’s heavy and if we ever move to a condo at the lake……….I’m going to have to cull down from a 2,000 sq. ft. house plus a 1,200 sq. ft. workshop! This idea is incredible and I can’t wait to use it! You will be seeing new and improved backdrops from me soon! xoxoxo